SAVECair control |
9
Icon Text
Description
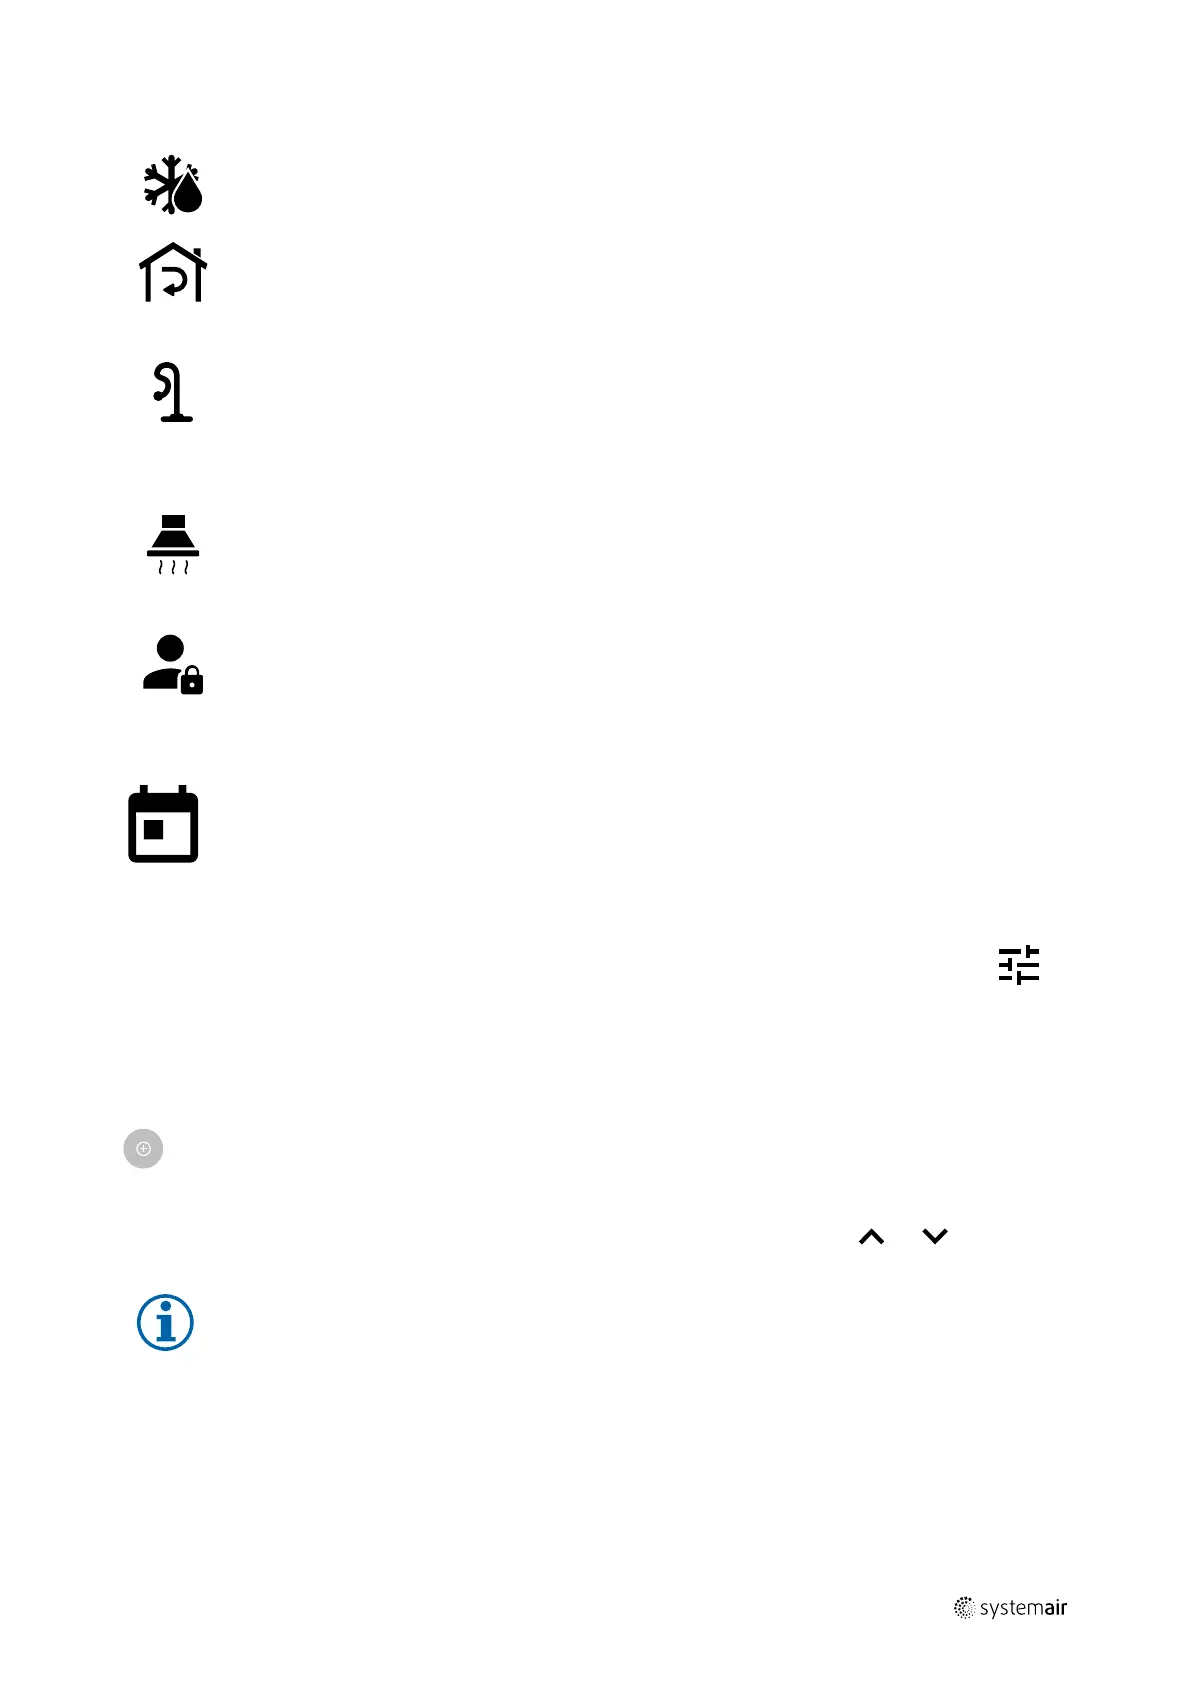
Defrosting
Function prevents formation of the ice on the heat exchanger during cold
outdoor temperatures.
Secondary air
Warm air from the living space is used to defrost the heat exchanger using a
damper inside the outdoor air duct. The unit switches from outdoor air to
secondary air while the extract air fan stops and warm secondary air increases
the temperature inside the heat exchanger.
Vacuum
cleaner
Function sets speed of supply air fan to High level and extract air fan to Low
level to increase air pressure within the apartment for better dust collection
through central vacuum cleaner.
Function can be activated via digital input — Central Vacuum Cleaner
Function.
Always active while digital input is activated.
Cooker hood
Sets speed of supply air fan to High level and extract air fan to Low level to
increase air pressure within the apartment for better airborne grease and steam
collection in the kitchen.
If a cooker hood with integrated fan is used, then it is recommended to set
airflow levels of both fans to Normal.
Function can be activated via digital input — Cooker Hood Function.
Always active while digital input is activated.
User lock
Function indicates that the system is locked with a password and cannot be
edited or settings changed in any way. System must be unlocked first to make
changes.
5.7 Week Schedule
The unit can be configured to operate at set airflow levels up to two time periods (00:00–23:59) on user
selected days.
Week Schedule is active only during AUTO mode.
5.7.1 Schedule airflow settings
Touch settings icon to go to SCHEDULE AIRFLOW SETTINGS menu. In this menu set airflow level for
scheduled and unscheduled periods. Available levels: Off, Low, Normal, High or Demand.
Set temperature setpoint offset for both periods (-10°C – 0°C).
Demand level is available only if Demand Control or External fan function is active.
5.7.2 Edit schedule
Touch icon at the bottom left corner of the screen to add a new schedule or press EDIT button to modify
already added schedule.
To configure the schedule:
1. Set the time. Touch the START TIME or END TIME values to change time. Use arrow buttons
and to increase
or decrease value. Confirm with OK button.
Note:
Scheduled time can start but never end at midnight (00:00). The latest END TIME period is 23:59.
Scheduled time cannot go to the next day.
If necessary, activate second scheduled period and set up time.
2. Once time is set, click on the day(s) when schedule should be active. It is possible to set a separate schedule for each
day.
Already scheduled days are not available for selection for new schedules.
3. Confirm schedule with OK button.
211459 | A001
 Loading...