12
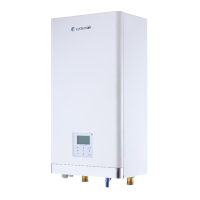
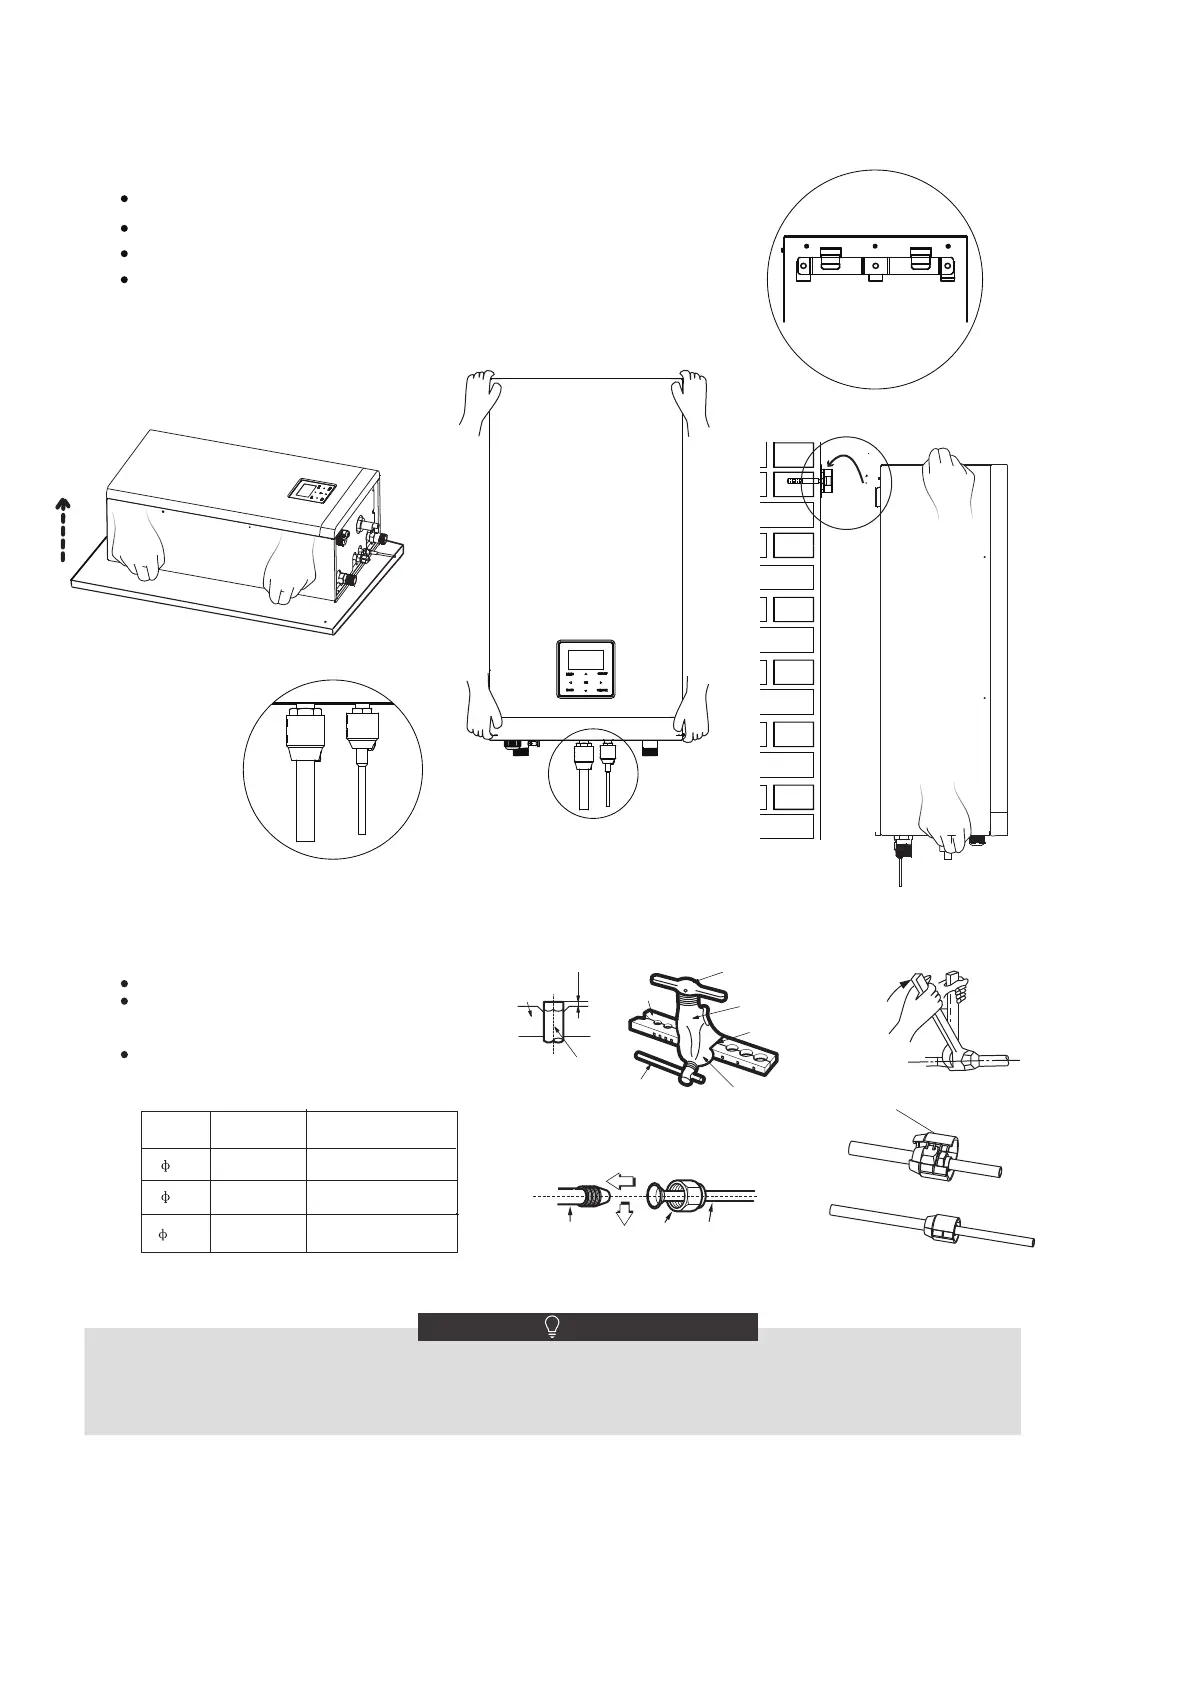
4.4 Mounting the indoor unit
Fix the wall mounting bracket to the wall using appropriate plugs and screws.
Make sure the wall mounting bracket is horizontal level.
Pay special attention to prevent overflow of the drain pan.
Hang the indoor unit on the wall mounting bracket.
two persons
two persons
two persons
Fig.4-5
Bar
Copper pipe
Clamp handle
Red arrow mark
Cone
Yoke
Handle
Bar
"A"
Align the center of the pipes.
Sufficiently tighten the flare nut with fingers,
and then tighten it withaspanner and torque
wrench .
The protective nut isaone-time part, it
can not be reused. In case it is removed,
it should be replaced withanew one.
Protective nut
Indoor unit tubing Flare nut Pipings
Outer
diam.
Tightening
torque(N.cm)
Additional tightening
torque(N.cm)
6.35
16
9.52
1500
(153kgf.cm)
1600
(163kgf.cm)
2500
(255kgf.cm)
2600
(265kgf.cm)
4500
(459kgf.cm)
4700
(479kgf.cm)
4.5 Refrigerant pipe connection
Excessive torque can break nut on installation conditions.
CAUTION
When flared joints are reused indoors,the flare part should be re-fabricated.
●
●
1/4
5/8
1/4
5/8
 Loading...