24
|
Maintenance
5.3.6 Cleaning the extract louvres and inlet diffusers
The system supplies treated outdoor air to the building and extracts the used indoor air via the duct system and diffus-
ers/louvres. Diffusers and louvres are mounted in ceilings/walls in bedroom, living room, wet rooms, WC etc. Remove
diffusers and louvres and wash in hot soapy water if required. Diffusers/ louvres must be put back with their original
settings and positions in order not to unbalance the system.
The cleaning of these parts is done when necessary.
5.3.7 Checking the outdoor air intake
Leaves and pollution could plug up the air intake grille and reduce the unit’s capacity. Check the air intake grille at least
twice a year and clean if necessary.
5.3.8 Checking the duct system
Dust and grease settlements may build up in the duct system even if filters are changed regularly. This will reduce the
efficiency of the installation. The ducts should therefore be cleaned/changed when necessary. Steel ducts can be
cleaned by pulling a brush, soaked in hot soapy water through the duct via diffuser/louvre openings or special inspec-
tion hatches in the duct system (if fitted).
5.3.9 Changing the internal battery
Note:
This procedure requires knowledge of proper ESD protection; i.e. an earthed wristband must be used!
When the alarm ”Internal Battery” is activated and the battery LED lights up red, the battery for backup of program
memory and real-time clock has become too weak. The battery is replaced as described below. A backup capacitor
saves the memory and keeps the clock running for at least 10 minutes after the power supply is removed. Therefore, if
the battery replacement takes less than 10 minutes, there will be no need to reload the program, and the clock will
continue to run normally.
The replacement battery must be of the type CR2032.
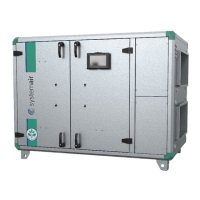
1 Remove the cover by pressing down the locking tor-
ques at the edge of the cover using a small screw-
driver, and at the same time pulling the edges
outwards.
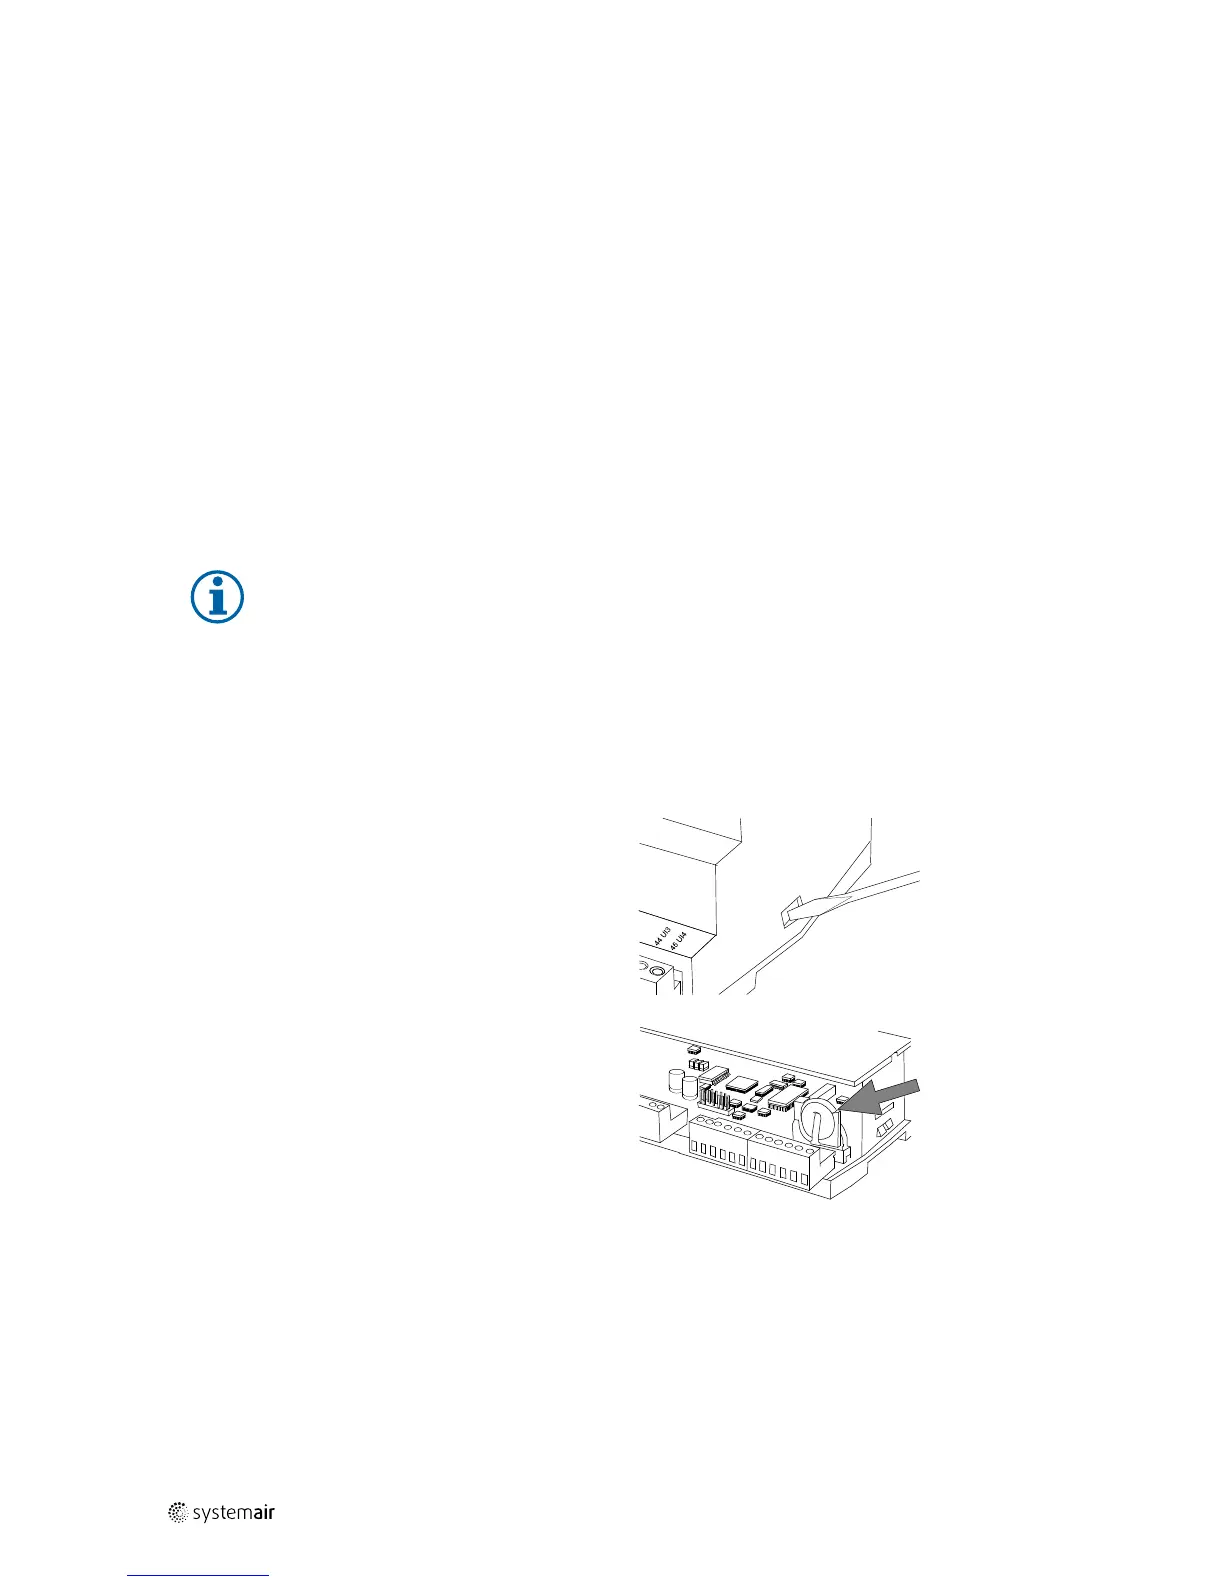
2 Grip the battery firmly with your fingers and lift it up-
wards until it rises from its holder.
Press the new battery firmly down into place. Note
that to preserve correct polarity, the battery can only
be inserted the “right way round”.
124455 | A003
 Loading...