3
.3 How to fix installation plate
The wall you select should be strong and solid enough to
prevent vibration
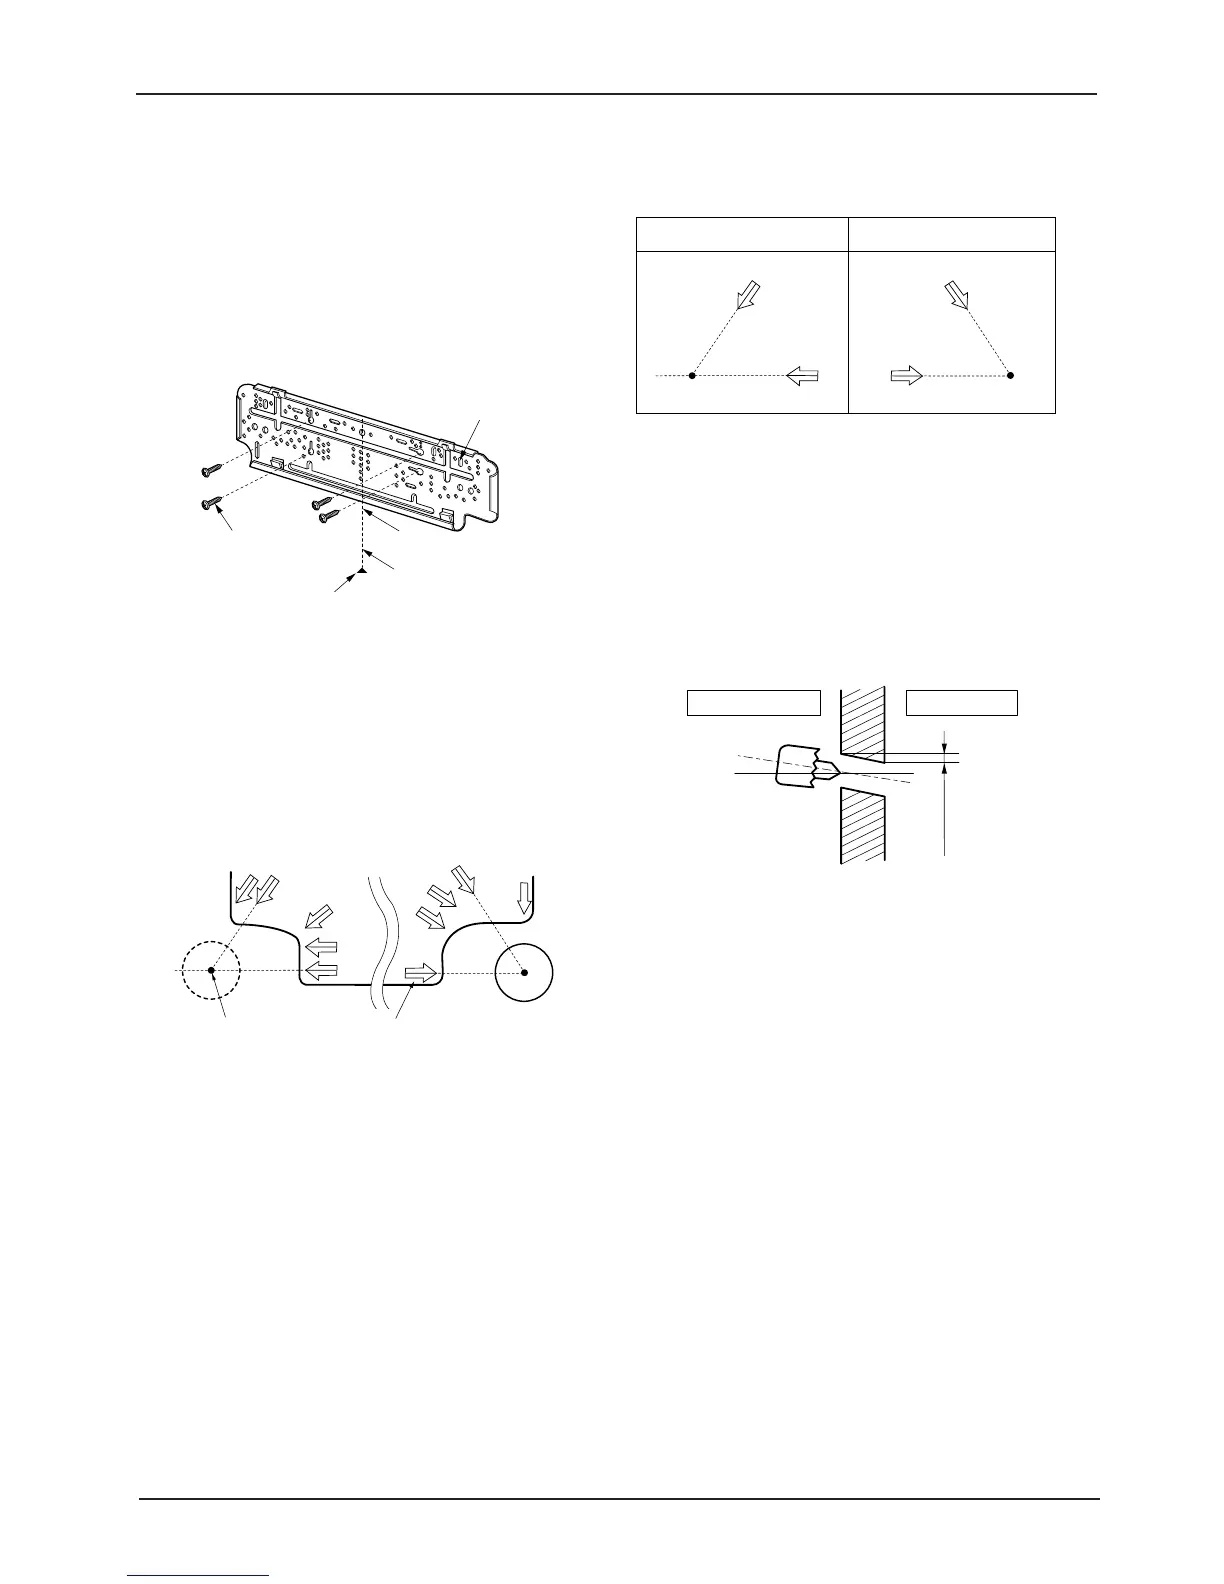
3.3.1 Mount the installation plate on the wall with
four type A screws. If mounting the unit on a
concrete wall, use anchor bolts.
• Mount the installation plate horizontally by aligning the center-
line using a level.
3.3.2 Measure the wall and mark the centerline. It
is also important to use caution concerning
the location of the installation plate-routing
of the wiring to power outlets is through the
walls typically. Drilling the hole through the
wall for piping connections must be done
safely.
• For right rear piping and left rear piping, draw a
line in the direction of the arrow marked "D". The
meeting point of the two lines is the center of the
hole.
• Drill the piping hole with a ø70mm hole core drill.
Drill the piping hole at either the right or the left with
the hole slightly slanted to the outdoor side.
3.4 Drill a hole in the wall
• The position of the center of the hole.
 Loading...