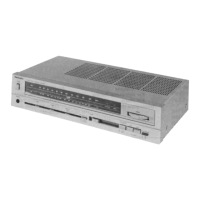
SA-110
•
DISASSEMBLY
INSTRUCTIONS
• How to remove the cabinet
1.
Remove the 6 setscrews (Fig.
1:0~0|)of
the cabinet.
• How to remove the bottom board
1.
Remove the cabinet.
2.
Remove the 11 setscrews (Fig. 2 :0~ ®) of the
bottom board.
O Reor panel
Fig.
2
• How to remove the front panel
1.
Remove the cabinet.
2.
Remove the 3 setscrews (Fig. 1: ® ~ ®) of the front
panel.
3. The claws projected (at 4 portions) from the front
panel are engaged with the front sub-panel.
Disengage the claws from by screwdriver or the like
to remove the front sub-panel. (See Fig. 3)
Power amplifier IC -
Fig.
4
!
• How to remove the power amplifier IC
1.
Remove the cabinet and bottom board.
2.
Remove the 2 setscrews (Fig. 4 : ®, ®) to detach
the power transformer from rear panel in the direc-
tion of arrow©.
3. Unsolder of power amplifier IC.
4.
Remove the 2 setscrews (Fig. 4 : ®, ©) used to
secure the power amplifier IC on the heat sink, and
then pull the power amplifier IC.
5. When mounting the power amplifier IC, apply silicone
compound or equivalent heat diffuser to the rear side
of power amplifier IC, and then follow the steps 1 ~ 4
reversely.

 Loading...