EN. 2
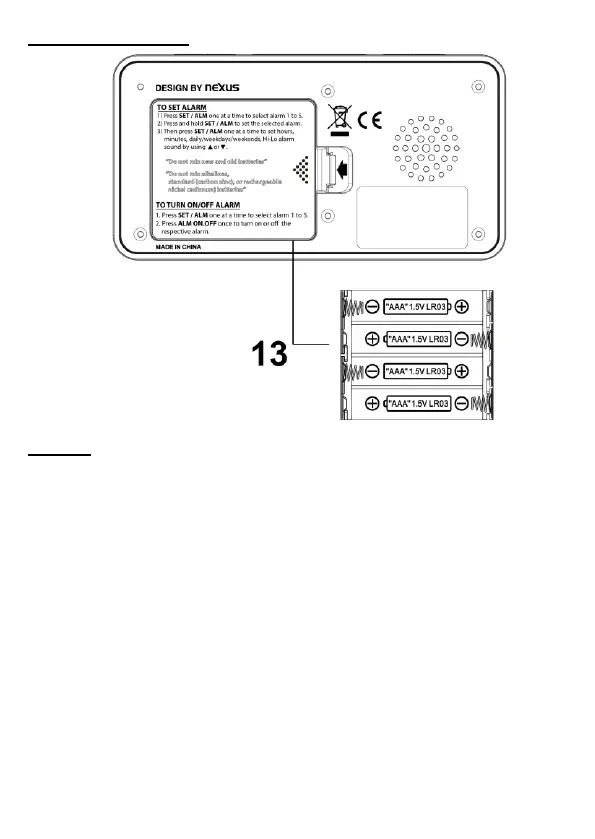
Battery compartment
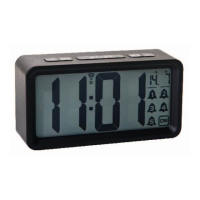
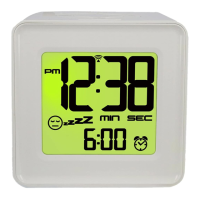
Figures:
1. PM icon 2. Night light icon
3. Time 4. Radio controlled icon and DST icon
5. Month and date 6. Alarm icons (Alarm 1, 2, 3, 4, 5 and ON)
7. Low battery icon 8. DOWN (/WAVE) button
9. SET/ALM button 10. Snooze/Light button
11. ALM ON/OFF button 12. UP button
13. Battery compartment – 4 x AAA batteries needed (not included)
INSTALLATION
1. Place your clock face down on a flat and soft surface.
2. Remove the battery cover at the back of your unit.
3. Insert 4 x new AAA batteries into the battery compartment by observing
the correct
“+” and “-“ polarity.
4. Replace the battery cover.
 Loading...