The following items are necessary for operating the engine, and are available at your local hobby
dealer.
■Fuel
A good quality, commercially available fuel containing 25% lubricant and 75% methanol is
recommended for break-in/run-in and general use. We also recommend castor oil or a castor/
synthetic blend only for use as a lubricant. Fuel containing 5%-15% nitromethane and 20%
lubricant is for use when more power is required. Most fuels containing synthetic lubricants
(only) are much less tolerant of a lean run compared to fuel that contains castor oil. If availability
or local conditions force you to use a fuel that contains only synthetic lubricant, we suggest
in. Install the propeller securely to the engine, connect the fuel lines, and fill the fuel tank.
Install a long reach R/C glow plug in your engine. Refer to the following starting procedures.
■Filling the Fuel Tank
Disconnect the pressure line from the pressure
fitting on the muffler and fuel line from the fuel
inlet on the carburetor. Connect the fuel line to
the tubing from fuel pump to fill the fuel tank
until fuel overflows into the pressure line indicat-
ing the tank is filled. Re-connect fuel line to fuel
inlet and pressure line to pressure fitting. Be sure
to not let dirt or dust enter fuel container.
■Pre-Adjust Needle Valve
Turn the needle valve clockwise until you begin to feel resistance. This the fully closed position.
Do not force the needle valve or you may
damage your carburetor! Now turn the needle
valve counter-clockwise about 2 - 2 1/2 turns.
This will be a good place to start. (Turn the
needle valve clockwise to “close” for leaner
mixture, or counter-clockwise to “open” for
richer mixture.)
Model fuel contains alcohol, which is hydroscopic (meaning that it attracts moisture from the
atmosphere). This can cause corrosion to the internal engine parts. After each flying session,
run all the fuel out from inside the engine by disconnecting the fuel line from the carburetor. If
you will not be using your engine for a while, put 4 or 5 drops of after-run oil (Marvel Mystery
Oil, Prather, Pacer, etc.) into the carburetor and glow plug hole, wrap your engine in a soft cloth
and store in a sealed plastic bag.
Do not dismantle your engine unnecessarily, as this may upset precision fits such as
piston/cylinder and crank pin/connecting rod assembly. If it is necessary to clean your engine
completely (such as after a crash), remove only the carb (do not disassemble), muffler, backplate,
and cylinder head. Flush the entire engine with fresh fuel and reassemble. Apply after-run oil
to the engine and store or re-install the model. Do not disassemble your engine further than
described above, or your warranty may be voided!
that you keep the needle valve set to a slightly richer setting, allowing more lubricant to flow
through the engine in order to extend engine life and maintain optimum reliability.
Do not use fuel containing less than 20% lubricant.
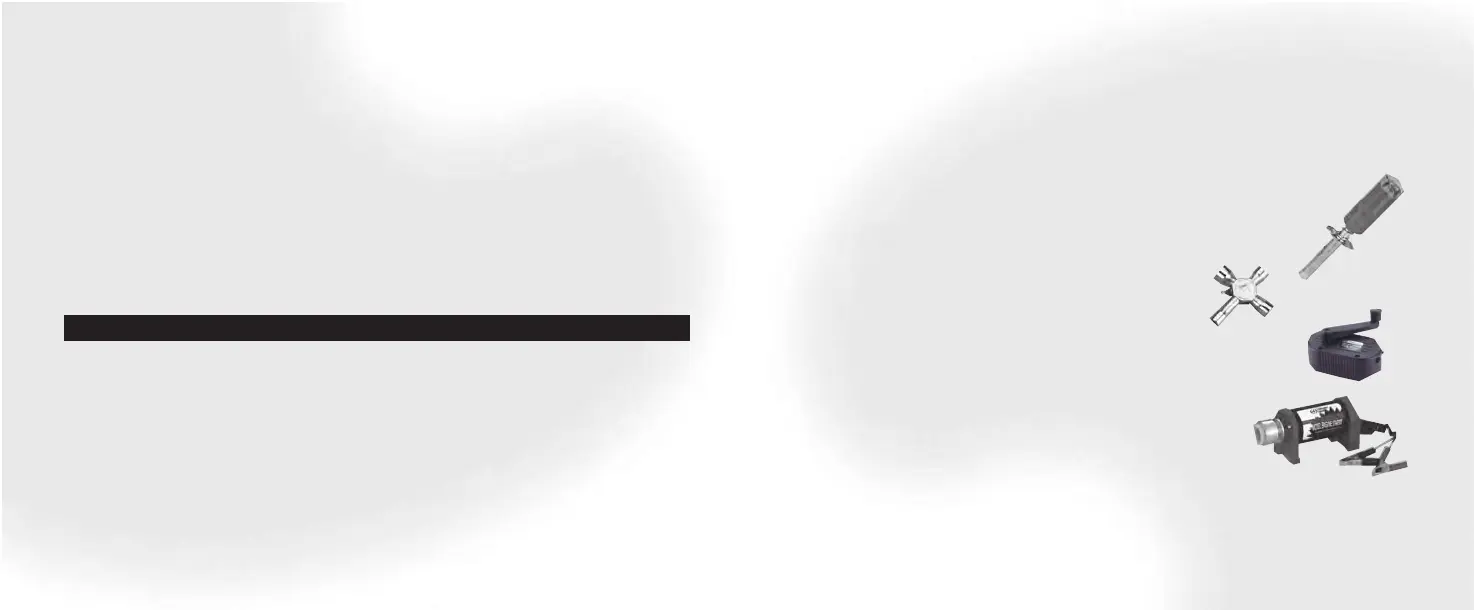
■Glow Plug
The type and quality of glow plug used in your engine will have a major impact on overall
performance and reliability. Thunder Tiger .10-.61 size engines operate best with
a “hot”long-type plug such as K&B or O.S. No. 8.
■Glow Starter
The power source for heating the glow plug during starting the engine (1.2-1.5V).
■Plug Wrench
Used for tightening the glow plug and also fits the propeller nut.
A Thunder Tiger 4-way wrench is preferred.
■Fuel Pump or Bottle
Required to transfer fuel into the fuel tank in your model. A Thunder Tiger
hand-crank pump or an electric pump are available at your hobby dealer.
■Chicken Stick/Safety Stick
Used to flip the propeller for starting the engine by hand.
■Electric Starter with Starter Battery
Most engines can be started quickly with an electric starter. However,
you will find Thunder Tiger PRO series engines are easy to start by hand using a chicken stick.
14 15
Necessary Accessories
 Loading...