2
NVA100X - Getting started - 01 - 2018
INSTALLATION
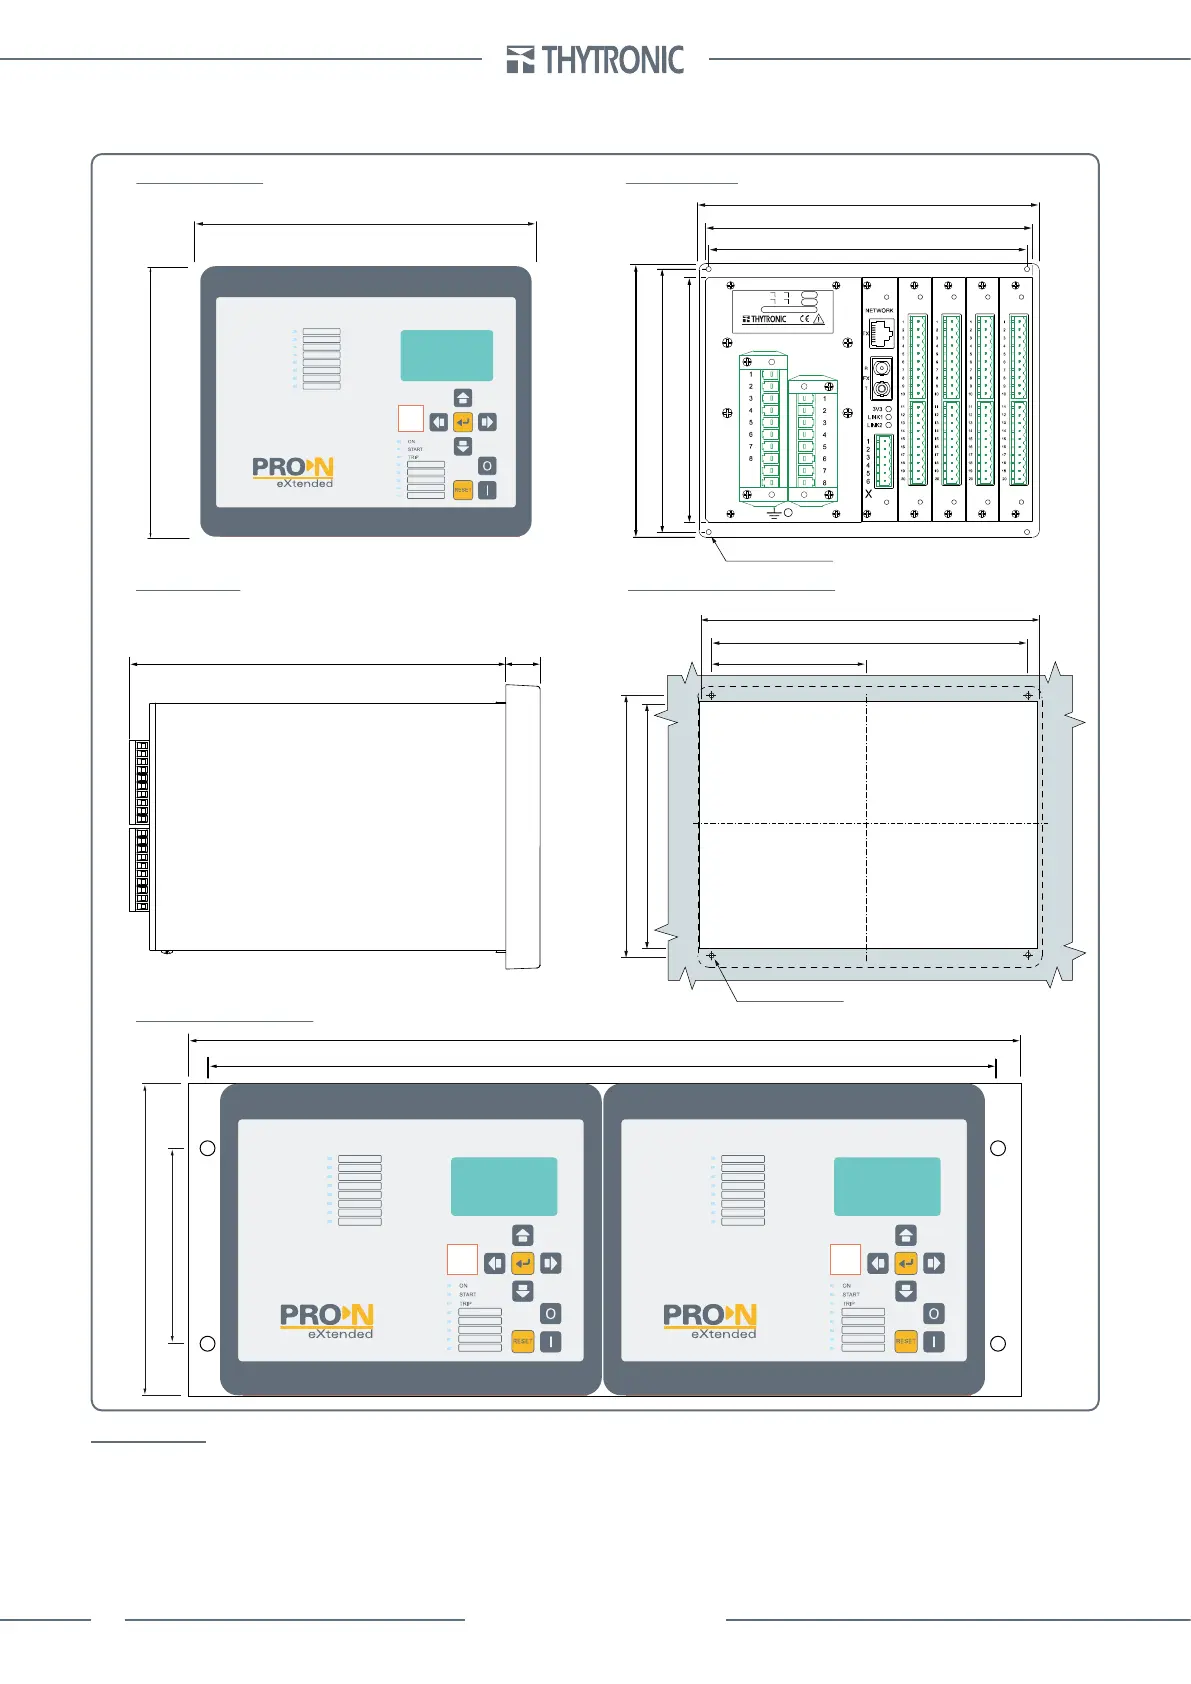
MOUNTING
— Flush mounting
The fixed case, fitted with special fastening brackets, is mounted on the front of electric control board,
previously drilled as indicated in the drawing. In case of side-by-side mounting of several relays the
minimum drilling distance is determined by the front dimensions indicated in the overall dimensions
drawing, increased by 3 mm, to ensure an adequate tolerance and gasket space between adjacent
relays. The depth dimension, as indicated in the drawing, must be increased by as much as needed to
allow room for the wiring.
DRILLING TEMPLATE
SIDE VIEW
RACK MOUNTING
FRONT VIEW REAR VIEW
177
252
225
20
210 ±0.3
164.4
158.0
±0.3
189
94.5
N.4 holes ø 4.2
N.4 holes ø 4.2
156
164.4
177
207
189
215
10
9
A
B
IN2D IN1C OC1E OC2F
NVA100X#JA2MM00
I
n
5A
U
AUX
110-230 Vac/dc
100V
100V
I
En
U
En
U
n
1A 1A
5A 1A
5A
177 (4U)
101.6
482.6
465
 Loading...