Figure 4
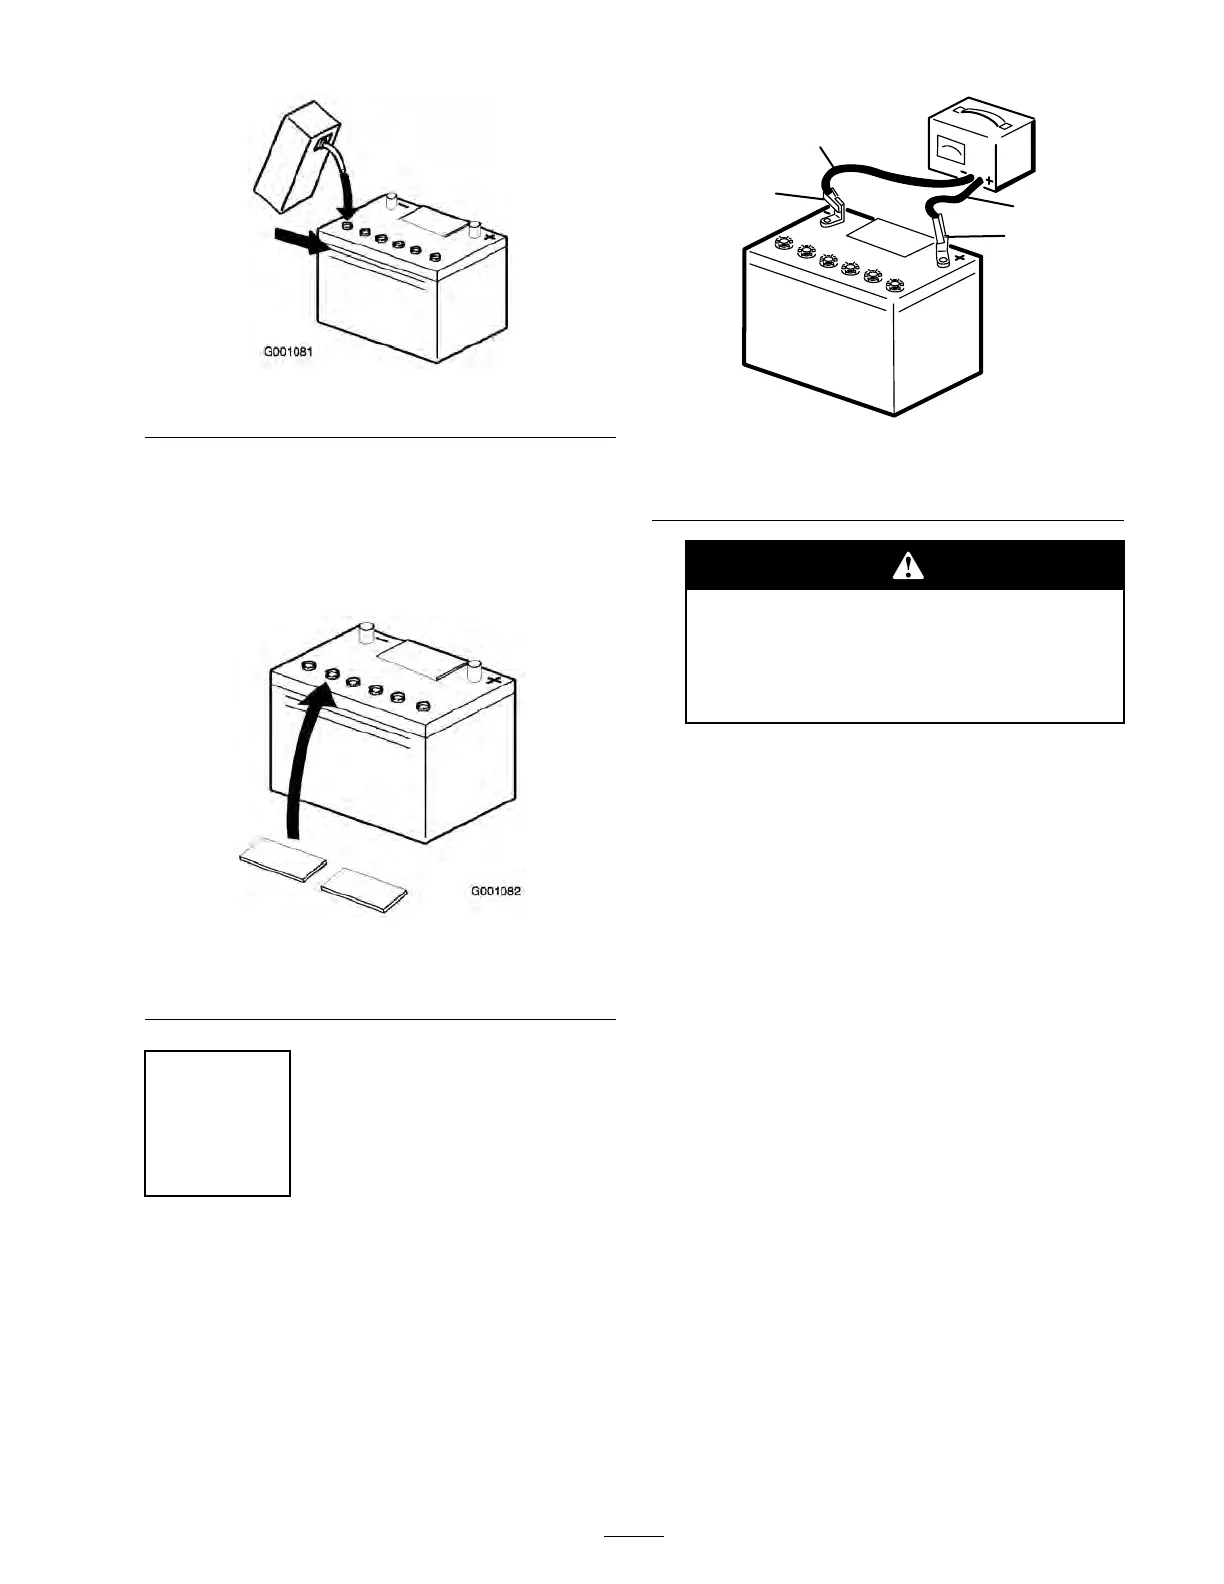
5. W ait fiv e to ten min utes after filling the batter y
cells . Add electrolyte , if necessar y , until the
electrolyte lev el is up to the upper line on the
batter y case .
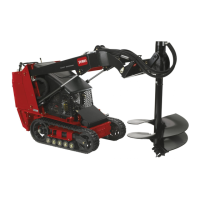
6. Install the batter y v ent caps ( Figure 5 ).
Figure 5
1. Fill caps 3. Lower line
2. Upper line
Step
2
Charging the Battery
No Parts Required
Procedure
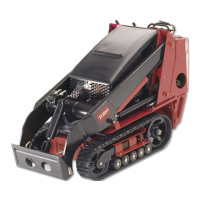
1. Connect a c harg er to the batter y ( Figure 6 ) and
c harg e it for a minim um of 1 hour at 6 to 10
amps . Do not o v erc harg e the batter y .
Figure 6
1. Positive post
3. Charger red (+) wire
2. Negative post
4. Charger black (—) wire
Charging the batter y pr oduces gasses
that can explode.
Nev er smok e near the batter y and k eep
spar ks and flames a w ay fr om batter y .
2. W hen the batter y is fully c harg ed, unplug
the c harg er from the electrical outlet, then
disconnect the c harg er leads from the batter y
posts ( Figure 6 ).
3. Install the batter y into the mac hine ( Figure 7 ).
4. Install the batter y access co v er ( Figure 7 ).
13

 Loading...