5
Select the Sensor Installation Site
Choosing the right location for the sensor is very important for the overall
eectiveness of the Precision Soil Sensor system.
The illustration below represents a typical residential landscape. The
blue sections indicate the areas that will receive the most direct sunlight
throughout the day may be considered for sensor placement.
From among the prospective lawn areas, select an installation site with the
following characteristics
• Is representative of the overall soil type and condition
• Is the highest elevation
• Is not over a septic tank or drain eld
• Is well within receiver communication range (500’ line-of-sight)
• Is at least 4 feet away from a driveway, roof overhang or downspout
• Is not in a footpath or recreational area
• Is not exposed to overspray from nearby watering zones
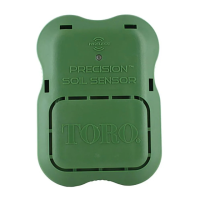
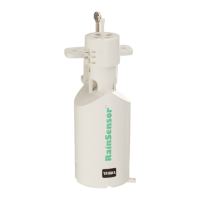
Install Sensor Batteries
• Remove four stainless Phillips screws
securing the sensor battery compart-
ment cover. Place cover aside.
Note: The sensor requires three size
AA alkaline batteries for operation.
Batteries are not included.
• Install the batteries as shown.
• Install the battery compartment cover.
Note: When the sensor batteries are initially installed, the LED signal indica-
tor is Red. When the receiver links with the sensor, the LED changes to Green.
The LED will remain on for 30 minutes to facilitate sensor installation.
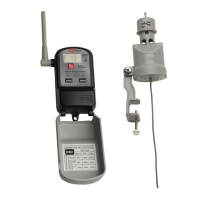
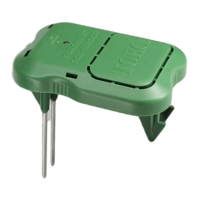
Install Sensor
1. Move the sensor to the proposed installation site. Signal strength is
indicated by the LED color as follows:
Green = Excellent
Yellow = Acceptable
Red = Not Acceptable - Relocate Sensor
2. Thoroughly irrigate the sensor location and
surrounding landscape area. This step is
crucial to establish the “100%” moisture level
for sensor calibration.
3. Trim the grass close to ground level where
the sensor will be placed.
Caution: For close-cut turf varieties,
such as Hybrid Bermuda, the top of the
sensor must be installed at grade level to
prevent damage by mowing equipment.
4. Applying even, downward pressure on top
of the sensor, insert the sensor probes and
retention spikes completely into the soil.
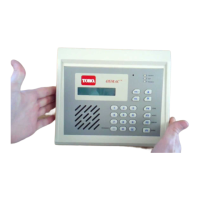
5. At the receiver, press the Bypass
to begin sensor calibration and place
the Precision Soil Sensor in the Normal
Operating mode (page 6).
 Loading...