23
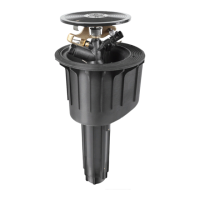
8.4 Fitting the valve insert
• Fitting the valve using valve lifter RT25359.
• Prior to tting, check valve for any damage to the membrane.
• Check for any dirt and clear away.
• Screw the valve insert with the stainless steel onto the valve lifter. e chambered surface of the stain-
less steel must point to the valve insert. e valve insert must be greased slightly at the sealing beads
and before it is pushed back into the housing.
• In order to make tting easier, the membrane can be lubricated with oil or grease.
• Insert the valve down into the guide housing by applying some gentle taps.
• Using pliers RT17844, now t the retaining ring into the groove provided for it above the thrust
washer.
WARNING!
The sprinkler insert is tted in reverse order.
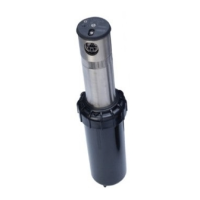
8.5 Cleaning the piston drive and piston drive chamber
If due to becoming very dirty the drive is no longer working, the piston drive should be taken out and
cleaned.
Removing the piston drive: (See repair guide TDP055-rep.)
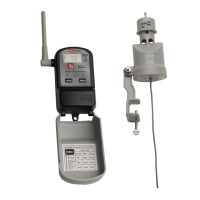
8.6 Removal / installation of the control unit
Ensure sprinkler is not under pressure.
Taking out the control unit
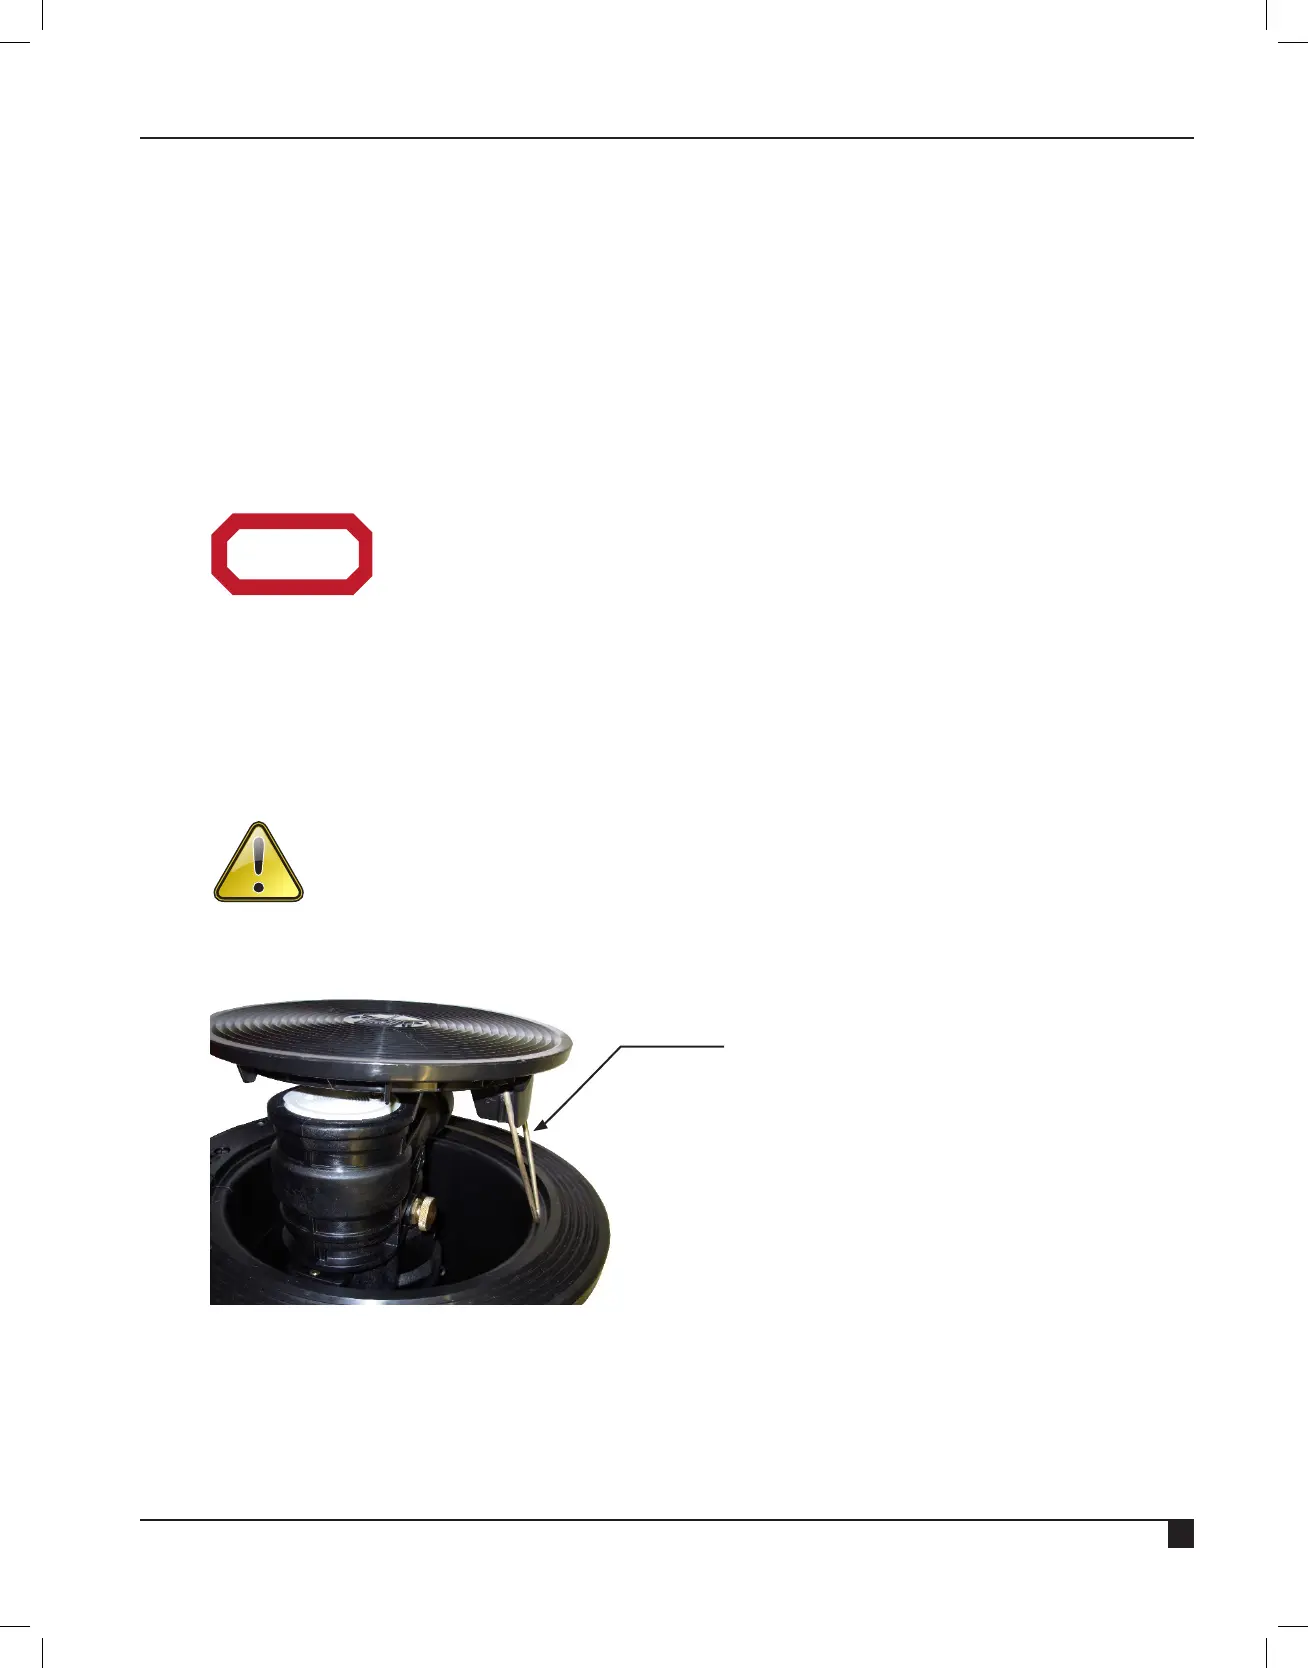
• Lift cover and x with safety catch.
• Undo all 3 locking screws and take o cable compartment cover.
• Unclip control unit from protective casing and lift up.
• Twist out coil.
Safety catch
 Loading...