EasyManua.ls Logo

Toro TWRS-I User Manual

Toro TWRS-I
28 pages
To Next Page IconTo Next Page
To Previous Page IconTo Previous Page
Page #13 background imageLoading...
Page #13 background image
11
English
Installing the Sensor Module
1. Adjust the sensor module to the preferred rainfall threshold activation point.
The settings, provided in metric on one side of the cap and U.S. standard on
the other, include 3mm, 6mm, 12mm and 19mm. The factory setting is 6mm
and is generally a good starting point. The 3mm setting is not
recommended
for high humidity or foggy locations. To adjust, turn the cap to align the
stationary pin with the vertical slot. Guide the cap to the preferred slot
position, then turn it just enough to engage the pin.
2. To install the sensor module on a rain
gutter, position the Quick Clip bracket
on the outer edge of the gutter and
secure by tightening the thumb screw
(Figure 12). Use the provided stainless
steel screws when installing the sensor
on a solid structure, such as a fence or
the side of a roof. See Figure 13.
Note: For optimum signal strength,
the antenna wire should hang straight
down. Ensure the antenna is not in
contact with any metal objects .
Figure 11
Figure 12
Figure 13
Thumb
Screw
373-0372a_E/S/F 6/7/05 1:59 PM Page 11
Question and Answer IconNeed help?

Do you have a question about the Toro TWRS-I and is the answer not in the manual?

Toro TWRS-I Specifications

General IconGeneral
BrandToro
ModelTWRS-I
CategoryAccessories
LanguageEnglish

Summary

Introduction

Getting Started

Receiver Module Features

Setup Button

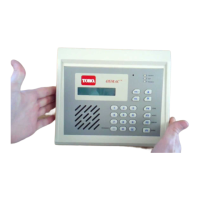
Accesses receiver setup and operating features.

Adjust Button

Selects settings within receiver setup and operating features.

Mast Antenna

Adjusts for optimal signal reception.

Digital Display

High-resolution LCD screen for system operation reference.

Sensor Status Indicators

Indicators for rain/freeze status and watering hold.

Smart Bypass™ Button

Bypasses the rain sensor operation for manual control.

Installing the Receiver Module

Install Mounting Screw

Install one screw into the wall at the intended receiver location.

Hang Receiver Unit

Hang receiver on screw, ensuring keyhole slot engages.

Connecting the Receiver Wires

Wiring Procedure I (Sensor-Ready)

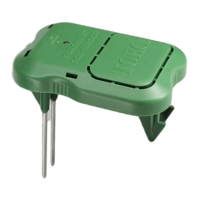
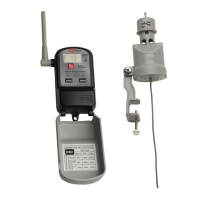
Connects sensor to controller with dedicated sensor input terminals.

Wiring Procedure II (No Sensor Terminals)

Initial Sensor System Test

Sensor Module Features

Rain Threshold Adjustment

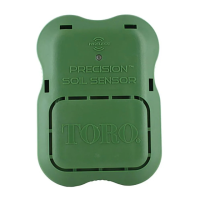
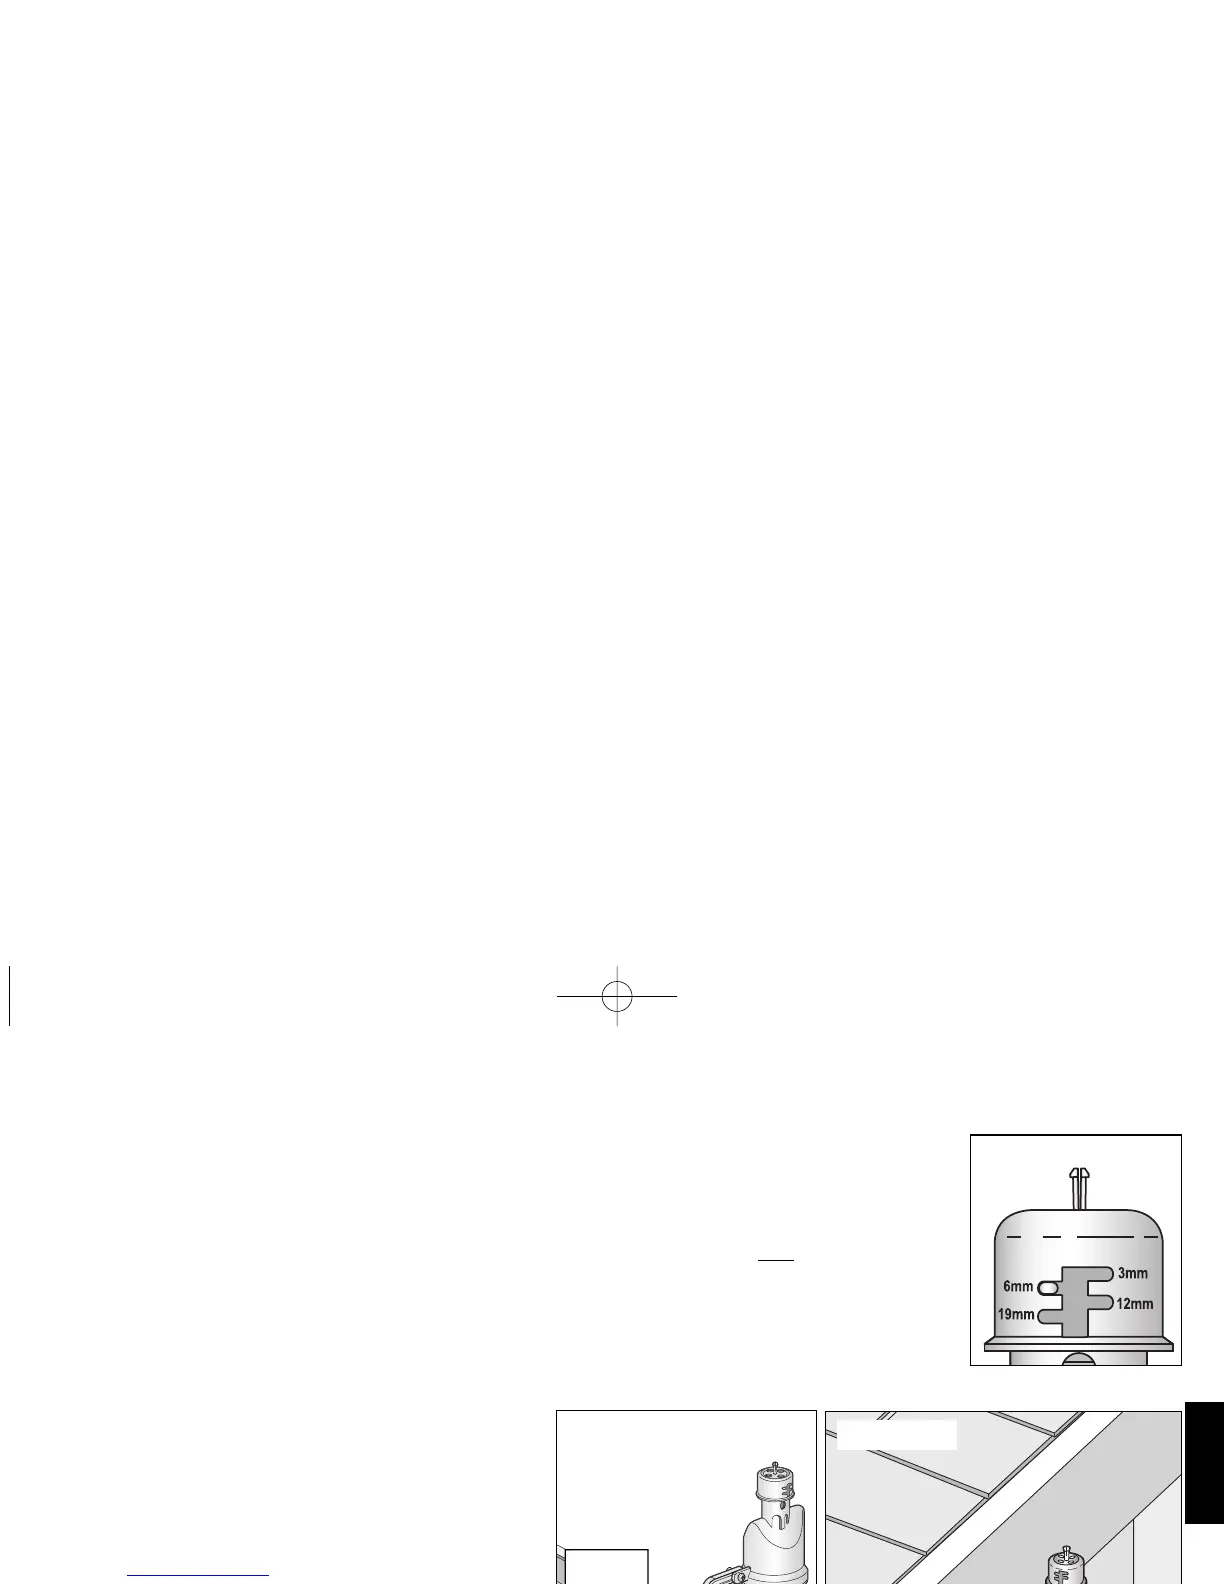
Sets rainfall accumulation level to trigger sensor.

Sensor Test Spindle

Manually activates the sensor for setup and testing.

Batteries

Two 3V lithium batteries provide approximately five years of service.

Antenna

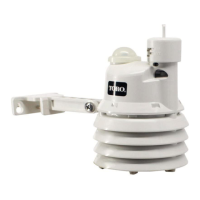
Positioned downward for maximum signal transmission.

Rain Sensor Site Selection

Installing the Sensor Module

Adjust Rainfall Threshold Setting

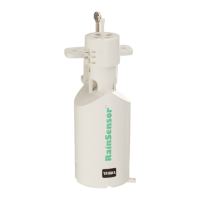
Adjusts sensor to preferred rainfall threshold activation point.

Install on Rain Gutter

Positions Quick Clip bracket on gutter edge and secures with thumb screw.

Sensor Module Pipe Mounting

Install on PVC Pipe

Replaces Quick Clip bracket with pipe-mount adapter for PVC pipe installation.

Check Vertical Alignment

Loosen screw, align vertically, and tighten for proper sensor orientation.

Freeze Sensor Site Selection

Set Temperature Activation Threshold

Select Temperature Scale

Displays current scale and allows selection of Celsius or Fahrenheit.

Adjust Temperature Threshold

Displays current threshold setting for adjustment.

Water Conservation Feature

Smart Bypass Feature

Water Delay Feature

Signal Strength Display

Battery Strength Display

Dry Out Feature

Loss of Communication

Prolonged Active Mode

Receiver Module Power Cycle

Sensor Address Code Management

Sensor Module Battery Replacement

Troubleshooting: Signal Strength

Weak or Inconsistent Signal

Addresses issues with weak or inconsistent signal strength.

Troubleshooting: System Response

Blank Receiver Display

Troubleshooting steps for a blank receiver display.

Sensor Not Activating Receiver

Solutions for the sensor not activating the receiver.

Controller Not Responding to Sensor

Checks wire connections for sensor response issues.

Specifications

Toro Limited Warranty

Electromagnetic Compatibility

Related product manuals