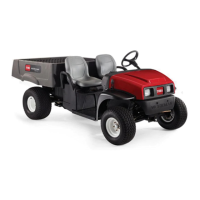
InstallingtheRear-FacingSeat
1.Installtheatbedontotheframeofthemachineusingthe2pivotbolts(1/2x4-1/2inches),2locknuts(1/2
inch),2ange-headscrews(3/8x2-1/2inches),and2nuts(3/8inch)previouslyremovedinsteps5and
7ofRemovingthePlasticCargoBed(page3).RefertoFigure6.
g243601
Figure6
1.Nut(3/8inch)3.Locknut(1/2inch)
2.Flange-headscrew(3/8x2-1/2inches)4.Pivotbolt(1/2x4-1/2inches)
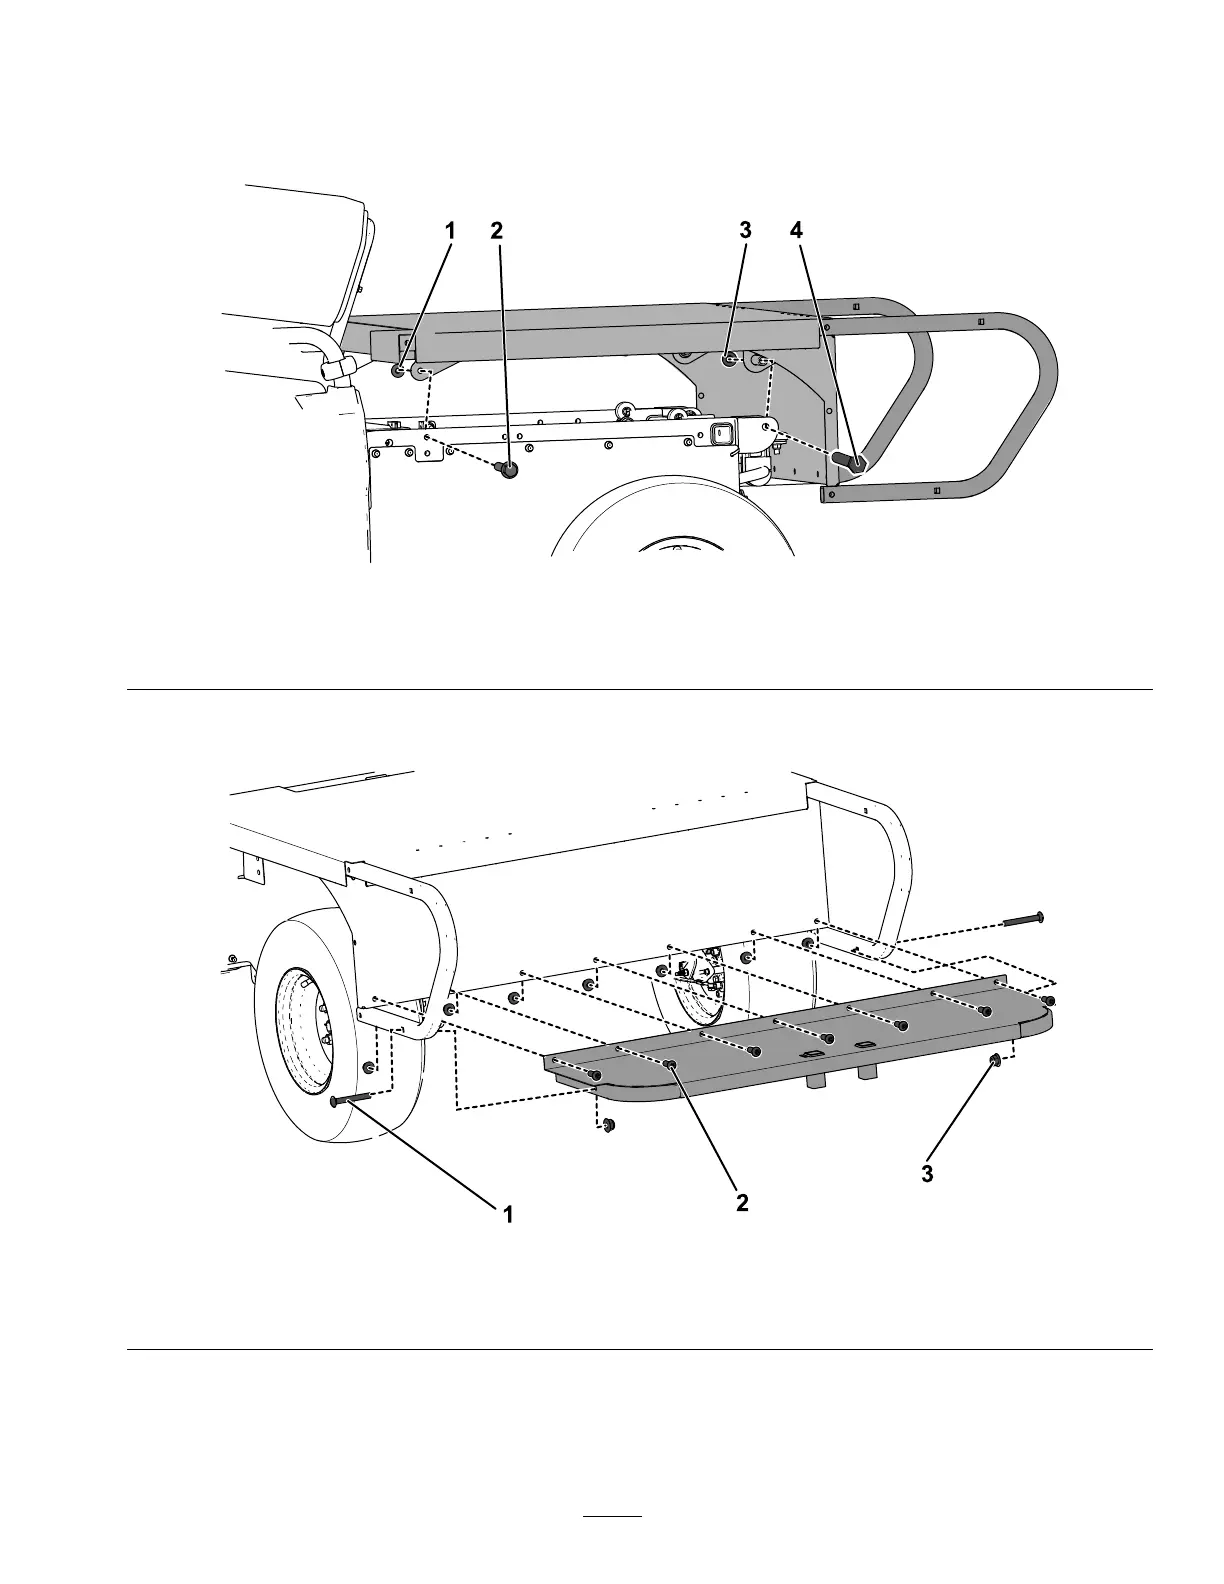
2.Attachthefootrestontotheatbedusing2carriagebolts(3/8x3inches),7button-headscrews(3/8x1
inch),and9hexnuts(3/8inch)asshowninFigure7.
g243647
Figure7
1.Carriagebolts(3/8x3inches)3.Hexnut(3/8inch)
2.Button-headscrew(3/8x1inch)
4

 Loading...