17EN 17EN
Disc
Management
Recording Playback
Introduction
Connections Basic Setup Editing Function Setup VCR Function Others
1. Format (DVD-RW, DVD+RW only):
Allows you to format the disc.
2. Finalize:
Allows you to finalize a disc containing recorded titles.
3. Disc Protect (VR mode DVD-RW, DVD+RW/+R only):
Allows you to protect a disc from accidental editing or
recording.
4. Delete All Playlists (VR mode DVD-RW only):
Allows you to delete playlist.
5. Random Play:
Allows you to activate the random playback feature.
6. Program Play: (Audio CD only)
Allows you to activate the program playback feature.
7. Music:
Allows you to make settings for MP3 / WMA playback.
8. Photo:
Allows you to make settings for JPEG playback.
9. Slide Show: (JPEG files only)
Allows you to select the display time of the slide show
mode.
DVD Menu
Format
Finalize
Disc Protect OFF ON
Delete All Playlists
1
2
3
4
1
2
3
4
<DVD Menu menu>
<DISC Playback Mode menu>
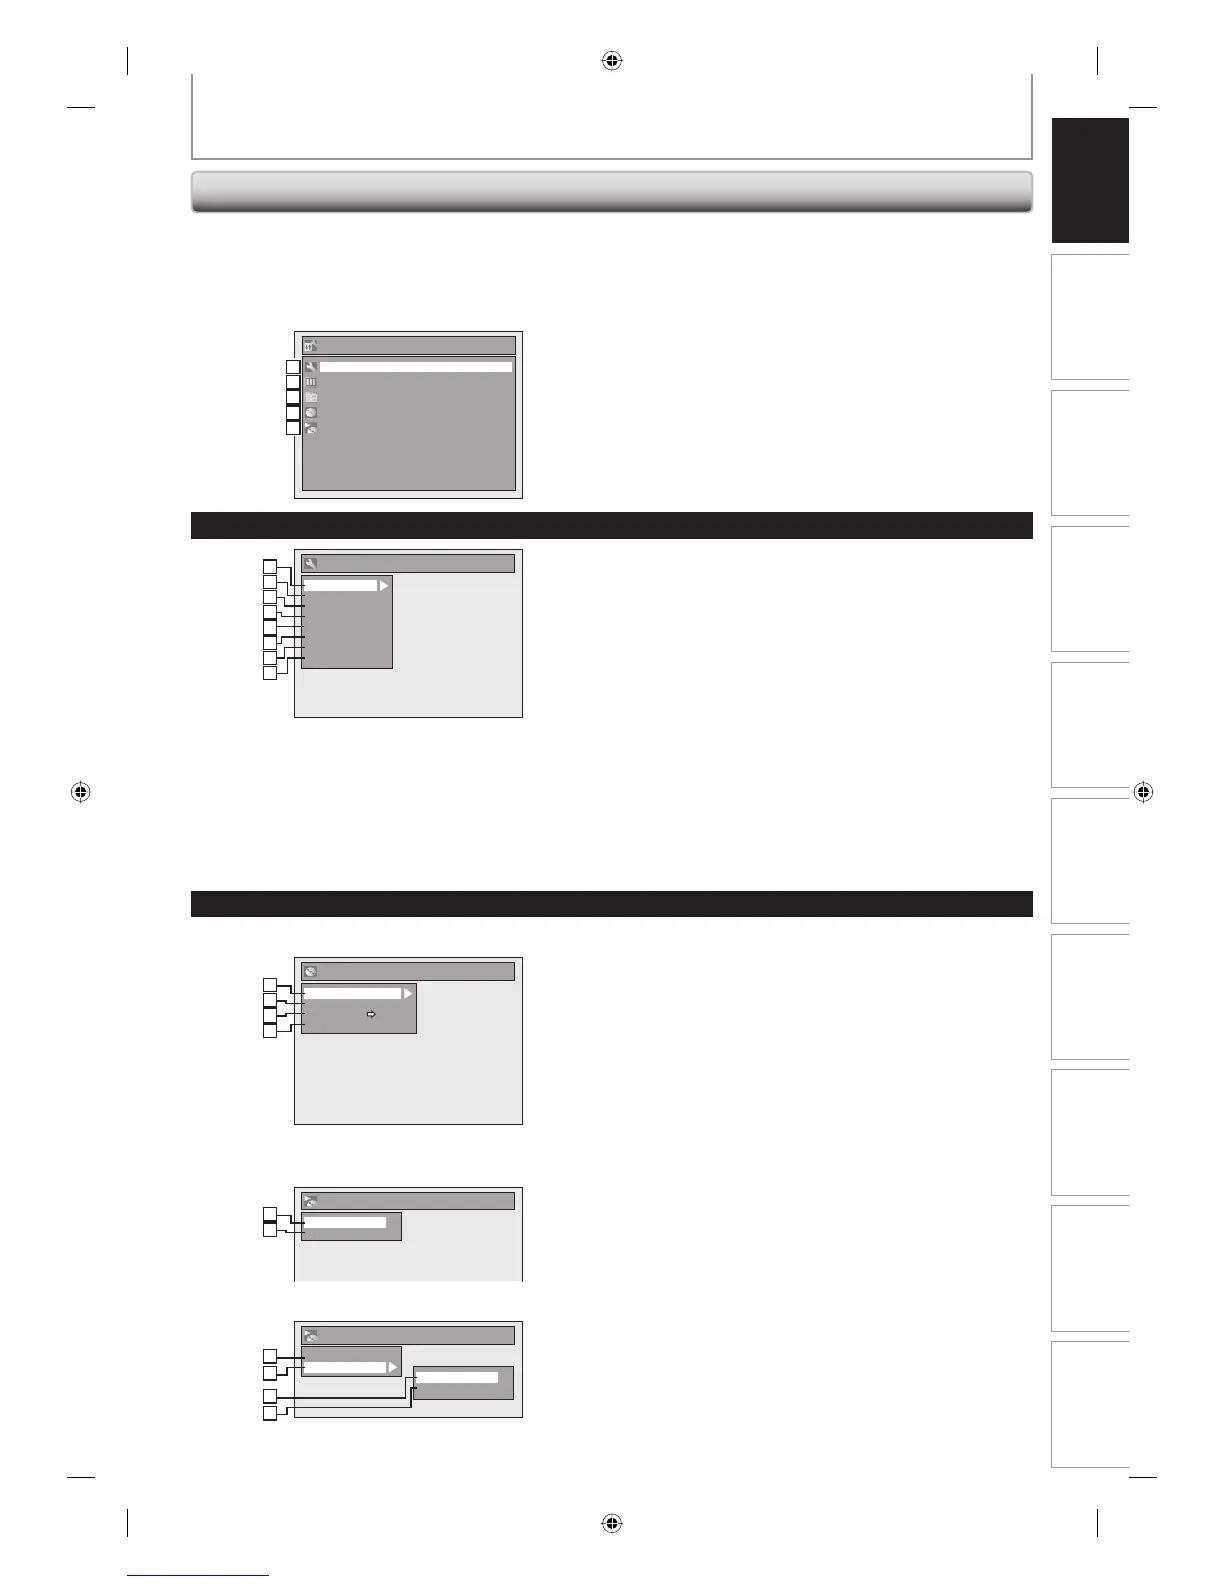
Press [SETUP] to display the main menu. Then use
[K / L] to select a menu and press [ENTER] to display the
menu. These menus provide entries to all main functions
of the unit.
1. General Setting:
To go to general setting menu.
2. Timer Programming:
To program a timer recording.
3. Title List:
To call up the title list.
4. DVD Menu:
To set up the DVD setting.
5. DISC Playback Mode:
To set up the disc playback setting.
• “DISC Playback Mode” is available only when an audio
CD, a CD-RW/-R with MP3 / WMA / JPEG / DivX® files is
inserted into the unit.
Setup
Timer Programming
Title List
DVD Menu
DISC Playback Mode
General Setting
1
2
3
4
5
1
2
3
4
5
DVD Menu / DISC Playback Mode
General Setting Menu
General Setting
Playback
Display
Video
Recording
Clock
DivX
HDMI
Reset All
1
2
3
4
5
2
3
4
1
2
3
4
5
6
7
8
1. Playback:
To set up the unit to play back discs as you prefer.
2. Display:
To set up the OSD screen as you prefer.
3. Video:
To set up the video setting.
4. Recording:
To set up the unit to record to discs as you prefer.
5. Clock:
To set up the clock of the unit as you need.
6. DivX:
To set up the setting for the DivX® playback.
7. HDMI:
To set up the HDMI connection setting.
8. Reset All:
To reset the setting to the factory default.
GUIDE TO ON-SCREEN DISPLAYS AND MENUS
Main Menu
DISC Playback Mode
Music
Photo
Random Play
Slide Show
37
38
35
39
When a JPEG / MP3 / WMA disc is inserted:
DISC Playback Mode
Random Play
Program Play
1
2
5
6
When an Audio CD is inserted:
E9PKBUD_DKVR60KU_EN.indd 17E9PKBUD_DKVR60KU_EN.indd 17 8/11/2009 3:59:59 PM8/11/2009 3:59:59 PM
 Loading...