25
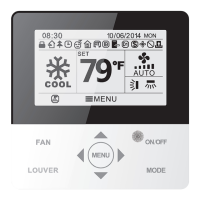
Mini / Multi-Split Programmable Controller
4.2 Installation Requirements
1. Do not install the wired controller in a damp place or in direct sunlight such as directly
opposite a window.
2. Do not install the wired controller close to a high-temperature object or in a place
where the wired controller is likely to be exposed to water spray.
3. Do not install near electrical lines within the walls.
4. To avoid abnormal operation caused by electromagnetic interference or other causes,
please note the following during wiring.
a. Be sure the communication line is wired into the correct port, otherwise it
would result in a communication fault.
b. The communication wiring should be kept at least 12 inches from any high
voltage wiring.
c. The factory-provided wiring, or equivalent, must be used to ensure good
communication.
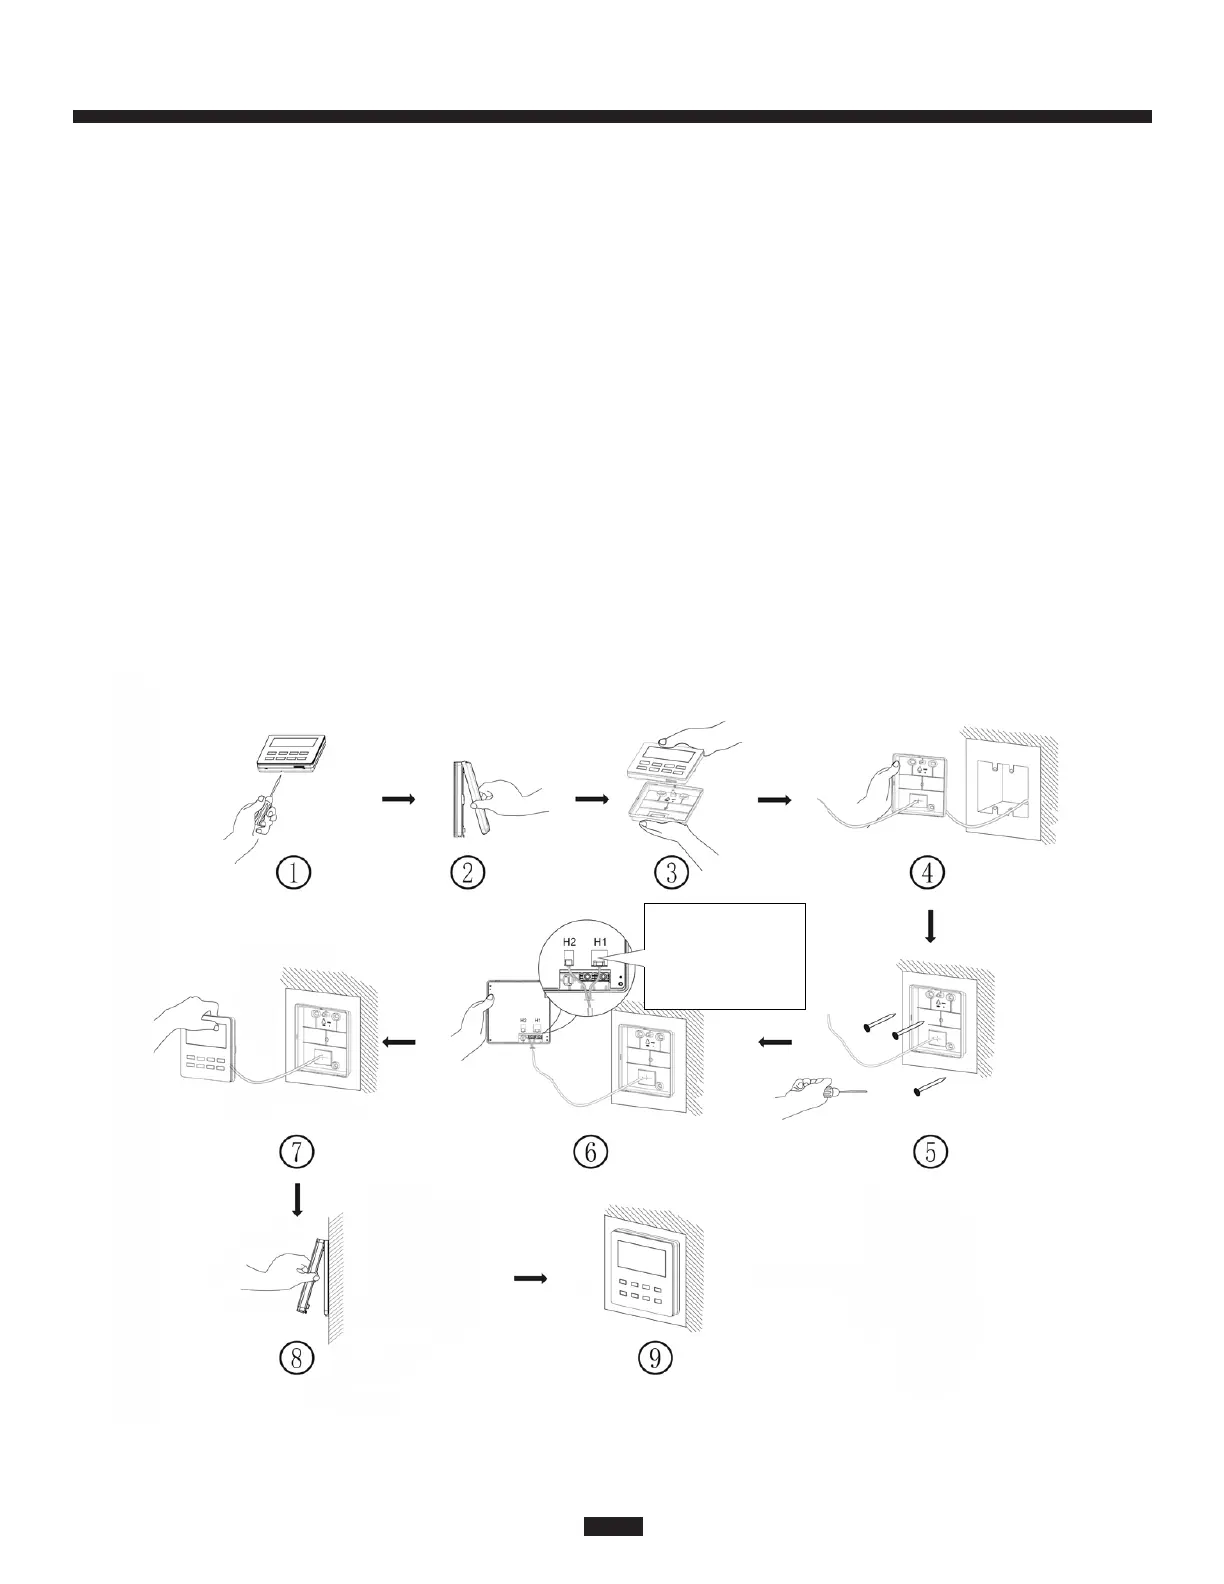
4.3 Installation Instructions
Fig. 23 Installation diagram for wired controller
Connect to the larger H1
terminal (marked CN2
on the PCB)
H2= CN3
H1= CN2
 Loading...