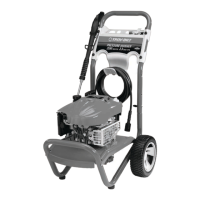
13
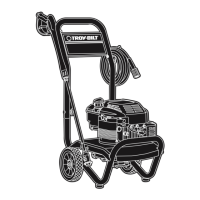
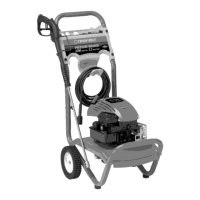
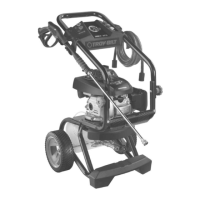
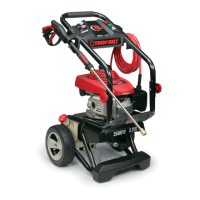
Section 4: Operation
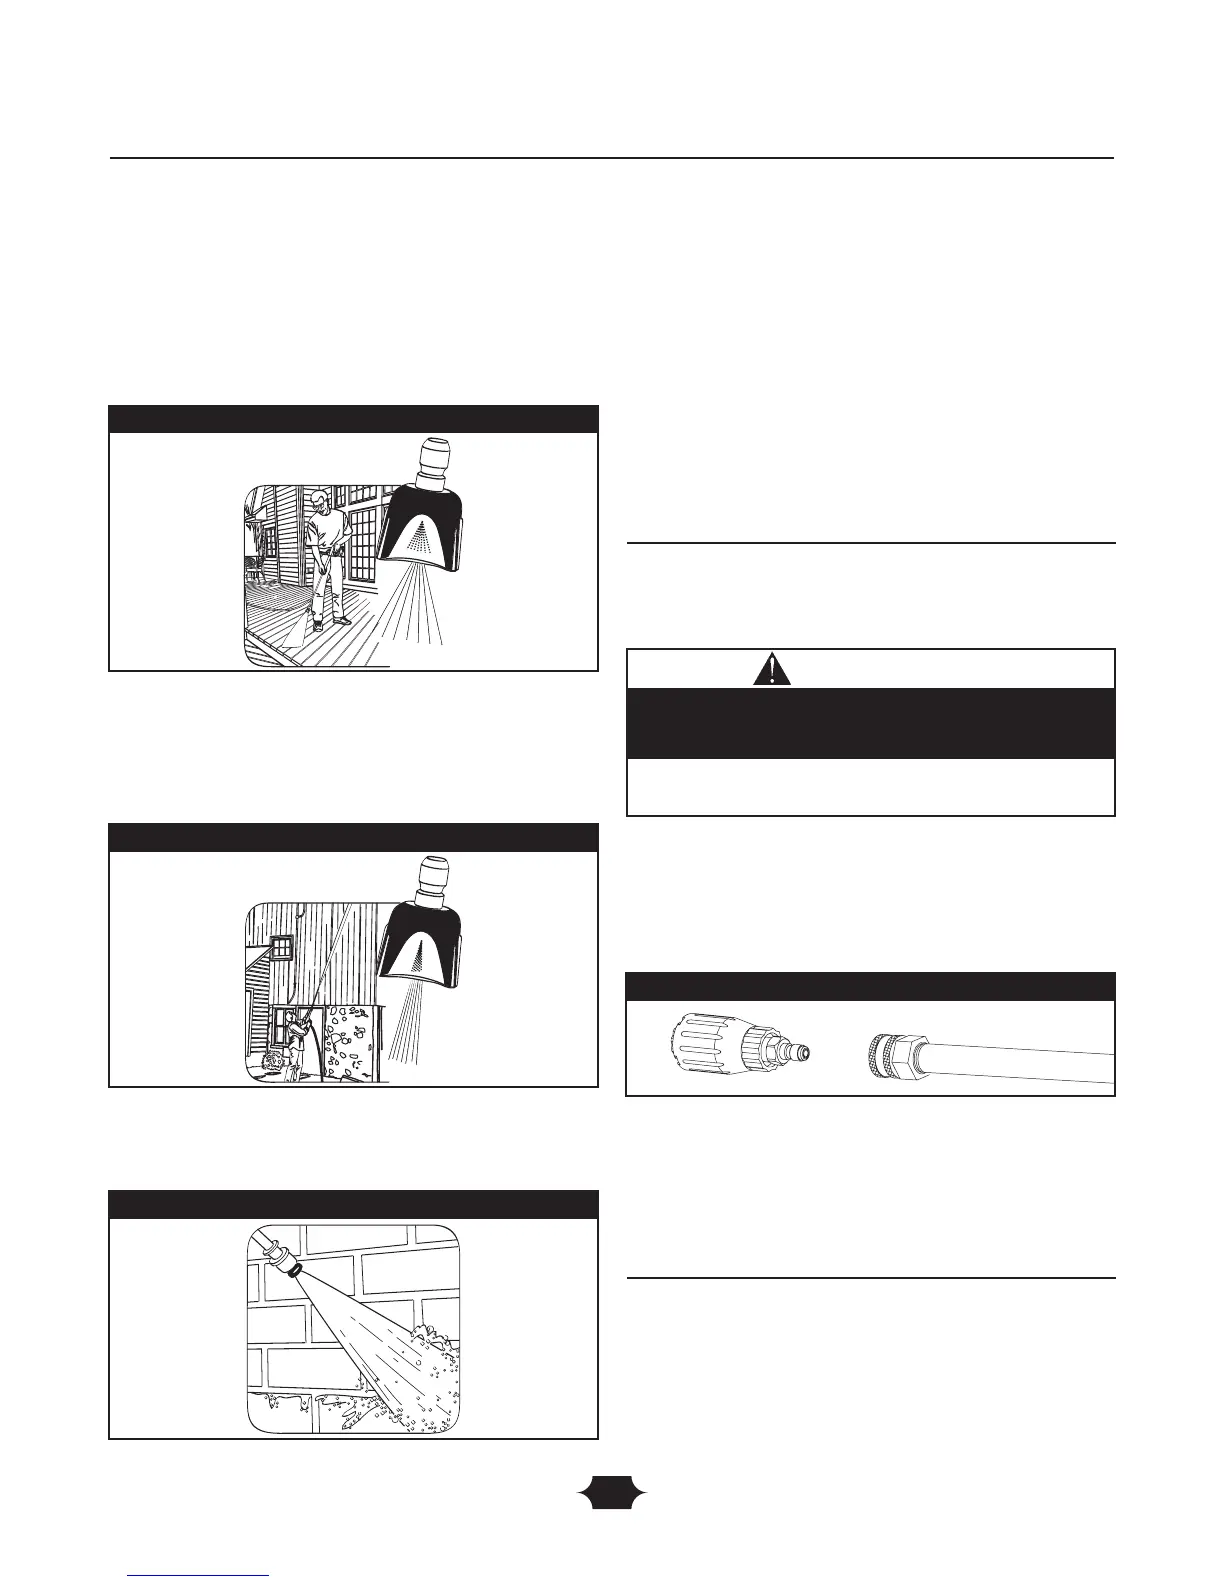
• For general rinsing (medium pressure and medium
flow), ideal for most all purpose cleaning such as
home siding, brick patios, wood decks, driveways
and sidewalks, garage floors, etc., select orange
General ProjectPro™ nozzle (Figure 16).
• For maximum rinsing (higher pressure and lower
flow), for stubborn or hard to reach surface such
as second story surfaces, paint removal, oil stains,
rust removal or other stubborn substances (tar,
gum, grease, wax, etc.), select red Max
ProjectPro™ nozzle (Figure 17).
• To apply detergent, applies project specific cleaners
to help break down stubborn dirt and grime on a
variety of surfaces, select black ProjectPro™
cleaning detergent nozzle (Figure 18).
4. Pull back on collar, insert selected ProjectPro™ nozzle
and release collar.Tug on ProjectPro™ nozzle to make
sure it is securely in place.
5. For most effective cleaning, keep ProjectPro™ nozzle
from 8 to 24 inches away from cleaning surface. If you
get the nozzle too close, you may damage the cleaning
surface.
6. DO NOT get closer than 6 inches when cleaning tires.
How to Use the Turbo Nozzle
The turbo nozzle rotates the high pressure stream in a
rapid circular pattern.Always start the turbo nozzle at a
distance, gradually getting closer to the surface until you
get the cleaning force you want.
1. Pull back collar on quick–connect and pull current
ProjectPro™ nozzle off. Store ProjectPro™ nozzles in
holder provided on the accessory tray.
2. Pull back on collar, insert turbo nozzle and release
collar (Figure 19).Tug on turbo nozzle to make sure it
is securely in place.
3. For most effective cleaning, keep turbo nozzle from 8 to
24 inches away from cleaning surface. If you get turbo
nozzle too close, you may damage cleaning surface.
NOTE: Detergent cannot be applied with turbo nozzle.
How to Use the Rotating and Utility
Brushes
The rotating and utility brushes allow you to scrub surfaces
with water filtering through the bristles.
To attach a brush to the gun:
1. Remove nozzle extension from spray gun, if attached.
2. Attach brush to spray gun.Tighten by hand (Figure 20).
Figure 17 — Max Nozzle
Figure 18 — Cleaning Detergent Nozzle
• Always make sure the surface you will clean will not be
damaged by the high pressure spray by testing in a hidden area.
The turbo nozzle produces an extremely high pressure
spray which is capable of removing paint and cutting
holes through surfaces if held too close.
CAUTION
Figure 19 - Attaching Turbo Nozzle to Nozzle Extension
Figure 16 — General Nozzle