EasyManua.ls Logo

Troy-Bilt 20240 User Manual

Troy-Bilt 20240
40 pages
To Next Page IconTo Next Page
To Previous Page IconTo Previous Page
Page #27 background imageLoading...
Page #27 background image
27
MONTAJE
IMPORTANTE: Lea totalmente el Manual del Operario antes
que intente ensamblar u operar su lavador a alta presión.
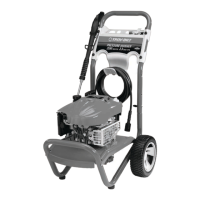
Remueva el Lavador a Presión del
Empaque
1. Remueva la bolsa con las piezas, accesorios y las adiciones
incluidas con el lavador de presión.
2. Corte dos esquinas en los extremos del cartón desde la
parte superior hasta la parte inferior, de tal manera que el
pánel pueda ser doblado en forma plana.
3. Remueva el lavador a presión del la caja.
Contenido de la Caja
Los Artículos que se Encuentran en la Caja Son:
Unidad principal
Manubrio
Manguera de alta presión
Pistola rociadora
Extensión de la boquilla con las piezas de conexión rápida
Gafas de seguridad
Botella de aceite para motor
Boquilla a chorro de conexión rápida
Cepillo giratorio
Cepillo utilidad
Bandeja accesoria
Bolsa de accesorios (incluye lo siguiente):
Manual del operario
Manual del operario del motor
Tarjeta de registro del propietario
Bolsa con 4 boquillas de conexiones rápidas
multicolores
Piezas para la manubrio (incluye lo siguiente):
Perno del soporte (2)
"L" Perno
Perilla plástica (3)
Pinzas de árbol (4)
PREPARANDO EL LAVADORA
ALTA PRESIÓN PARA SU USO
Si usted tiene un problema al ensamblar la unidad o si hacen falta
algunas piezas o se encuentran dañadas, llame a la línea directa del
lavador a alta presión, al 1-888-611-6708. Si llamar para la ayuda,
tiene por favor el modelo, la revisión, y el número de serie de la
etiqueta de datos disponible.
A prepara su arandela de la presión para la operación,
usted necesitará a realiza estas tareas:
1. Llene y mande en tarjeta de matrícula.
2. Conecte manubrio a unidad principal, entonces conecte
bandeja accesoria a manubrio.
3. Añada aceite al motor.
4. Añada gasolina al tanque de combustible.
5. Conecte manguera a alta presión a pistola rociadora y a
bomba.
6. Conecte el suministro de agua a bomba.
7. Conecte boquilla la extensión al pistola rociadora.
8. Seleccione una boquilla ProjectPro™ con conector rápido y
conéctela al prolongador de la boquilla.
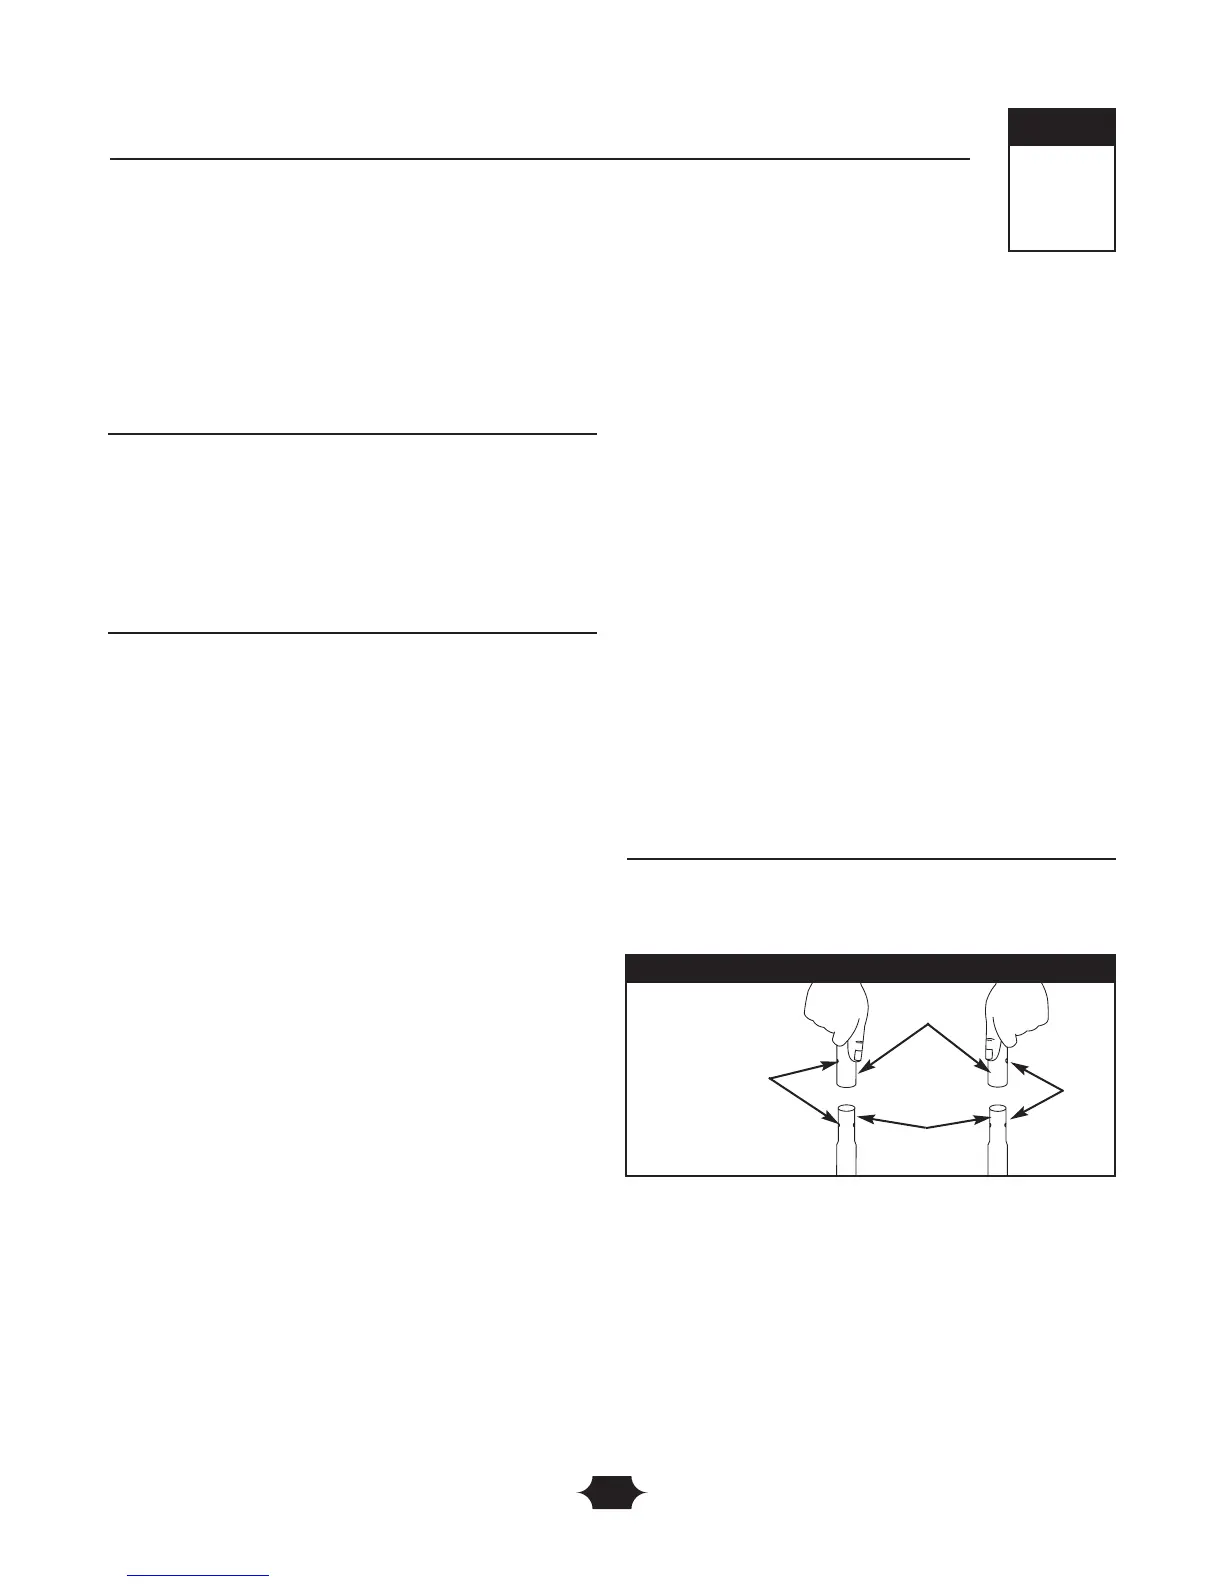
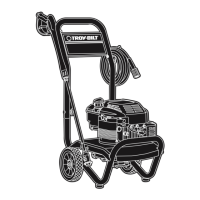
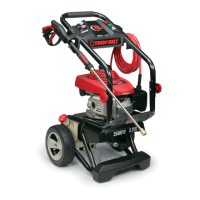
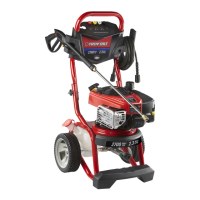
Conecte el Manubrio y Bandeja Accesoria
1. Coloque el manubrio sobre los soportes del mismo que ya
están adheridos a la unidad principal.Asegúrese de que los
orificios en el manubrio estén alineados con los orificios en
los soportes del mismo manubrio (Figura 26).
NOTA: Tal vez será necesario mover los soportes del manubrio
de un lado a otro para alinear el manubrio de tal manera que
pueda deslizarse sobre los soportes del mismo manubrio.
Alinear
Orificios
Manubrio
Soportes del
Manubrio
Figura 26 - Fijar el Manubrio a la Base
Montaje
3
Sección

Other manuals for Troy-Bilt 20240

Questions and Answers:

Troy-Bilt 20240 Specifications

General IconGeneral
BrandTroy-Bilt
Model20240
TypeGas Pressure Washer
EngineBriggs & Stratton
Pump TypeAxial Cam
Hose Length25 ft
Nozzle Types5 Quick-Connect Nozzles
Wheel Type10-in

Summary

Section 1: Safety Rules

Safety Alert Symbol and Meanings

Explains the safety alert symbol and its usage, including hazard symbols.

Equipment Description

Overview of the pressure washer's features and specifications.

General Safety Warnings

Additional Safety Warnings

Operational Precautions

Section 2: Features and Controls

Know Your Pressure Washer

Guide to identifying and understanding the pressure washer's components and controls.

Section 3: Assembly

Assembly Steps

Instructions for assembling the pressure washer from the carton.

Preparing for Operation

Steps to prepare the pressure washer for operation after assembly.

Attaching Handle and Tray

Detailed steps for attaching the handle and accessory tray to the main unit.

Add Engine Oil and Fuel

Connecting Hoses and Water Supply

Checklist Before Starting

Section 4: Operation

How to Use Your Pressure Washer

General guidance on operating the pressure washer safely and effectively.

Pressure Washer Location

Recommendations for positioning the pressure washer for safe operation.

Starting the Pressure Washer

Step-by-step instructions for starting the pressure washer for the first time or after idle periods.

Stopping the Pressure Washer

Using the Accessory Tray

ProjectPro™ Nozzle System

Using the Turbo Nozzle

Using Brushes

Cleaning and Applying Detergent

Pressure Washer Rinsing

Detergent Siphoning Tube

Automatic Cool Down System

Section 5: Maintenance

Specifications

Key technical specifications of the pressure washer.

General Maintenance Recommendations

General advice and frequency for maintaining the pressure washer.

Before Each Use Checks

Daily checks to perform before operating the pressure washer.

Routine Maintenance Checks

Routine inspection of key components like screens, hoses, gun, and filters.

Nozzle Maintenance

O-Ring Maintenance

Pump Maintenance

Engine Maintenance

Data Tag Information

Section 6: Storage

Preparing for Storage

Procedure for preparing the unit for long-term storage to prevent damage.

Protecting the Pump

Specific advice on using PumpSaver or RV antifreeze to protect the pump.

Storing the Engine

Instructions for storing the engine, referencing the engine operator's manual.

Section 7: Troubleshooting

Troubleshooting Guide

Identifies common problems and their solutions for the pressure washer.

Pump Performance Issues

Addresses common problems with pressure, chatter, and low volume from the pump.

Detergent Mixing Problems

Solves issues where detergent is not mixing correctly with the spray.

Engine Load Issues

Addresses engine bogging down when load is applied.

Limited Warranty

Related product manuals