Operation
5
11
Starting Engine
WARNING: Keep bystanders, helpers, pets, and
children at least 75 feet from the machine before
starting and while operating. Do not operate this
machine unless the discharge chute and bag have
been properly installed and secured to the machine.
Attach spark plug wire to spark plug. Make certain the 1.
metal cap on the end of the spark plug is fastened securely
over the metal tip on the spark plug.
Make certain drive control is in the disengaged (released) 2.
position.
Engines with choke lever: 3.
Move choke lever on engine to CHOKE position. (A warm
engine may not require choking).
Engines with primer:
Prime engine as instructed in separate engine manual.
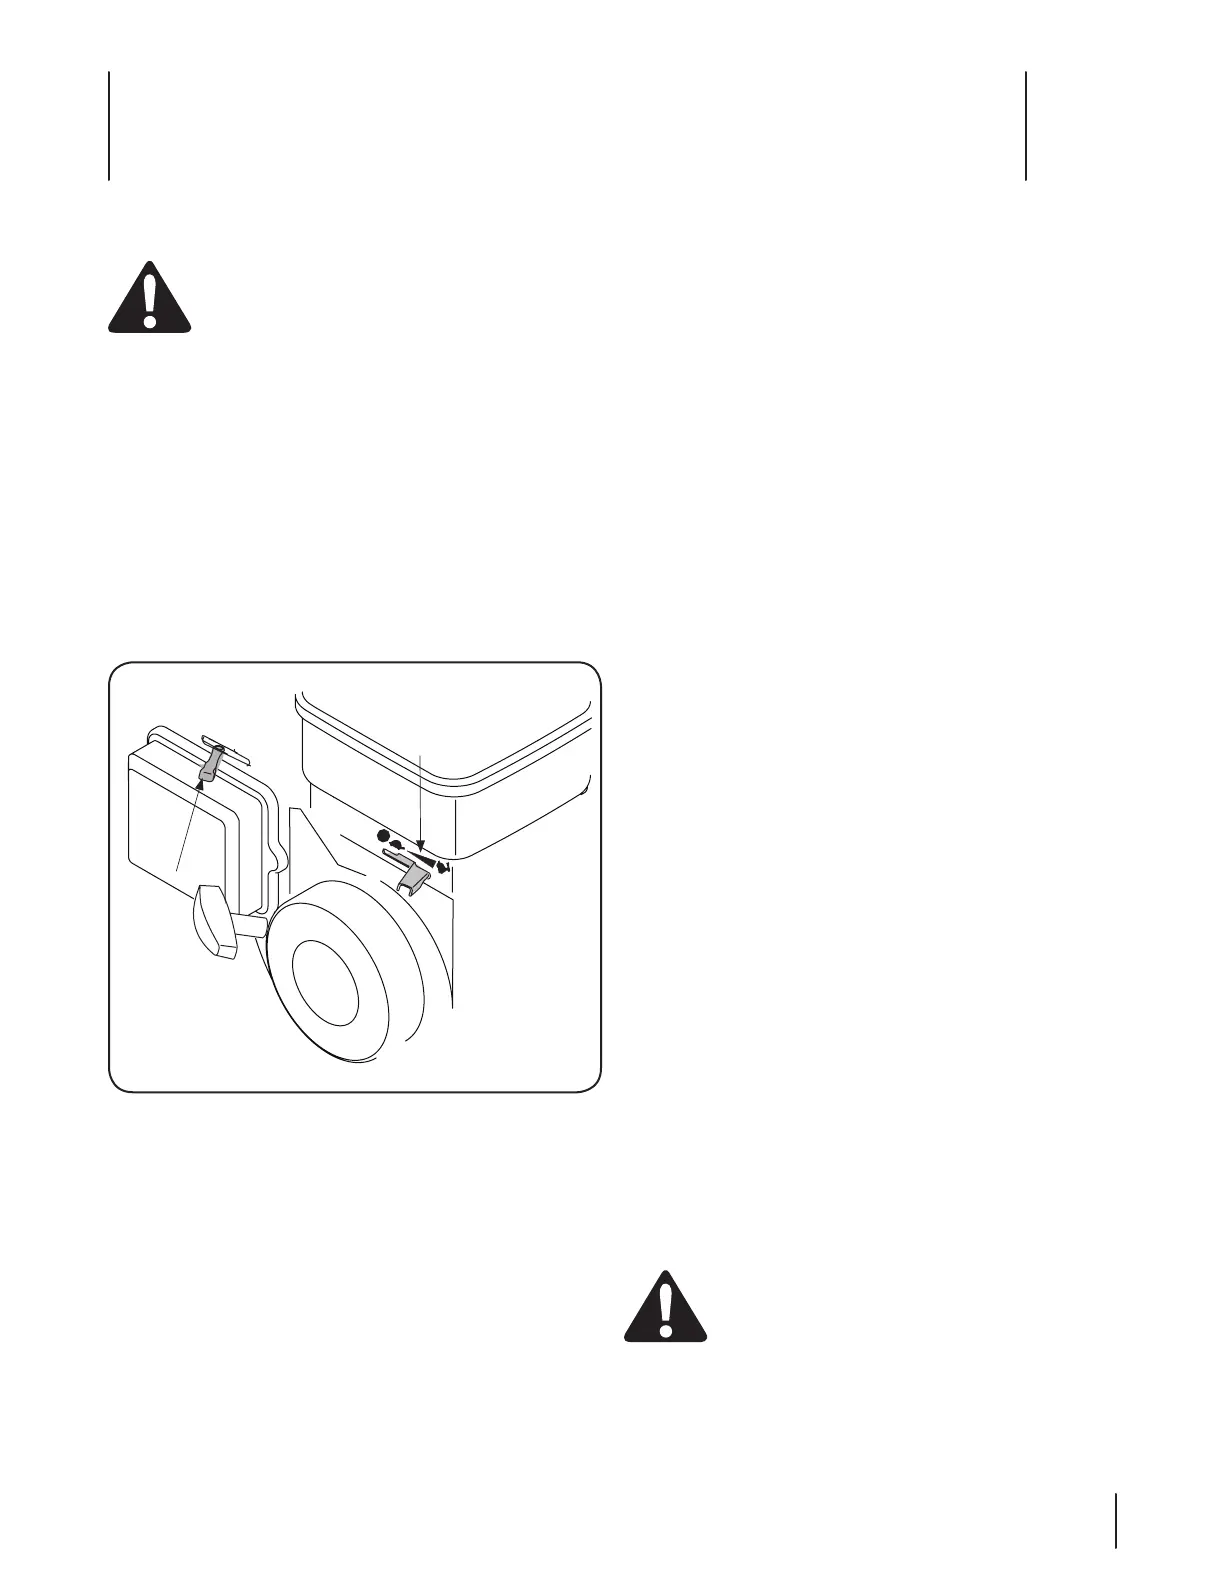
Move engine throttle control lever to FAST or START 4.
position. See Fig. 5-1.
Place one foot on the left rear wheel to prevent the unit 5.
from skidding while starting.
Grasp starter handle and pull rope out slowly until engine 6.
reaches start of compression cycle (rope will pull slightly
harder at this point).
NOTE: A noise will be heard at the start of the compression
cycle, which will continue to be heard till the impeller
reaches full speed.
Keeping a firm grip on the starter handle, pull rope with 7.
a rapid, continuous, full arm stroke. Let the rope rewind
slowly.
Repeat the previous steps until engine fires. When engine 8.
starts, move choke control (if equipped) gradually to RUN
position.
NOTE: See your engine manual packed with your unit for
more detailed instructions.
Stopping The Engine
Move throttle control lever to STOP or OFF position.1.
Disconnect spark plug wire from spark plug and ground 2.
against the engine.
To Empty Bag
Open the large zipper in the rear of the bag to empty the 1.
contents. Be certain the zipper is closed completely when
operating the unit.
If bag is removed for any reason, follow instructions for 2.
attaching the bag in the Assembly & Set-Up section.
To Engage Drive
To engage the wheel drive, hold the drive control against •
the upper handle.
Release the drive control to stop the rear wheels from •
driving.
Release the drive control to slow down when negotiating •
an obstacle, making a turn, or stopping.
Engage control slowly to prevent the front wheels from •
lifting up.
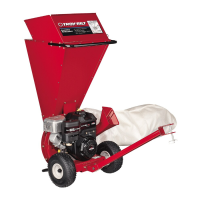
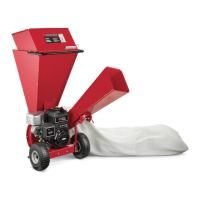
Using the Chipper Shredder Vacuum
Place both hands on top of the upper handle and hold the •
drive control against the upper handle to propel the unit
over yard. Yard waste such as leaves and pine needles can
be vacuumed up through the nozzle for shredding.
After material has been shredded by the blades on the •
impeller assembly, it will be discharged into catcher bag.
Branches up to three inches in diameter can be fed into the •
chipper chute.
IMPORTANT: Do not attempt to shred or chip any material
other than vegetation found in a normal yard (i.e. branches,
leaves, twigs, etc.) Avoid fibrous plants such as tomato
vines until they are thoroughly dried out. Materials such as
stalks or heavy branches up to 3” in diameter may be fed
into the chipper chute.
WARNING: Do not attempt to shred, chip, or
vacuum any material larger than specified on the
machine or in this manual. Personal injury or
damage to the machine could result.
IMPORTANT: The flail screen is located inside the housing
in the discharge area. If the flail screen becomes clogged,
remove and clean as instructed in the Maintenance section.
For best performance, it is also important to keep the
chipper blade sharp.
Figure 5-1
S
T
O
P
Throttle
Control
Choke
Control

 Loading...