3-53
Section 3 - Service and Repair
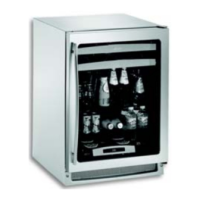
Figure 54
NOTE: Front location holes are shown. Corresponding rear holes will also
need to be marked.
4. Drill all the new holes with a #30 drill bit.
5. Remount the slide.
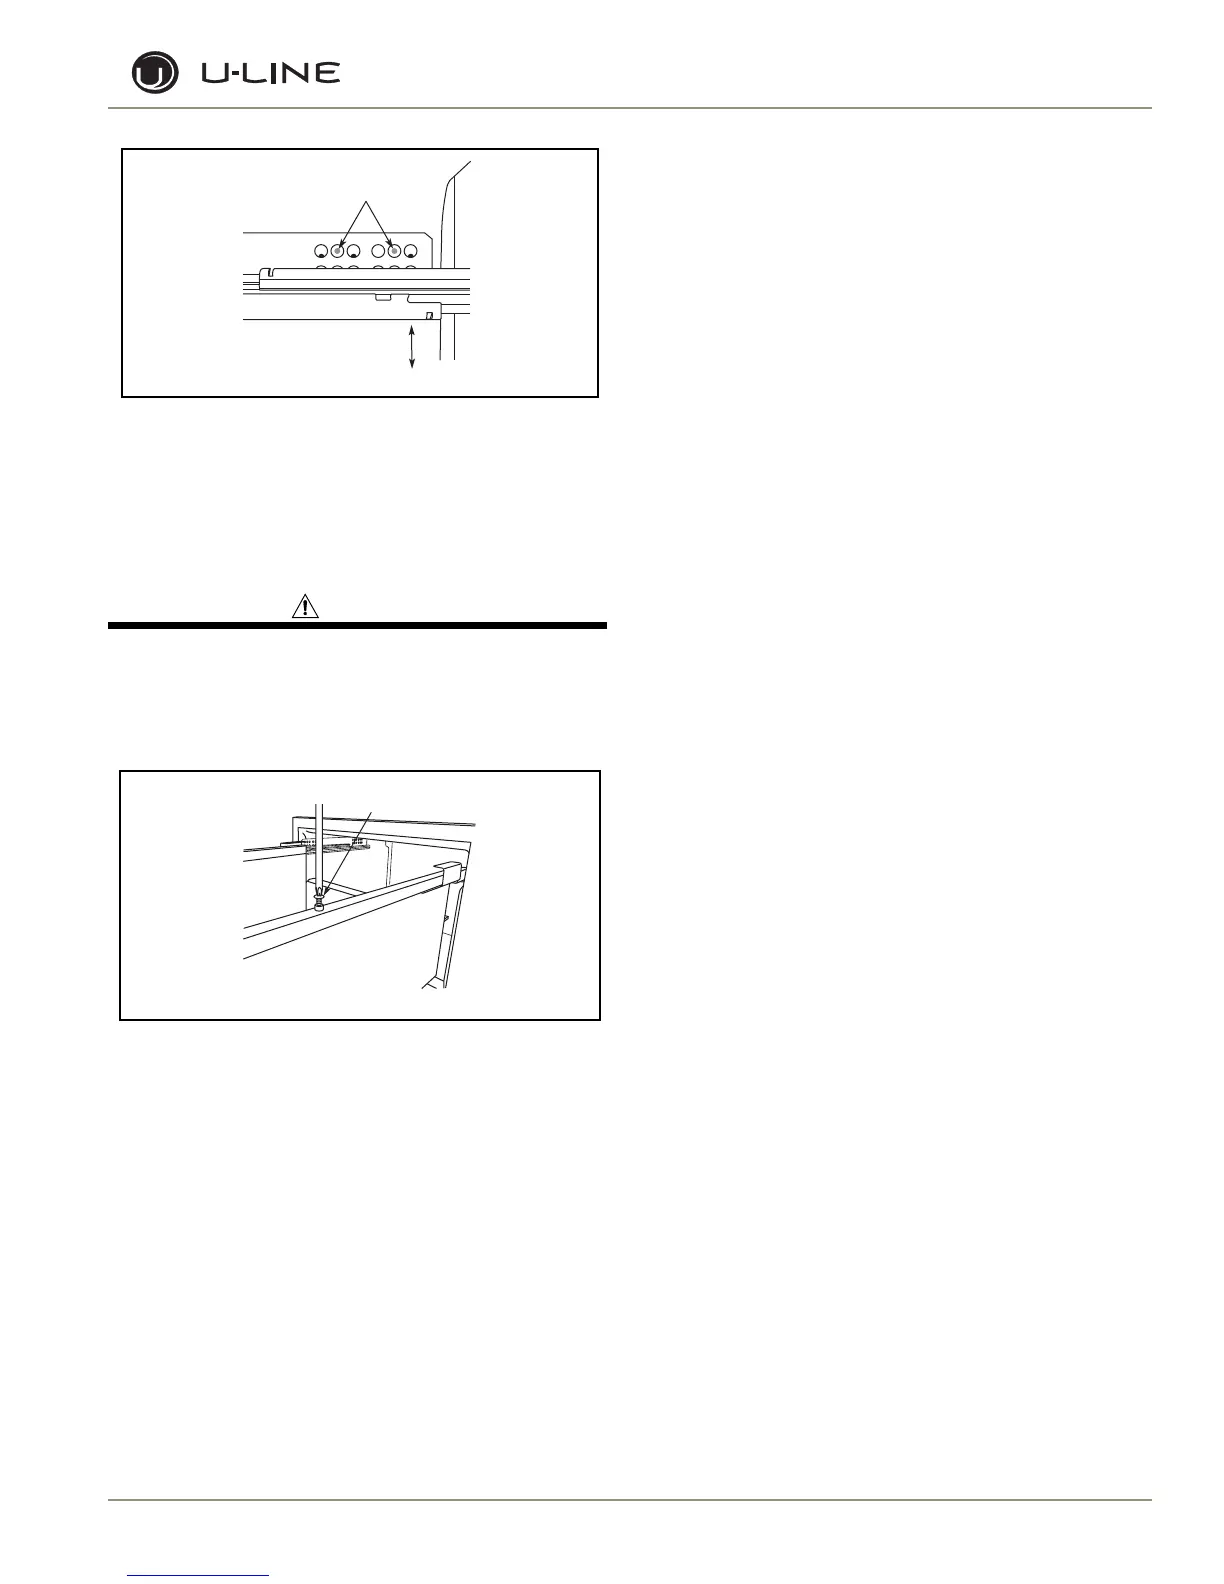
RE-INSTALLATION OF DRAWER
Use care when handling the drawer. Drawer edges, drawer
rail and the unit’s slide may be sharp.
1. Set the drawer’s rails onto the slides.
2. Re-install the rails’ mounting screws
(Figure 55)
.
Figure 55
3. Plug in the drawer’s connection wiring (top drawer only).
weN llirD dna kraM
seloH gnitnuoM
edilS hsuP
ro drawpU
drawnwoD
ULIN_0325_A
 Loading...