IMPORTANT NOTICE
· Make sure the holes on the Ring Element (#1) and the Leg (#3) are aligned.
· If the holes are not aligned,please rotate the Leg (#3) so that the 2 holes match each other.
· These holes needs to be aligned so that you can assemble the safety net.
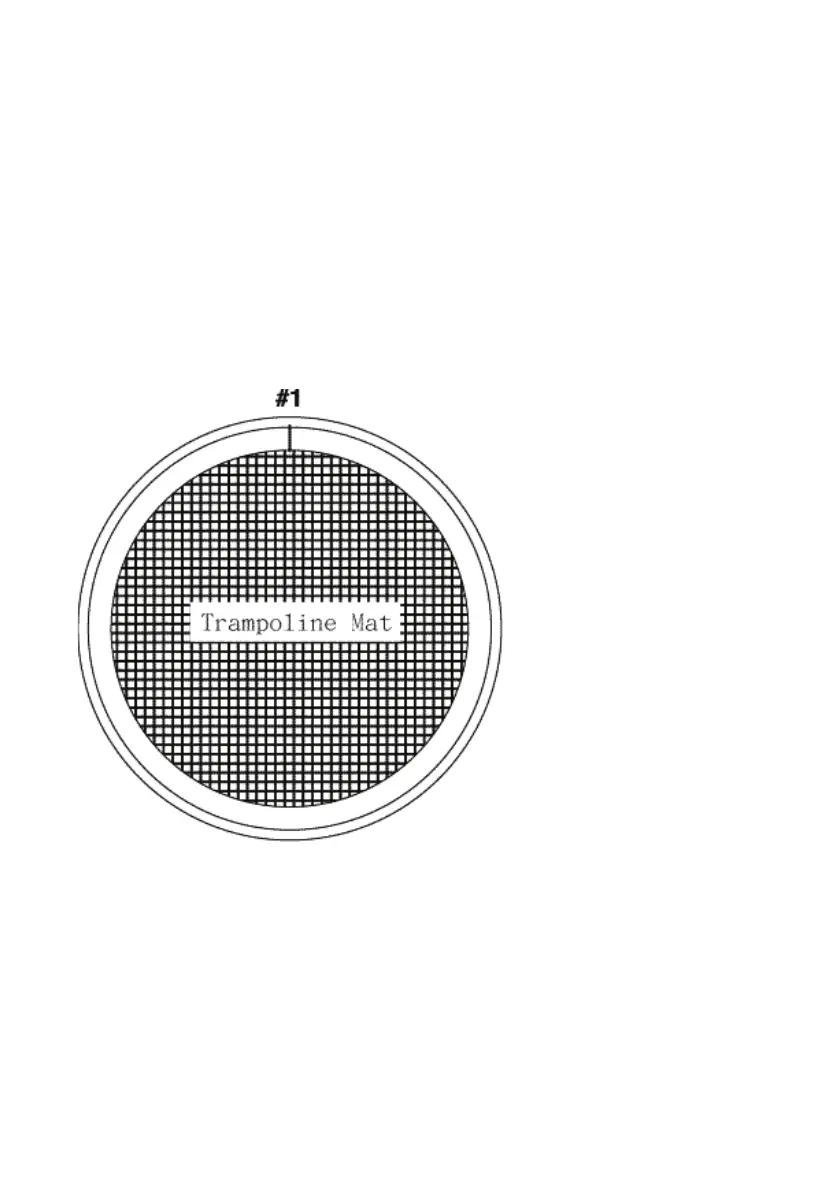
STEP 4 - Trampoline Mat Assembly
When Attaching springs to the trampoline mat, Please be careful. You will need another person to help you with this portion
of the assembly. CAREFUL-When attaching the springs, the Connector Points can become pinch points since the trampoline
is tightening up.
A. Lay out the Trampoline Mat (1) inside the frame
B. How to use the spring special tool.
STEP I : Position the spring on the eyelet of the jumping mat, attach tool and link up to the end of the spring
hook.
STEP II : Extend spring tool and link up spring hook to the hole on the trampoline frame.
Please be careful where you place your hands and other parts of your body during spring assembly as connector points
become pinch points!
 Loading...