9
6. Data viewing/deletion
After the meter is powered on or measurement is completed, the meter switches
to data viewing mode and “ ” appears on the LCD when “ ” is pressed.
Press “◀” or “▶” to set the step as 1 (group), press “ ” or “ ” to set the step as
10 (groups). Press “ ” or press “ ” for twice to exit the mode and return to
testing mode.
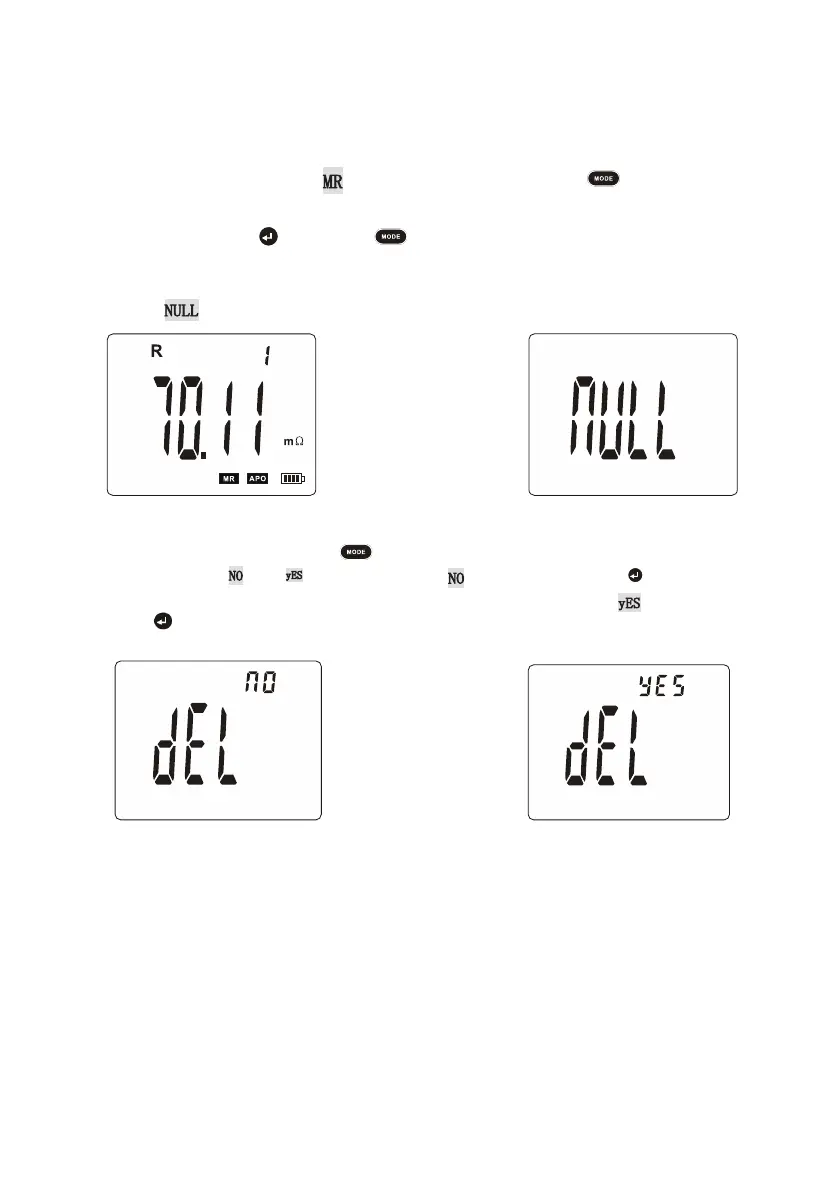
As show below, the number “1” at top right is the number of group.
If no data is
stored, “ ” appears on the LCD.
In data viewing mode, press “ ” to switch to data deletion mode. Press “ ”
or “ ” to select “ ” or “ ”. When pressing “ ” and then pressing “ ”, the data
will not be deleted and the meter returns to testing state. Press “ ” and then
press “ ” to delete all stored data. After deletion, the display is showed as below:
7. Data upload
Connect the meter with computer
via USB cable, turn on the meter, then operate
the software of master computer. If USB connection is successful, the stored data
can be viewed, uploaded and saved.
The software of master computer has multiple functions including data viewing,
data accessing, data storage, etc.
 Loading...