36
K40910 - K40911 - K40930 - K40931
Consultazione (e regolazio-
ni audio video)
Se in condizioni di stand-by si sora il
tasto (5)
il Videocitofono entra in
modalità consultazione: sul monitor ap-
parirà l’immagine ripresa dal dispositivo
consultato. La sequenza di consultazio
-
ne è:
CAM1 / CCTV1 / CAM2 / CCTV2.
Si noti che ogni dispositivo risulterà con
-
sultabile solo se è stato attivato nella
relativa pagina di congurazione.
Agendo ripetutamente sul tasto (5)
si passerà al dispositivo successivo (se
il dispositivo esterno è unico non ci sarà
alcuna commutazione).
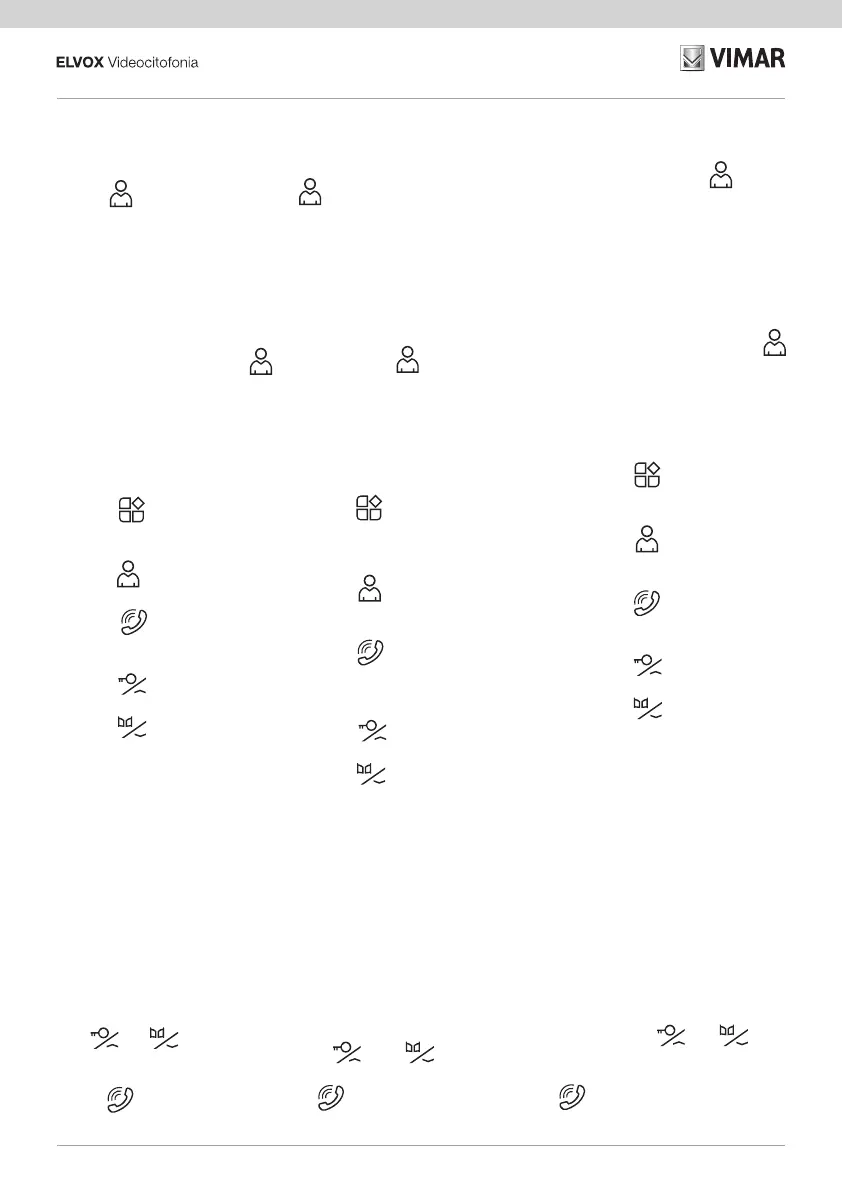
Sulla parte destra dello schermo, in cor
-
rispondenza di ogni tasto è riportato un
simbolo graco con l’indicazione della
funzione associata.
Al tasto (4)
è associata la funzione
di accesso al menù per congurazione
volume / luminosità / colore / contrasto.
Al tasto (5)
è associata la commuta-
zione video ad altro dispositivo esterno.
Al tasto (6)
è associata l’attivazio-
ne della comunicazione audio con il di-
spositivo in consultazione.
Al tasto (7)
è associata la funzione
di attivazione serratura.
Al tasto (8)
è associata la funzione
di attivazione relè.
Note per regolazioni audio video:
-
Se in modalità consultazione vi-
deo (senza comunicazione) si
attiva la congurazione allora
risulteranno congurabili: volume
suoneria / luminosità / colore /
contrasto
-
Se in modalità consultazione vi-
deo (con comunicazione) si attiva
la congurazione, allora risulte-
ranno congurabili: volume audio
/ luminosità / colore / contrasto
-
In congurazione di volume suo-
neria/audio, luminosità, colore e
contrasto saranno possibili le re-
golazione agendo sui tasti (7)
e (8) .
Per uscire dalla consultazione dei dispo
-
sitivi esterni si tenga premuto a lungo il
tasto (6)
nché il dispositivo ritor-
nerà in modalità stand-by.
Video feed (and audio/video
settings)
In stand-by condition, on pressing button (5)
the video entryphone will switch to video
feed mode: the video feed from the selected
device will be displayed on the screen. Video
feeds are displayed in the following se-
quence:
CAM1 / CCTV1 / CAM2 / CCTV2.
Note that video feed from a device can only
be displayed if the device has been activated
in the relative conguration page.
Press button (5)
repeatedly to switch
between video feeds (if there is only one ex-
ternal camera the video feed will not
change).
On the right-hand side of the screen, in
correspondence with each button, there is
a graphic symbol indicating the associated
function:
Button (4)
is associated with access to
the audio/video settings menu, from which
you can change the volume / brightness /
colour / contrast.
Button (5)
is associated with the func-
tion allowing you to switch between the video
feeds from the various external devices.
Button (6)
is associated with the func-
tion to activate audio communication with the
device from which the video feed is currently
being viewed.
Button (7)
is associated with the lock
activation function.
Button (8)
is associated with the relay
activation function.
Notes for audio/video settings:
-
When conguration is activated in
video feed mode (without audio com-
munication), the following settings can
be adjusted: ringtone volume / bright-
ness / colour / contrast
-
When conguration is activated in
video feed mode (with audio commu-
nication), then the following settings
can be adjusted: ringtone volume /
brightness / colour / contrast
-
In conguration mode, ringtone vol-
ume / brightness / colour / contrast
can be adjusted using buttons (7)
and (8) .
To exit video feed mode, hold pressed button
(6)
until the device returns to stand-by
mode.
Consultation (et réglages au-
dio vidéo)
En efeurant la touche (5) en mode
veille, le portier-vidéo passe au mode
consultation : le moniteur afche l'image
lmée par le dispositif consulté. La sé-
quence de consultation est la suivante :
CAM1 / CCTV1 / CAM2 / CCTV2.
Chaque dispositif pourra être consulté à
condition d'avoir été activé sur la page de
conguration correspondante.
Agir plusieurs fois sur la touche (5)
pour passer au dispositif suivant (si le dis-
positif extérieur est unique, il n'y aura au-
cune commutation).
Un symbole graphique indiquant la fonc
-
tion associée s'afche sur la partie droite
de l'écran, face à chaque touche.
La touche (4)
est associée à la fonc-
tion d'accès au menu pour congurer vo-
lume / luminosité / couleur / contraste.
La touche (5)
est associée à la com-
mutation vidéo à un autre dispositif exté-
rieur.
La touche (6)
est associée à l’activa-
tion de la communication audio avec le
dispositif en phase de consultation.
La touche (7)
est associée à la fonc-
tion d'activation de la gâche.
La touche (8)
est associée à la fonc-
tion d'activation du relais.
Remarques pour les réglages audio
vidéo :
-
En activant la conguration en
mode consultation vidéo (sans
communication), les fonctions sui-
vantes seront congurables : vo-
lume sonnerie / luminosité / couleur
/ contraste.
-
En activant la conguration en
mode consultation vidéo (avec com-
munication), les fonctions suivantes
seront congurables : volume audio
/ luminosité / couleur / contraste.
-
En conguration de volume sonne-
rie/audio, luminosité, couleur et
contraste, il sera possible de procé-
der aux réglages en utilisant les
touches (7)
et (8) .
Pour quitter la consultation des dispositifs
extérieurs, garder le doigt sur la touche (6)
jusqu'à ce que le dispositif retourne
en mode veille.
 Loading...