10
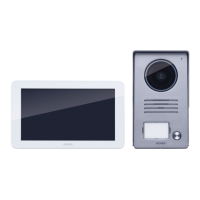
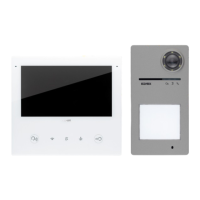
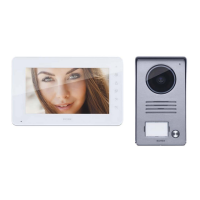
K40910 - K40911 - K40930 - K40931
8
Mr Smith
HB Pencil
Two family
Mr James
Mr Smith
HB Pencil
Single family
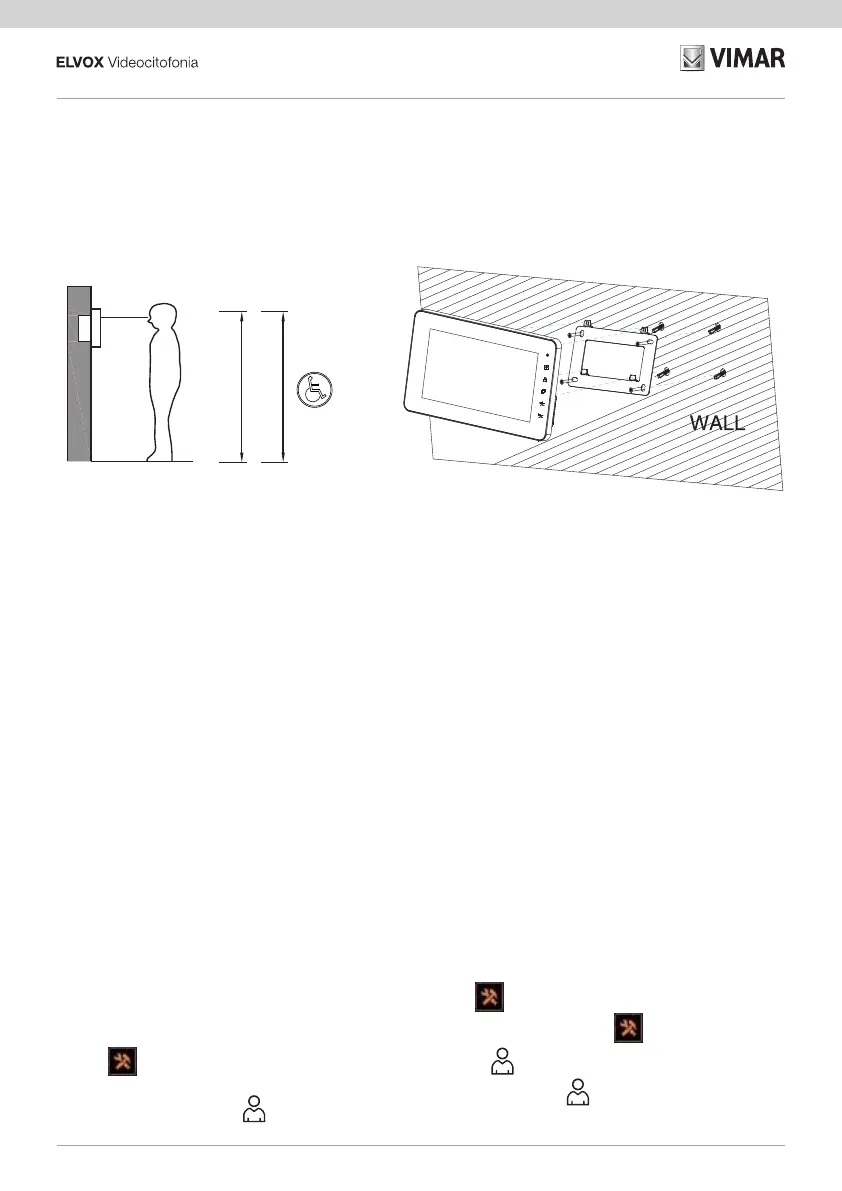
1,60 / 1.65 m
(m)
1,20 m
Installazione Videocitofono
- Si consiglia di provvedere ad una prima
congurazione del dispositivo prima
della connessione al bus di sistema.
- Afnché il sistema funzioni corretta-
mente è necessario che ogni disposi-
tivo abbia un proprio indirizzo univoco
(ID).
Nel caso dei posti esterni, per congu-
razione dell'ID si intende la congura-
zione del jumper 10.
Nel caso dei videocitofoni, per congu-
razione dell'ID si intende:
• l'indicazione del dispositivo come
Master (M) per il videocitofono prin-
cipale;
• l'indicazione del dispositivo come
Estensione 1 (1) o Estensione 2 (2)
per i videocitofoni aggiuntivi.
Si noti inoltre, che i videocitofoni pro-
posti nei Kit mono e bifamiliari sono
precongurati come Master, mentre i
videocitofoni proposti come opzionali
sono precongurati come Estensione
1.
- Una volta compiuti i passi precedenti
si potrà procedere con installazione e
connessione dei dispositivi al bus di fa-
miglia.
- Una volta installato il Videocitofono si
congurino, mediante l'icona [GENE-
RALE]
i dispositivi CAM1, CAM2,
CCTV1 e CCTV2 che possono essere
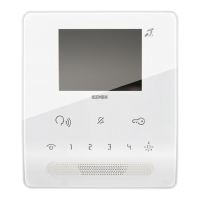
consultati attraverso il tasto (5)
.
Installation du portier-vidéo
Instalación del videoportero Instalação do videoporteiro
Installation des Videohaus
-
telefons
Εγκατάσταση θυροτηλεόρα
-
σης
Video entryphone installation
- It is advisable to rst congure the de-
vice before connecting to the system
bus.
- For the system to function correctly,
each device must have its own unique
address (ID).
In the case of speech units, conguring
the ID is done by conguring jumper 10.
In the case of video entryphones, con-
guring the ID is done by:
• designation of the device as Master
(M) for the main video entryphone;
• designation of the device as Exten-
sion 1 (1) or Extension 2 (2) for ad-
ditional video entryphones.
Please also note that the video en-
tryphones included in the one-family
and two-family kits are precongured
as Master units, whereas the optional
video entryphones are precongured
as Extension 1.
- Once you have completed the previous
steps, you can install and connect the
devices to the family bus.
- Once the video entryphone has been
installed, the next step is to congure,
via the icon [GENERAL]
, the
CAM1, CAM2, CCTV1 and CCTV2 de-
vices, from which the video feed can be
checked by pressing button (5)
.
- Il est conseillé de procéder à une pre
-
mière conguration du dispositif avant
de le connecter au bus du système.
- Pour que le système fonctionne correc-
tement, chaque dispositif doit avoir sa
propre adresse univoque (ID).
En présence de postes extérieurs, la
conguration de l'ID correspond à la
conguration du jumper 10.
En présence de portiers-vidéo, la con-
guration de l'ID correspond à :
• l'indication du dispositif comme
Maître (M) pour le portier-vidéo prin-
cipal ;
• l'indication du dispositif comme
Extension 1 (1) ou Extension 2 (2)
pour les portiers-vidéo supplémen-
taires.
Les portiers-vidéo faisant partie des
Kits un ou deux usagers sont précon-
gurés comme Maître alors que les
portiers-vidéo proposés en option sont
précongurés comme Extension 1.
- Après avoir accompli ces étapes, pro-
céder à l'installation et à la connexion
des dispositifs sur le bus de la famille.
- Après avoir installé le portier-vidéo,
congurer à travers l'icône [GENE-
RALE]
les dispositifs CAM1,
CAM2, CCTV1 et CCTV2 qui peuvent
être consultés en utilisant la touche (5)
.
 Loading...