Section 5
Diagnostics
Page 24
How to Test for Existing Faults
Using the Normal Mode
When you use Normal Mode diagnostics, the blink
code lamp displays a numerical fault code
sequence for each existing fault, one at a time.
If the ECU stores more than one existing fault in
memory, you must repair the first fault before
Normal Mode diagnostics will display the second
existing fault. In the Normal Mode, the lamp only
identifies the component that needs repair; for
example, THREE FLASHES = SENSOR BU1. To
identify and display intermittent faults, use
Expert Mode diagnostics. (See Appendix A.)
The ECU stores existing faults into memory in the
order in which they occur, but the blink code lamp
displays the most recent fault first. To identify and
display intermittent stored faults (such as a loose
cable or wire) from ECU memory, you must use
Expert Mode diagnostics.
To activate Normal Mode diagnostics:
1. The vehicle must be stationary. Power the
ECU with 12 volts DC (9.5–14 is an acceptable
range). The warning lamp on the trailer will
come ON.
2. Locate the diagnostic tool: Plug the diagnostic
tool into the diagnostic cable socket
located usually on the right side of the
trailer sub-frame.
3. Press the blink code switch once for one
second and release the switch.
4. If there are no existing faults in the system:
When activated, the blink code lamp will
–Come ON
–Go OFF
– Remain OFF
5. When there is an existing fault: The blink code
lamp will flash between three and fifteen times
to identify the existing fault. Refer to Table E —
Normal Mode Fault Code Table, below, for
Normal Mode fault codes. See Figure 5.5 .
6. When there are existing faults: You must repair
existing faults.
7. After you identify an existing fault, turn the
power to the ECU OFF. Repair the fault. Turn
the power to the ECU back ON.
8. ECU Part Number 472 500 001 0: Repeat
Steps 3, 5, 6, and 7 until the blink code lamp
goes OFF, comes back ON and remains ON.
This sequence signals that there are no other
existing faults.
ECU Part Numbers 472 500 012 0 and
472 500 013 0: Repeat Step 3. If there are no
other existing faults in the system, the blink
code lamp will come ON, go
OFF and
remain OFF.
9. If you have just repaired a sensor fault, the
ECU is “waiting” to see a 4-mph signal on
sensed wheels. Until this 4 mph is sensed by
the ECU, the ABS warning lamp on the trailer
will remain ON.
Table E — Normal Mode Fault Code Table
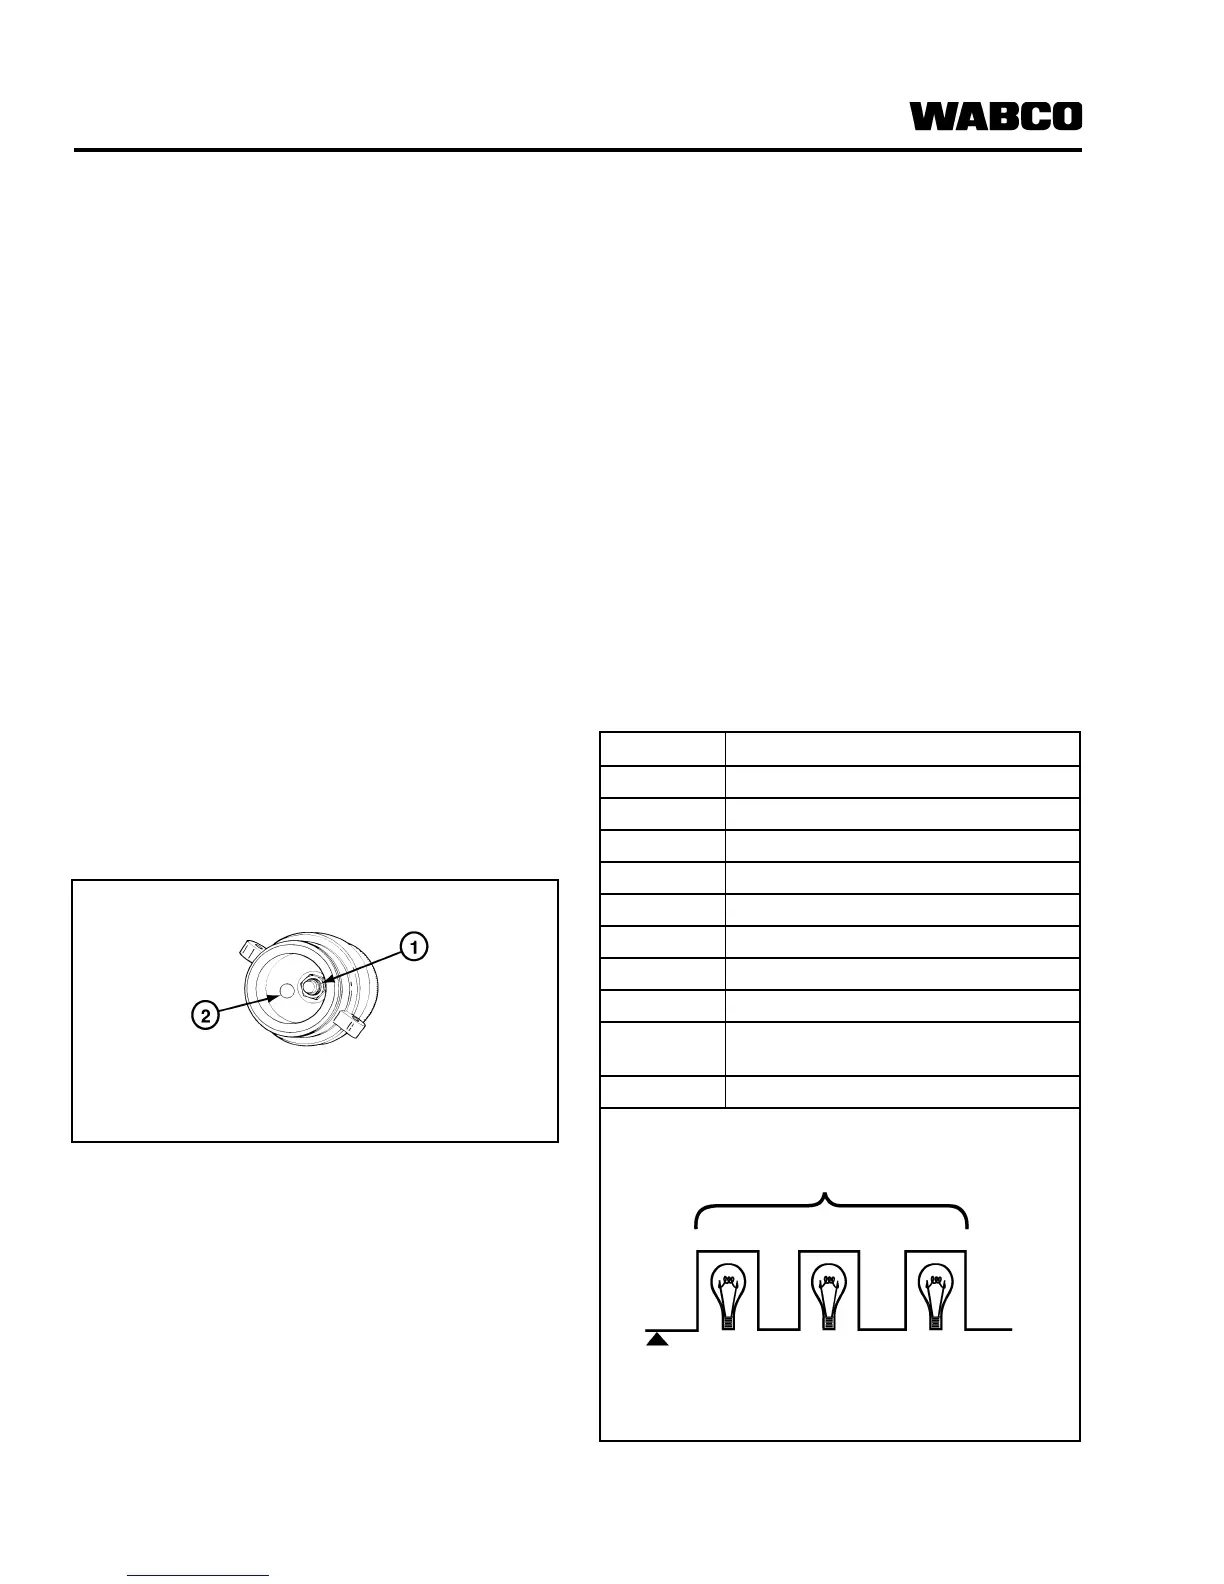
Figure 5.4
1 Blink Code Switch
2 LED Lamp
Blink Code Location
0 No Faults
3Sensor BU1
4Sensor YE1
5Sensor BU2
6Sensor YE2
7 Ext. Modulator (Red) 4S/3M Only
9 Ext. Modulator (BU)
10 ECU Modulator (YE)
14 System Configuration/Power
Supply
15 ECU Failure
Figure 5.5
1002095a
3 Flashes = Existing Fault = Sensor BU1
1S 1S
1S
Power ON;
ECU activated
S = Second(s)
 Loading...