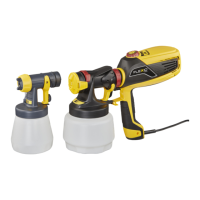
TROUBLESHOOTING
8
MAINTENANCE • ENTRETIEN • MANTENIMIENTO
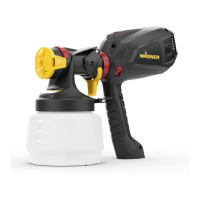
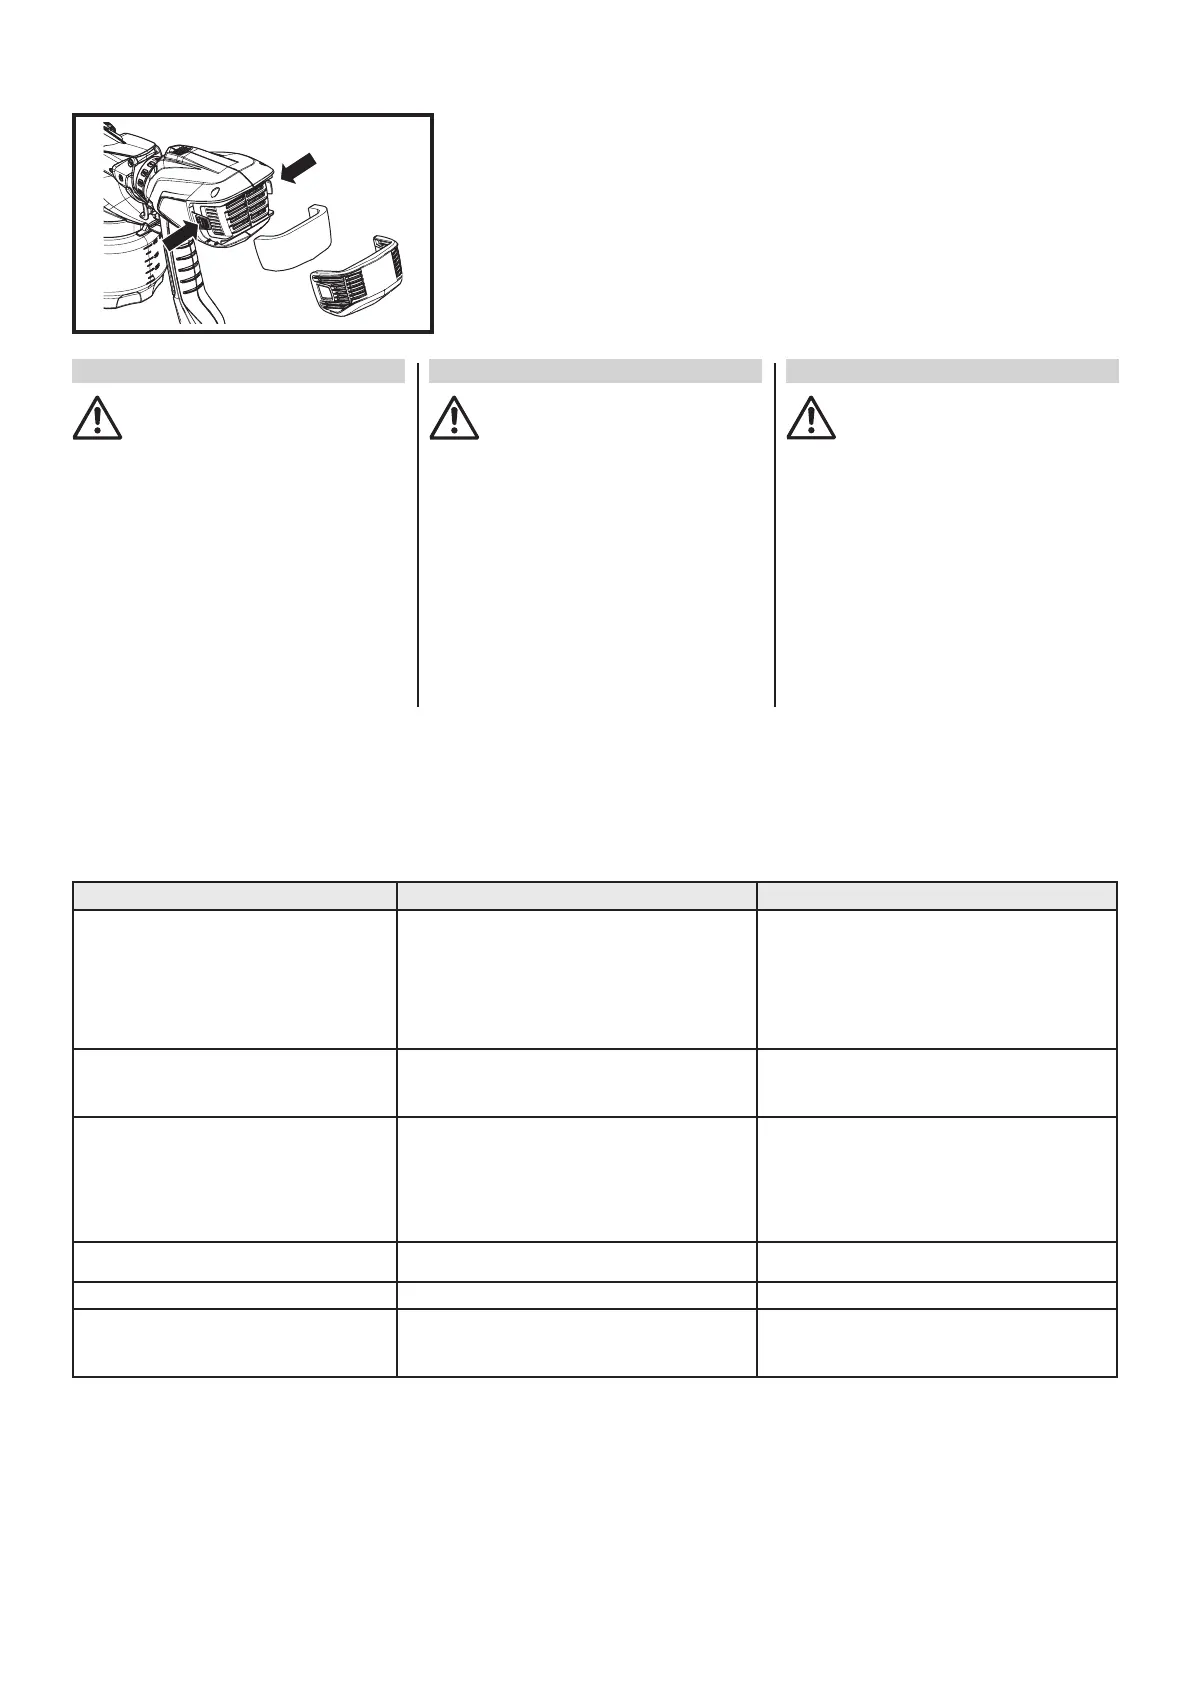
REPLACING THE FILTER
Before every use, you should inspect
the air lter in the turbine to see if it is
excessively dirty. If it is dirty, follow these
steps to replace it.
Never operate your unit without the
air lters. Dirt could be sucked in and
interfere with the function of the unit.
1. Press the tab at the rear of the turbine. Slide the rear
housing o of the back of the turbine.
2. Remove the dirty lter from the turbine and replace
with a new one. The smooth side of the air lter must
be placed toward the turbine.
Secure the cover back onto the turbine.
REMPLACEMENT DU FILTRE
Vous devriez inspecter les ltre à air qui
est situé dans la turbine pour vérier
s’il est excessivement encrassé. S’il est
encrassé, veuillez suivre les étapes ci-
dessous pour le remplacer.
Ne jamais faire fonctionner votre
appareil sans le ltre à air. Des impuretés
pourraient être aspirées et causer des
inter-férences dans le fonctionnement de
l’appareil.
1. Appuyez sur l’onglet à l’arrière de la turbine. Retirez le
boîtier arrière en le glissant de la turbine.
2. Enlevez le ltre souillés de la turbine et remplacez-les
par de nouveaux. Le côté lisse du ltre à air doit être
placé vers la turbine.
Remettez le couvercle sur la turbine.
REEMPLAZO DEL FILTRO
Es conveniente que inspeccione el ltro
de aire de la turbina para controlar si
está excesivamente sucio. Si se encuentra
sucio, siga los pasos a continuación para
reemplazarlo.
Nunca haga funcionar la unidad sin
le ltro de aire. La suciedad puede
ingresar en la unidad e interferir con su
funcionamiento.
1. Presione la lengüeta en la parte posterior de la
turbina. Deslice la carcasa posterior y sáquela de la
parte posterior de la turbina.
2. Retire le ltro sucios de la turbina y reemplácelos por
nuevo. Se debe colocar el lado suave del ltro de aire
hacia la turbina.
Fije le tapa de vuelta en la turbina.
PROBLEM CAUSE SOLUTION
Problem A: Little or no material ow 1. Nozzle clogged.
2. Suction tube clogged.
3. Material ow setting too low.
4. Suction tube loose.
5. No pressure build up in container.
6. Air lter clogged.
7. Spray material too thick.
8. Nozzle seal missing or worn.
1. Clean.
2. Clean.
3. Increase material ow setting.
4. Remove and replace as tightly as possible.
5. Tighten container. Check the air vent hole on the pick
up tube - clean if clogged.
6. Change
7. Thin.
8. Replace nozzle.
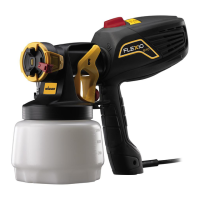
Problem B: Material leaking 1. Nozzle loose.
2. Nozzle worn.
3. Nozzle seal missing or worn.
4. Material build-up on air cap and nozzle
1. Tighten.
2. Replace.
3. Replace nozzle.
4. Clean.
Problem C: Spray pattern too thick, runs and sags 1. Material ow setting too high.
2. Air power setting too low.
3. Applying too much material.
4. Nozzle clogged.
5. Air lter clogged.
6. Too little pressure build-up in container.
7. Spray material too thick.
1. Decrease material ow setting.
2. Increase air power setting.
3. Adjust material ow or increase movement of spray
gun.
4. Clean.
5. Change.
6. Tighten container.
7. Thin.
Problem D: Spray jet pulsates 1. Material in container running out.
2. Air lter clogged.
1. Rell.
2. Change.
Problem E: Too much overspray 1. Gun too far from spray object. 1. Reduce distance (6”-8” is ideal).
Problem F: Pattern is very light and splotchy 1. Moving the spray gun too fast.
2. Material ow setting too low.
3. Air power setting too high.
1. Adjust material ow or decrease movement of spray
gun.
2. Increase material ow setting.
3. Decrease air power setting.
 Loading...