MultiControl | SmartControl | UniBox 7
Optional installation with holder
12 43
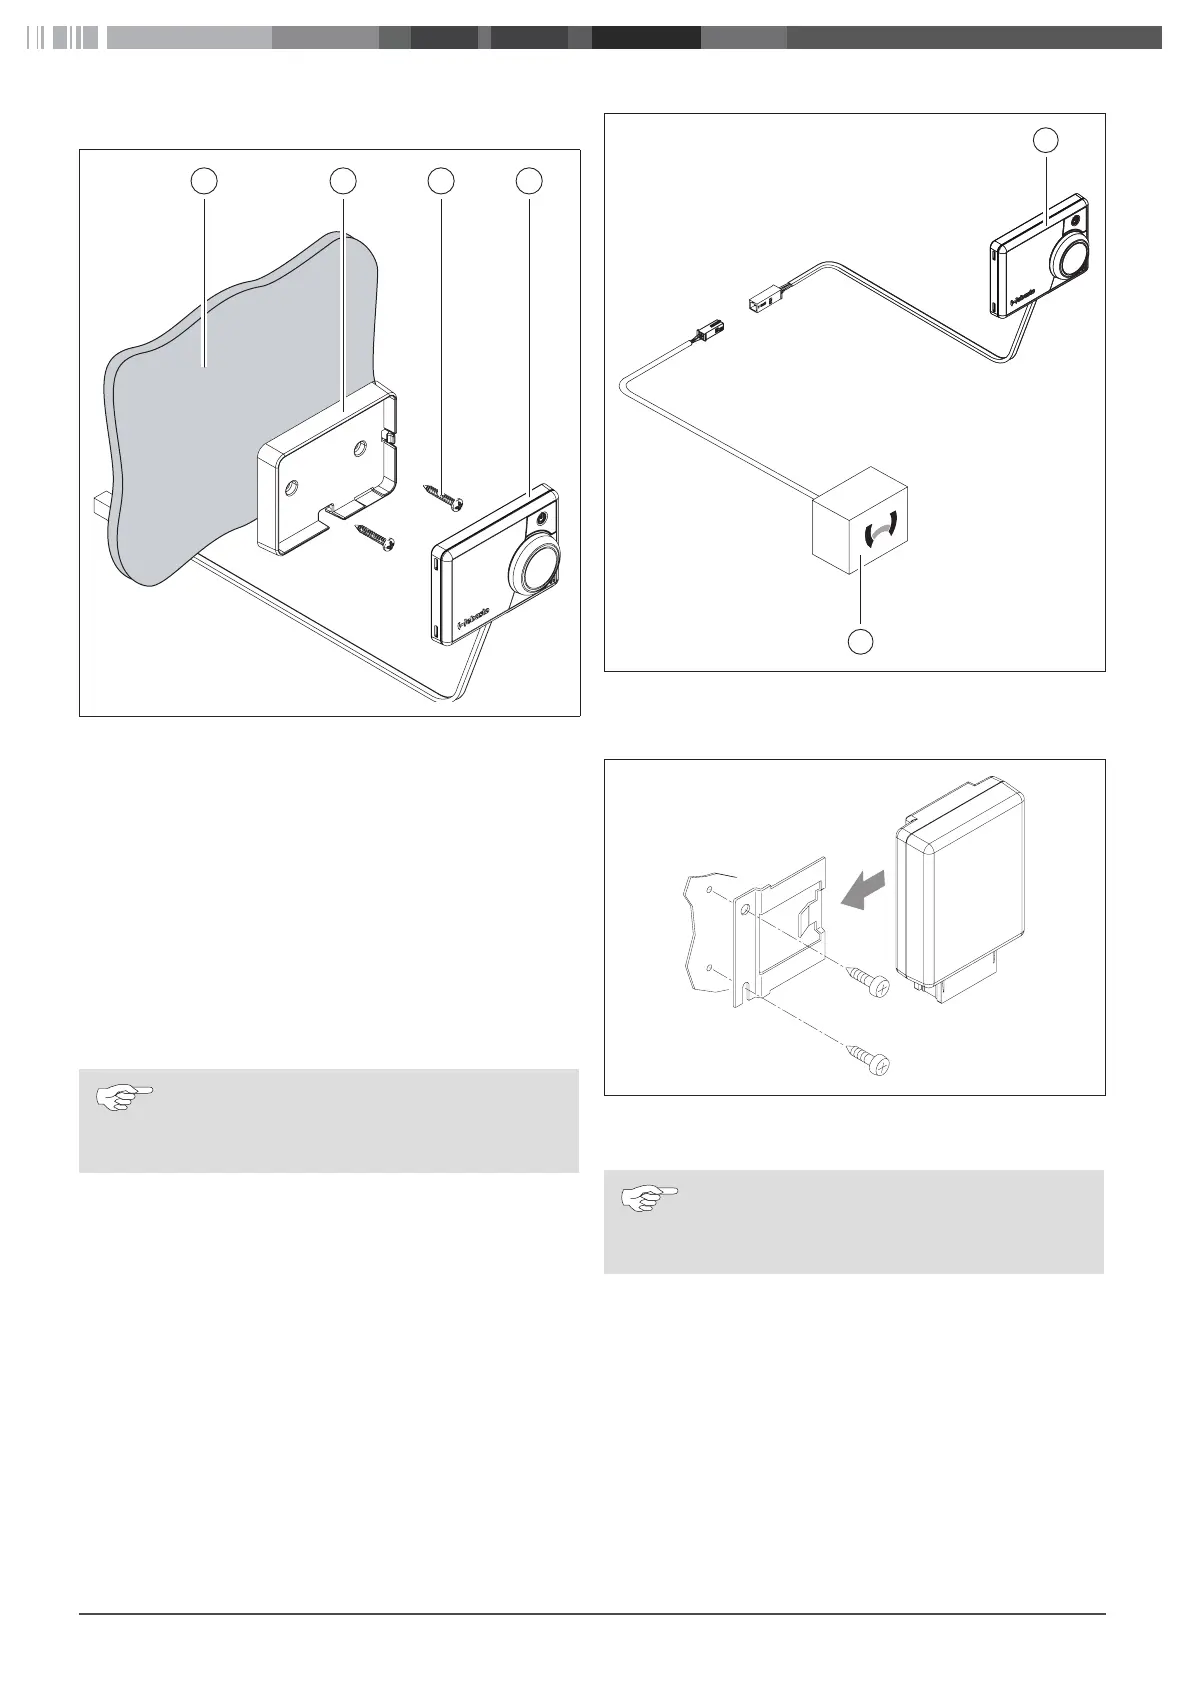
Fig. 03: Install control element with holder
1 Installation location
2 Holder
3 Screws
4 Control element
Determine the installation location.
Determine the location for the leadthrough of the control ele-
ment wiring harness.
Install the holder using the screws supplied.
Lay the control element wiring harness through from the front.
Clip the control element into the holder.
Observe the statutory regulations when installing
in cars.
2
Fig. 04: Connection example control element (1) with heater (2)
4.4 Optional: Install UniBox
Fig. 05: Optional: Install UniBox with holder
Determine the installation location.
Install the device in an area of the vehicle not visible
to the customer.
Install the holder using the screws supplied.
Determine the routing of the wiring harness of the UniBox.
Clip the UniBox into the holder.
 Loading...