15
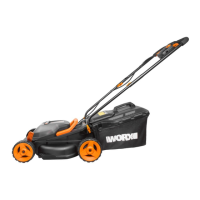
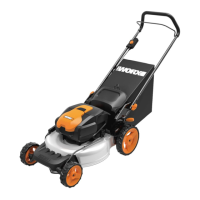
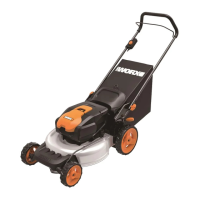
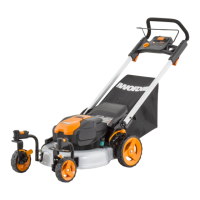
Cordless Lawn Mower
WG779E WG779E.X
The tightness of the grip on the handles and if any
anti vibration accessories are used.
And the tool is being used as intended by its design
and these instructions.
This tool may cause hand-arm vibration
syndrome if its use is not adequately managed
WARNING: To be accurate, an estimation of
exposure level in the actual conditions of use
should also take account of all parts of the operating
cycle such as the times when the tool is switched off
and when it is running idle but not actually doing the
job. This may significantly reduce the exposure level
over the total working period.
Helping to minimise your vibration exposure risk.
ALWAYS use sharp chisels, drills and blades
Maintain this tool in accordance with these
instructions and keep well lubricated (where
appropriate)
If the tool is to be used regularly then invest in anti
vibration accessories.
Plan your work schedule to spread any high vibration
tool use across a number of days.
OPERATION INSTRUCTION
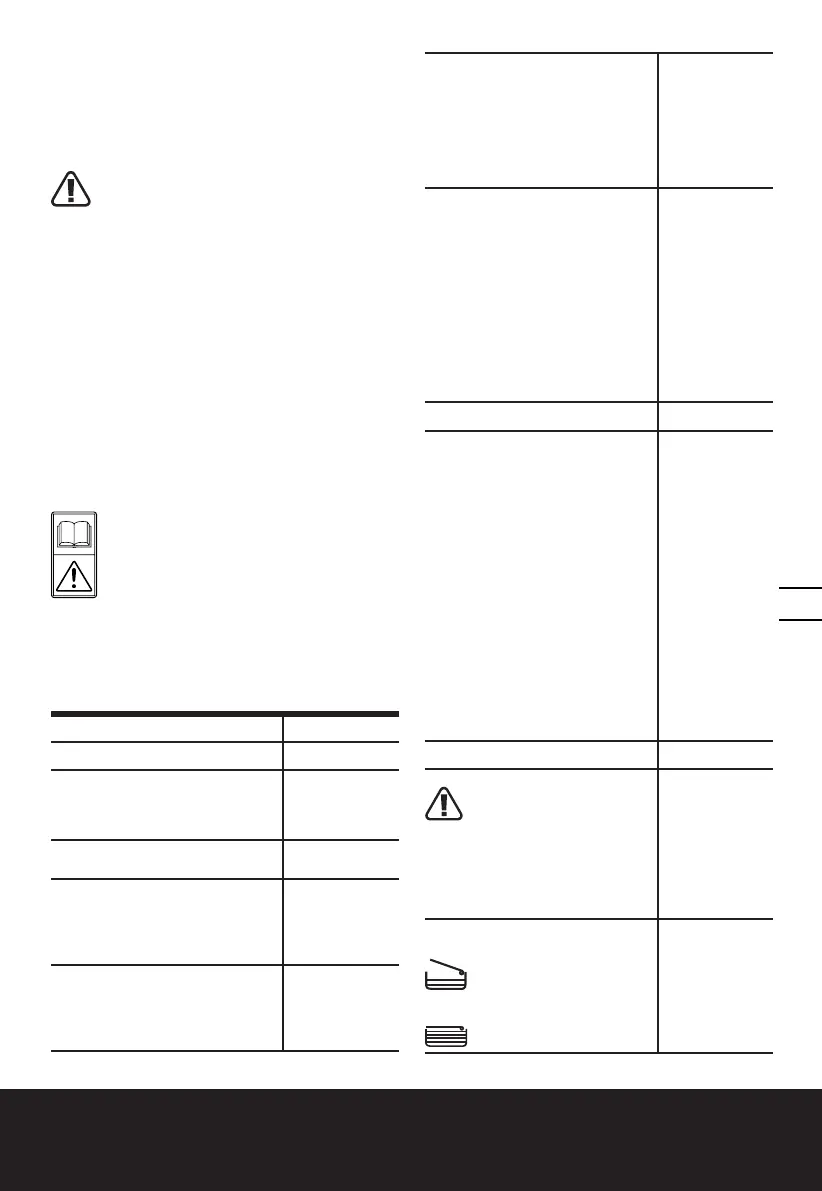
NOTE: Read instruction handbook
before operation this machine.
INTENDED USE
This product is intended for domestic lawn mowing.
ASSEMBLY AND OPERATION
ACTION FIGURE
ASSEMBLY
Assembling the handle bar
NOTE: Choose one of the two
holes in the lower handle for
desired handle’s height.
See Fig. A1, A2,
A3, A4, A5
Assembling grass collection bag
See Fig. B1, B2,
B3, B4
Fitting grass collection bag to the
lawn mower
NOTE: Depress the grass
collection bag slightly to ensure
that it is completely installed.
See Fig. C1,
C2, C3
Checking the battery charge
condition
NOTE: Fig. D1 only applies for the
battery pack with battery indicator
light.
See Fig. D1
Charging the battery pack
NOTE: The batteries are shipped
uncharged. Each battery must be
fully charged before the first mow.
Always fully charge the two
batteries at same time. More
details can be found in charger’s
manual.
See Fig. D2, D3
Fitting/removing battery
NOTE: This machine will only
run when 2 batteries are
installed.
Please always use two
batteries with the same
capacity and fully charge the
two batteries.
When you use two batteries
with different power, the
machine will only run to the
lower common denominator.
See Fig. E
OPERATION
Battery power indicator on the machine
See details in BATTERY STATUS part
IMPORTANT
When only one light is
illuminated, at least one battery
is depleted and needs to be
charged, even though the mower
may still be capable of cutting
grass. Continuing to operate your
lawnmower with the battery in
this discharged condition may
reduce the life and performance
of your battery.
When no light is illuminated,
at least one battery is not fully
installed or battery may be
defective, please double check
the batteries are fully seated into
position.
See Fig. F
Starting & stopping See Fig. G1, G2
Adjusting the Cutting Height
WARNING! Stop, release
bail handle and wait until
the motor stops before adjusting
height. The blades continue
to rotate after the machine is
switched off, a rotating blade can
cause injury. Do not touch rotating
blades.
See Fig. H
Grass Bag Filling Indicator
Empty status: flap floats (a)
Fully status: flap falls down (b)
See Fig. I1

 Loading...