EasyManua.ls Logo

Yamaha CDC-575 User Manual

Yamaha CDC-575
25 pages
To Next Page IconTo Next Page
To Previous Page IconTo Previous Page
Page #22 background imageLoading...
Page #22 background image
TIMER PLAY
22
NOTES ABOUT THE REMOTE CONTROL TRANSMITTER
Battery installation
Battery replacement
If you find that the remote control transmitter must be used
closer to the main unit, the batteries are weak. Replace both
batteries with new ones.
Notes
Use only AA, R6, UM-3 batteries for replacement.
Be sure the polarities are correct. (See the illustration inside
the battery compartment.)
Remove the batteries if the remote control transmitter will
not be used for an extended period of time.
If batteries leak, dispose of them immediately. Avoid
touching the leaked material or letting it come in contact with
clothing, etc. Clean the battery compartment thoroughly
before installing new batteries.
Remote control transmitter operation range
Notes
There should be no large obstacles between the remote
control transmitter and the main unit.
If the remote control sensor is directly illuminated by strong
lighting (especially an inverter type of fluorescent lamp, etc.),
it might cause the remote control transmitter not to work
correctly. In this case, reposition the main unit to avoid
direct lighting.
1
3
2
30°
30°
Remoto control sensor
Within approximately
6 m (19.7 feet)
You can start play at any specified time by connecting a timer (sold separately). Refer also to the instructions for the timer.
1. Select the desired play mode (1DISC or 5DISCS).
2. Press the POWER switch to turn the unit off.
3. Press the POWER switch while pressing the PLAY/PAUSE ( ) button on the front panel.
Shortly thereafter, “TIMER P. ON” appears in the display and the timer play function is on.
(When the timer play function is already on, in which case, “TIMER P. OFF” appears in the display and timer play function is off.
In this case, repeat the procedure in steps 2 and 3 to set the timer play function to on.)
4. Set the timer to the desired time.
When the set time comes, the unit turns on and starts play.
for CDC-675 only

Other manuals for Yamaha CDC-575

Question and Answer IconNeed help?

Do you have a question about the Yamaha CDC-575 and is the answer not in the manual?
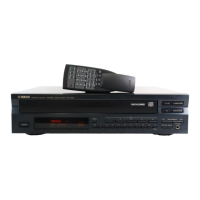
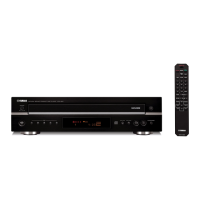
Yamaha CDC-575 Specifications

General IconGeneral
TypeCD Player
Number of Discs5
Playback FormatsCD, CD-R, CD-RW
Frequency Response2 Hz - 20 kHz
Dynamic Range96 dB
Signal-to-Noise Ratio110 dB
Channels2
Power Consumption15 W
Digital OutputsOptical
Output Level2.0 V
Channel Separation90 dB

Summary

Safety Instructions

Caution: Electric Shock Risk

Warning about opening the unit and referring to qualified personnel for servicing.

Warning: Fire or Shock Risk

Warning to keep the unit away from rain or moisture to prevent fire or shock.

FCC Compliance and Safety Precautions

Laser Safety Warnings

Alerts users to hazards associated with laser radiation and advises against opening the unit.

Operating and Handling Precautions

Pre-Operation Safety Guidelines

Key instructions to read and follow before operating the unit for optimal performance and safety.

CONNECTIONS

Analog Audio Connections

Guide on connecting the unit to an amplifier using LINE OUT analog terminals.

Digital Audio Connections

Instructions for connecting via the DIGITAL AUDIO OUT (OPTICAL) terminal using an optical fiber cable.

BASIC OPERATION

Powering On and Loading Discs

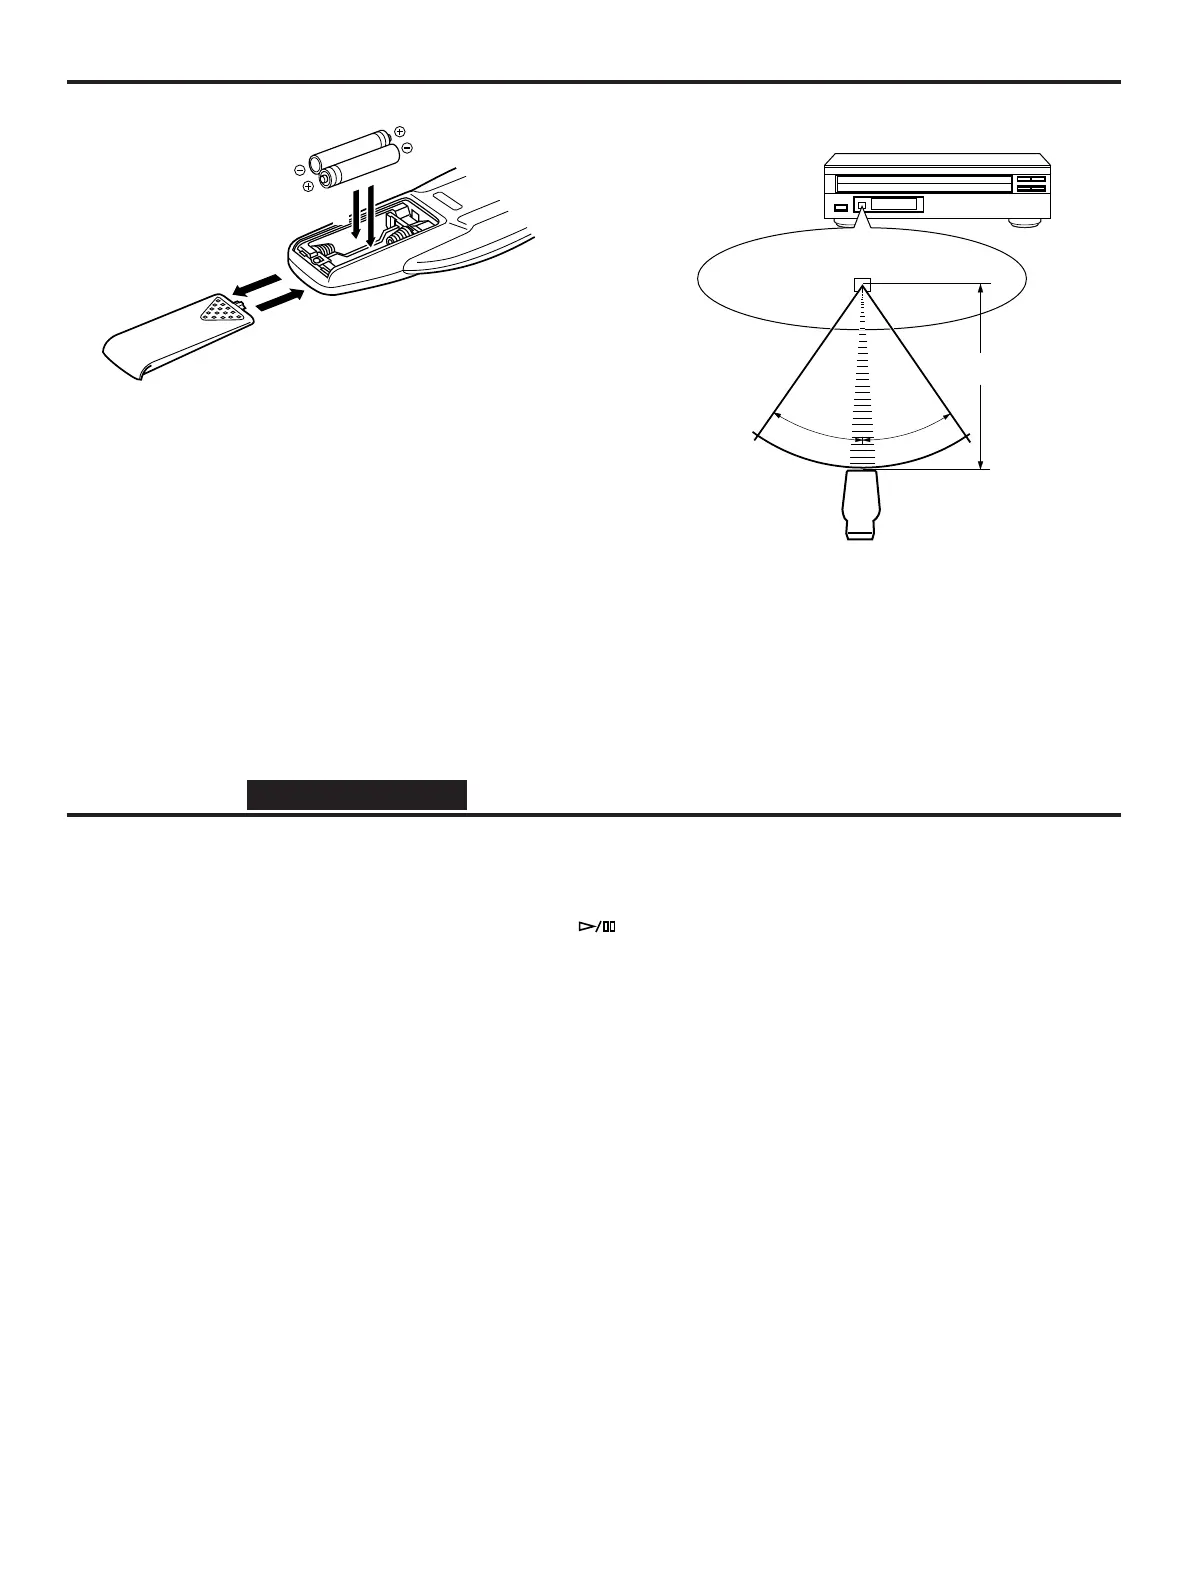
Step-by-step guide to turning on the unit, opening the tray, and loading discs.

Selecting Play Mode and Starting Play

Instructions on choosing the play mode (1DISC/5DISCS) and starting disc playback.

Disc Playback Operations

Temporary Playback Control

How to pause and resume disc playback.

Complete Playback Stop

Procedure for stopping disc playback entirely.

Track Selection and Searching

Direct Track Playback

How to select and play a specific track using the numeric keypad.

Track Skipping Functions

Using SKIP buttons to move between tracks or to the start of the current/next track.

Manual Track Search

How to fast forward or rewind within a track to find a specific point.

Audio Output and Display Settings

Adjusting Amplifier Output Level

Controls for setting the signal level sent to an amplifier or headphones.

RANDOM-SEQUENCE PLAY

Loading Discs and Setting Mode

Steps to load discs and select the 1DISC or 5DISCS mode for random play.

Activating Random Play

How to initiate random sequence play, indicated by 'RNDM' on the display.

Canceling Random Play

Methods to stop or cancel the random-sequence playback mode.

PROGRAM PLAY

Stopping Unit and Selecting Disc

Initial steps to stop the unit and select the disc for programming.

Program Play Management

REPEAT PLAY

CD SYNCHRONIZED RECORDING

TRACK PROGRAMMING FOR RECORDING TO TAPE

Manual Tape Programming

Random Sequential Tape Programming

AUTOMATIC SEARCHING FOR THE PEAK LEVEL ON A DISC

Performing Peak Level Search

How the unit searches for peak levels on a disc for recording adjustment.

Troubleshooting and Specifications

Troubleshooting Common Issues

A guide to diagnosing and resolving common operational problems with the unit.

Related product manuals