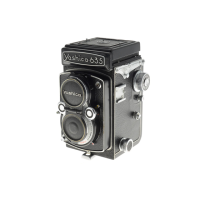
Yashica Twin Lens Reflex Guide - Focal Press January 1964 Page 20 / 55
Scans and Document copyright by Mischa Koning - www.3106.net
This document or parts thereof may not be sold and / or resold in either print form or
electronically without prior written consent from Mischa Koning
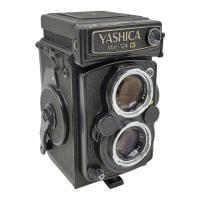
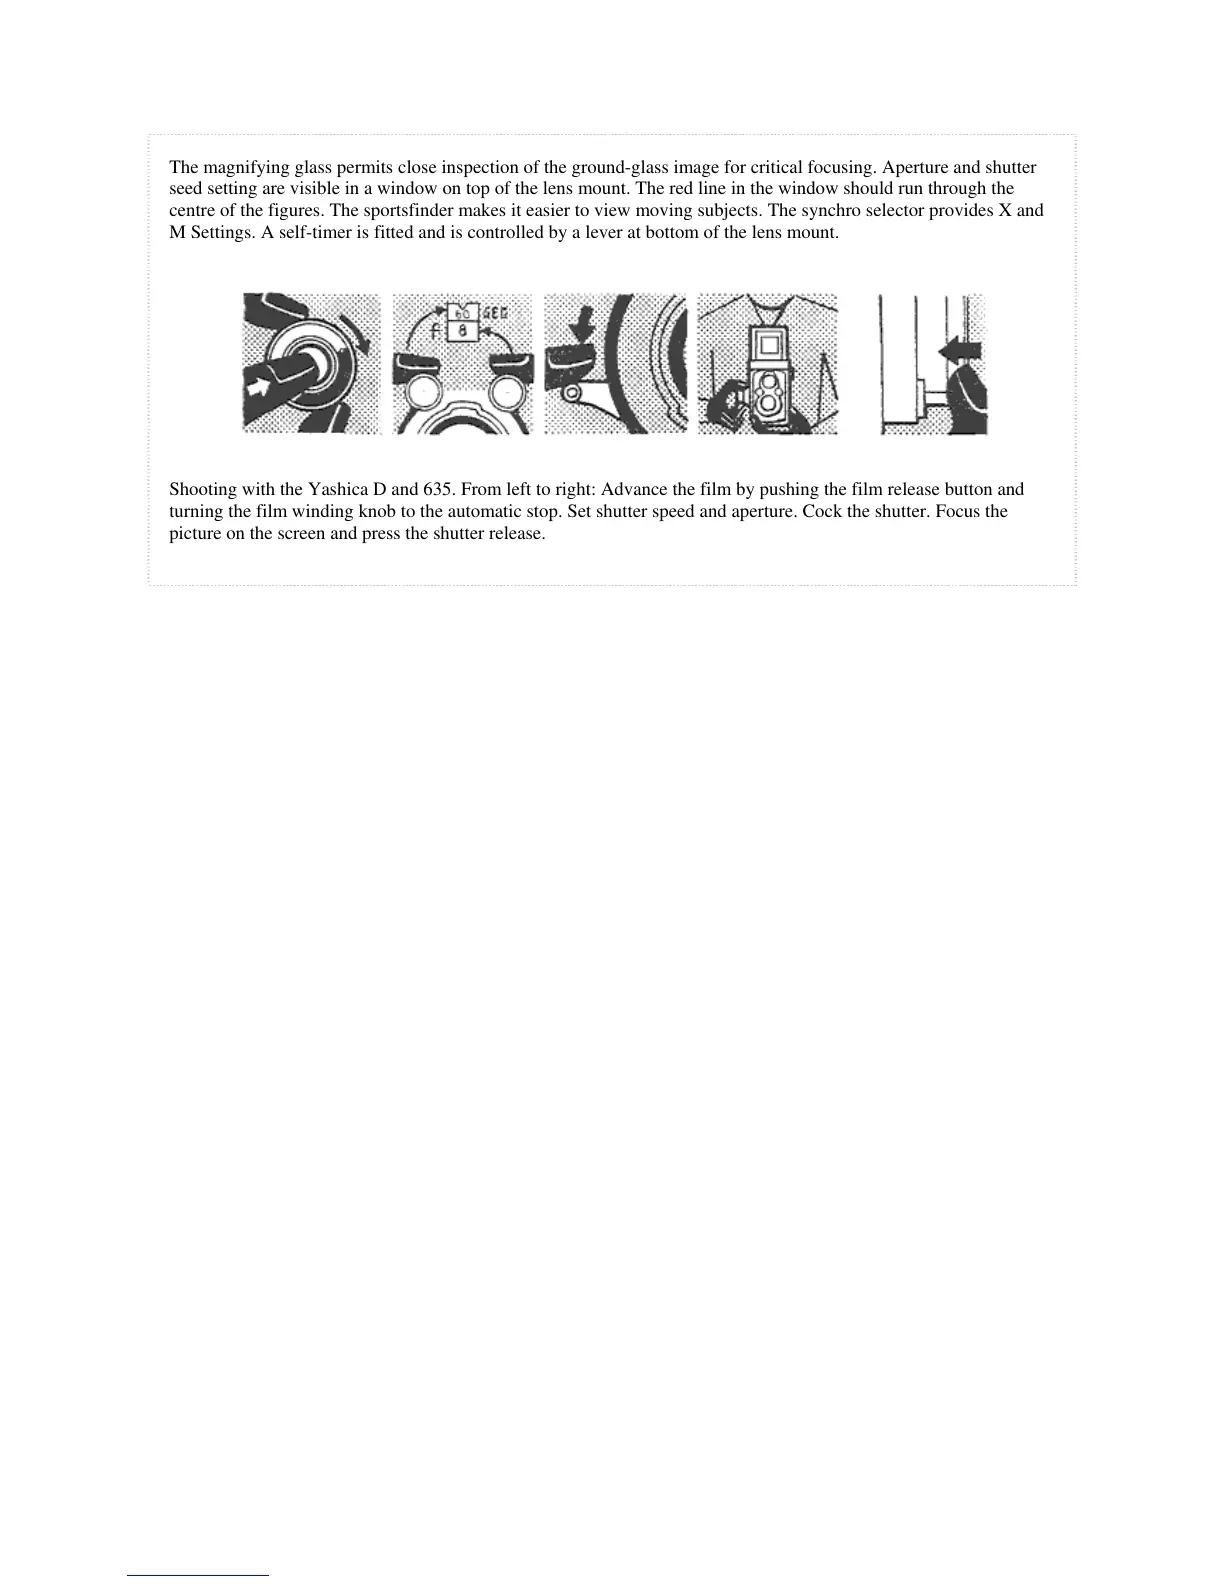
The magnifying glass permits close inspection of the ground-glass image for critical focusing. Aperture and shutter
seed setting are visible in a window on top of the lens mount. The red line in the window should run through the
centre of the figures. The sportsfinder makes it easier to view moving subjects. The synchro selector provides X and
M Settings. A self-timer is fitted and is controlled by a lever at bottom of the lens mount.
Shooting with the Yashica D and 635. From left to right: Advance the film by pushing the film release button and
turning the film winding knob to the automatic stop. Set shutter speed and aperture. Cock the shutter. Focus the
picture on the screen and press the shutter release.
Using 35 mm. Film in Yashica 635
To prepare the camera and load with 35 mm film:
1. Pull out rewind release button engraved "R".
2. Insert 35 mm. converter mask by pointing the sprockets of the mask towards top chamber. Spring the lower part
into the film aperture by exerting slight pressure on the spring base of the mask.
3. Let rewind release button "R" snap back into its original position so that it engages the sprocket wheel.
4. Screw the adapter ring (squat, outside milled) to the film spool support shaft on the right-hand side of the lower
film chamber.
5. Engage the auxiliary support shaft (stepped rod) with the spool of the film cassette.
6. Place the thus prepared film cassette into the lower film chamber by pulling out the spring-loaded film spool
holder on left.
7. Place the 35 mm. take-up spool into the top film chamber (after having removed the rollfilm spool) so that the
cut-out of the black end engages the key of the transport wheel. Pull out the 35 mm. film wind knob (left) to
enable the take-up spool to fit into the chamber. Let the 35 mm. film wind knob spring back and give it a few
turns until the take-up spool starts to turn too. If the 35 mm. film wind knob is locked, press the film release
button (below the "R" button) to release the lock.
8. Pull out the film end and draw it over the film aperture, threading the end into the slot of the take-up spool in the
upper chamber. Now turn the 35 mm. film winding knob to make sure that the film perforations engage in the
sprockets of the mask.
9. Place the film pressure plate with its two pins into the corresponding holes in the mask.
10. Close camera back. Press film release button once and turn 35 mm. film winder as far as it will go. Do this three
times.
11. Set exposure counter on the base of the 35 mm. film winder by its serrated rim until number 1 is opposite its
white indicator dot.
The film is now in position for the first exposure. Generally you will find that 1 exposure less is obtained than
indicated on the film, e.g. on a 36 exposure film 35 on a 20 exposure film 19 exposures. It is advisable to stop at
35 or 19 exposures respectively to obtain easy rewind.
 Loading...