Yashica Twin Lens Reflex Guide - Focal Press January 1964 Page 13 / 55
Scans and Document copyright by Mischa Koning - www.3106.net
This document or parts thereof may not be sold and / or resold in either print form or
electronically without prior written consent from Mischa Koning
Loading and Unloading
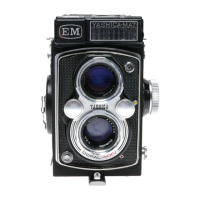
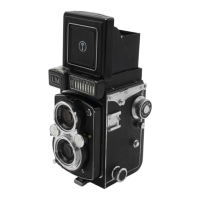
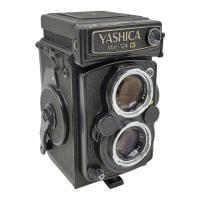
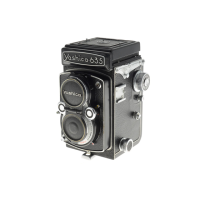
The Yashica reflex uses standard size 120 roll film. It gives 12 exposures 2¼ x 2¼ in. (6 x 6 cm.). The Yashica reflex "44"
uses 127 size roll film for 12 exposures 1 5/6 x 1 5/8 in. (4 x 4 cm.). These are film spools which are loaded into the
camera in daylight. Avoid loading or unloading the camera in brilliant sunlight. Choose a shady spot or do it in the shadow
of your own body if nothing better is available.
Loading
1. Open camera back
by holding the carriers upside down, and turning the ring on the base in the direction of the arrow marked 0, that is anti-
clockwise, fold away the back cover.
2. Insert the film.
The empty spool in the bottom chamber has to be transferred into the top chamber. Pull out the spring knob on the camera
side wall, remove the empty spool and insert it into the top chamber. For this purpose, pull out the spring-loaded knob of
top chamber. Place the empty spool with the grooved end towards the film transport into the top chamber so that the
groove engages in the film transport cross bar. Now allow the spring catch to spring back into its original position and so
engage the empty spool in the chamber. For model 44LM see #.
Insert the roll of film in the bottom chamber after breaking the seal so that the pointed end of the backing paper points
upwards towards the empty spool. Pull the paper end over the film aperture to the empty take-up spool. Insert the wedge-
shaped end of the paper into the wide slot of the take-up spool.
On all Yashica reflex models without a red film window in the camera back, transport the film until the lateral double
arrow (on some makes of film, triangular marks) printed on the film backing paper point to the red triangular marks on
either side of the centre of the film aperture of the camera.
3. Close the camera
by pushing the back panel against the camera body and turn the ring on the base in the direction of the arrow marked C,
that is, in a clockwise direction, to lock the back to the body.
4. Get the film ready for the first exposure #.
5. Set film speed and type #.
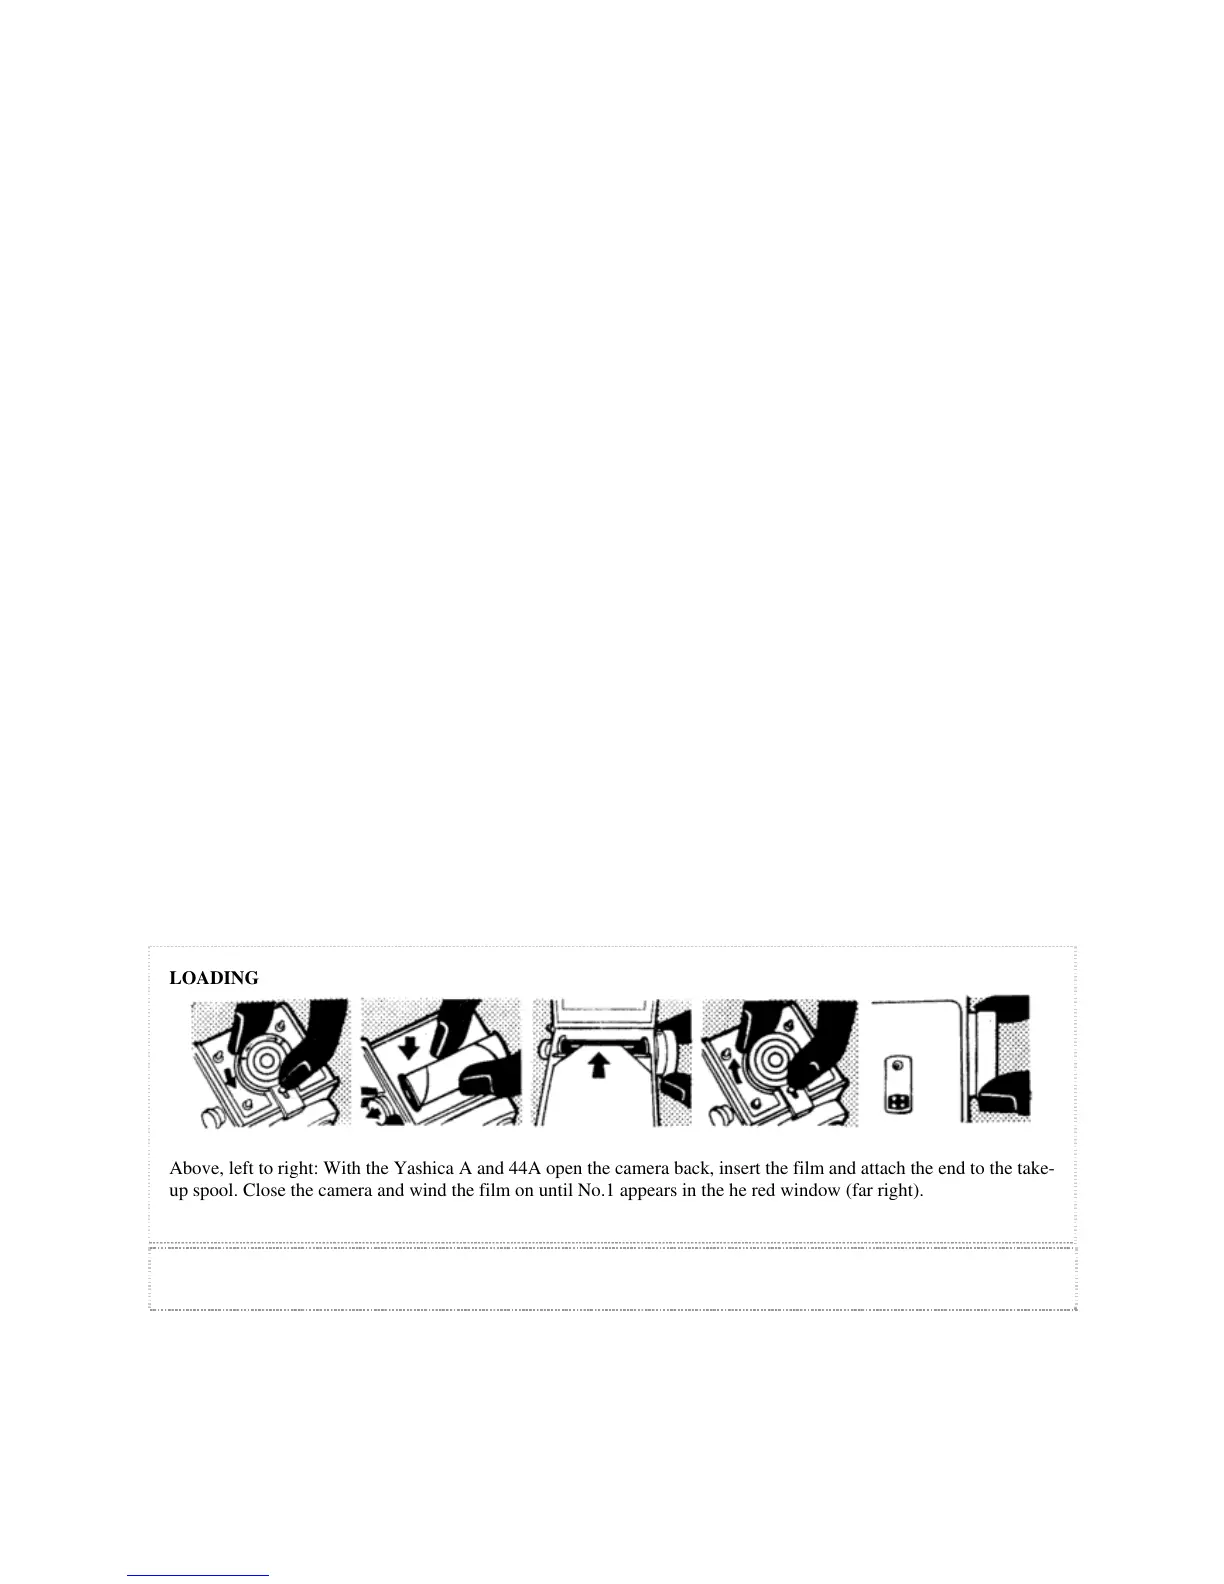
LOADING
Above, left to right: With the Yashica A and 44A open the camera back, insert the film and attach the end to the take-
up spool. Close the camera and wind the film on until No.1 appears in the he red window (far right).
 Loading...