www.yealink.com
Wall Mount Quick Installation Guide
for SIP-T21(P) E2/T23G IP Phones
(V1.0)
This quick installation guide provides step-by-step instructions for mounting your IP
phone to a wall.
This guide applies to the following phone’s wall mount installation:
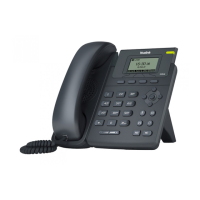
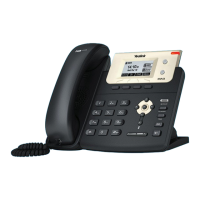
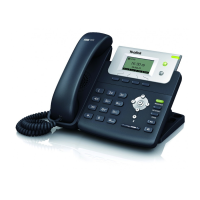
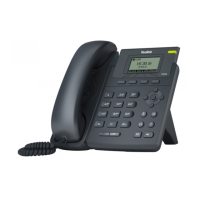
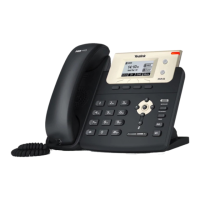
SIP-T21(P) E2 IP Phone
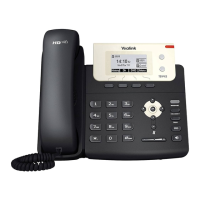
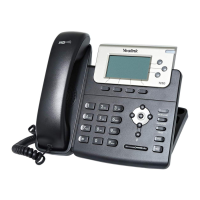
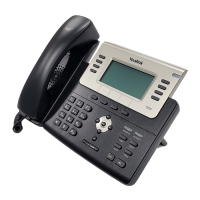
SIP-T23G IP Phone
The stand is required for wall mount installation, which is included with your IP phone.
Screws, wall anchors and applicable tools are also required for wall mount installation.
These are not included with your IP phones. You need to purchase them separately.
Adjusting the Hookswitch Tab
The IP phone is packaged with the hookswitch tab in desk mount position. Before
mounting the IP phone to a wall, you must set the hookswitch tab to wall mount
position.
1. Pull the hookswitch tab in the handset cradle.
2. Rotate the hookswitch tab 180 degrees.
3. Reinsert the hookswitch tab.
To adjust the hookswitch tab: