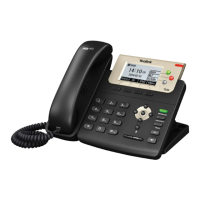
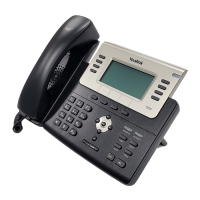
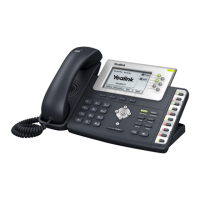
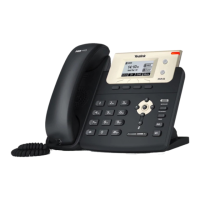
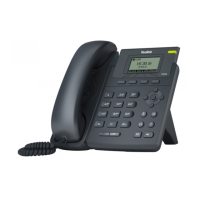
Enterprise IP Phone Getting Started
Note:
Please locate your PC in the same network segment of IP phone (192.168.3.X) to
access the web configuration page. Please consult your system administrator for help.
Network Settings
Choose Network->Internet Port.
DHCP: By default the phone attempts to contact a DHCP Server in your network in
order to obtain its valid network settings, e.g. IP address, sub mask, gateway, DNS
server, etc.
Static IP Address: If your phone cannot contact a DHCP Server for any reason, you
need to enter the network settings manually via Static IP Address. Please contact your
internet administrator for more details.
PPPoE: If you are using the xDSL Modem, you can connect your phone to the internet
via PPPoE mode. Please contact your ISP for the User Name and Password for internet
access.
Note:
Using the wrong network parameters may result in inaccessibility of your phone and
may also have an impact on your network performance. Please contact your network
administrator.
Account Settings
The phone attempts to register to the SIP server using the account/registrar data
provided by the automatic or manual initialization.
Choose Account, you will find the following parameters:
Field Description
Register Status It shows the resister status of the phone.
Line Active You can choose on/off to enable/disable the account respectively.
Label It is shown on the LCD for users to identify the account.
Display Name It is shown as Caller ID when making a phone call.
Register Name It is authenticated ID for authentication, provided by ISP.
User Name User account information, provided by VoIP service provider.
Password It is provided by ISP for registration.
SIP Proxy Server for registration, provided by ISP.
When you have finished the Network and Account Setting configuration, the Register
Status Icons will show in the idle screen:
Registered successfully
Register failed
Registering
- 5 -
 Loading...