- 23 -
FIG.21
MOUNTING
SCREWS
3,9x6 mm
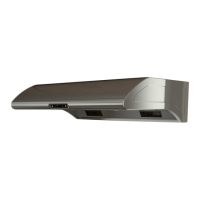
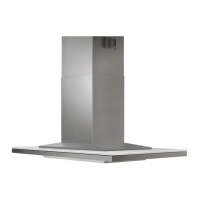
INSTALL THE HOOD
Insert 8 screws (3.9x6mm), located in the
Hardware Package (Fig. 21).
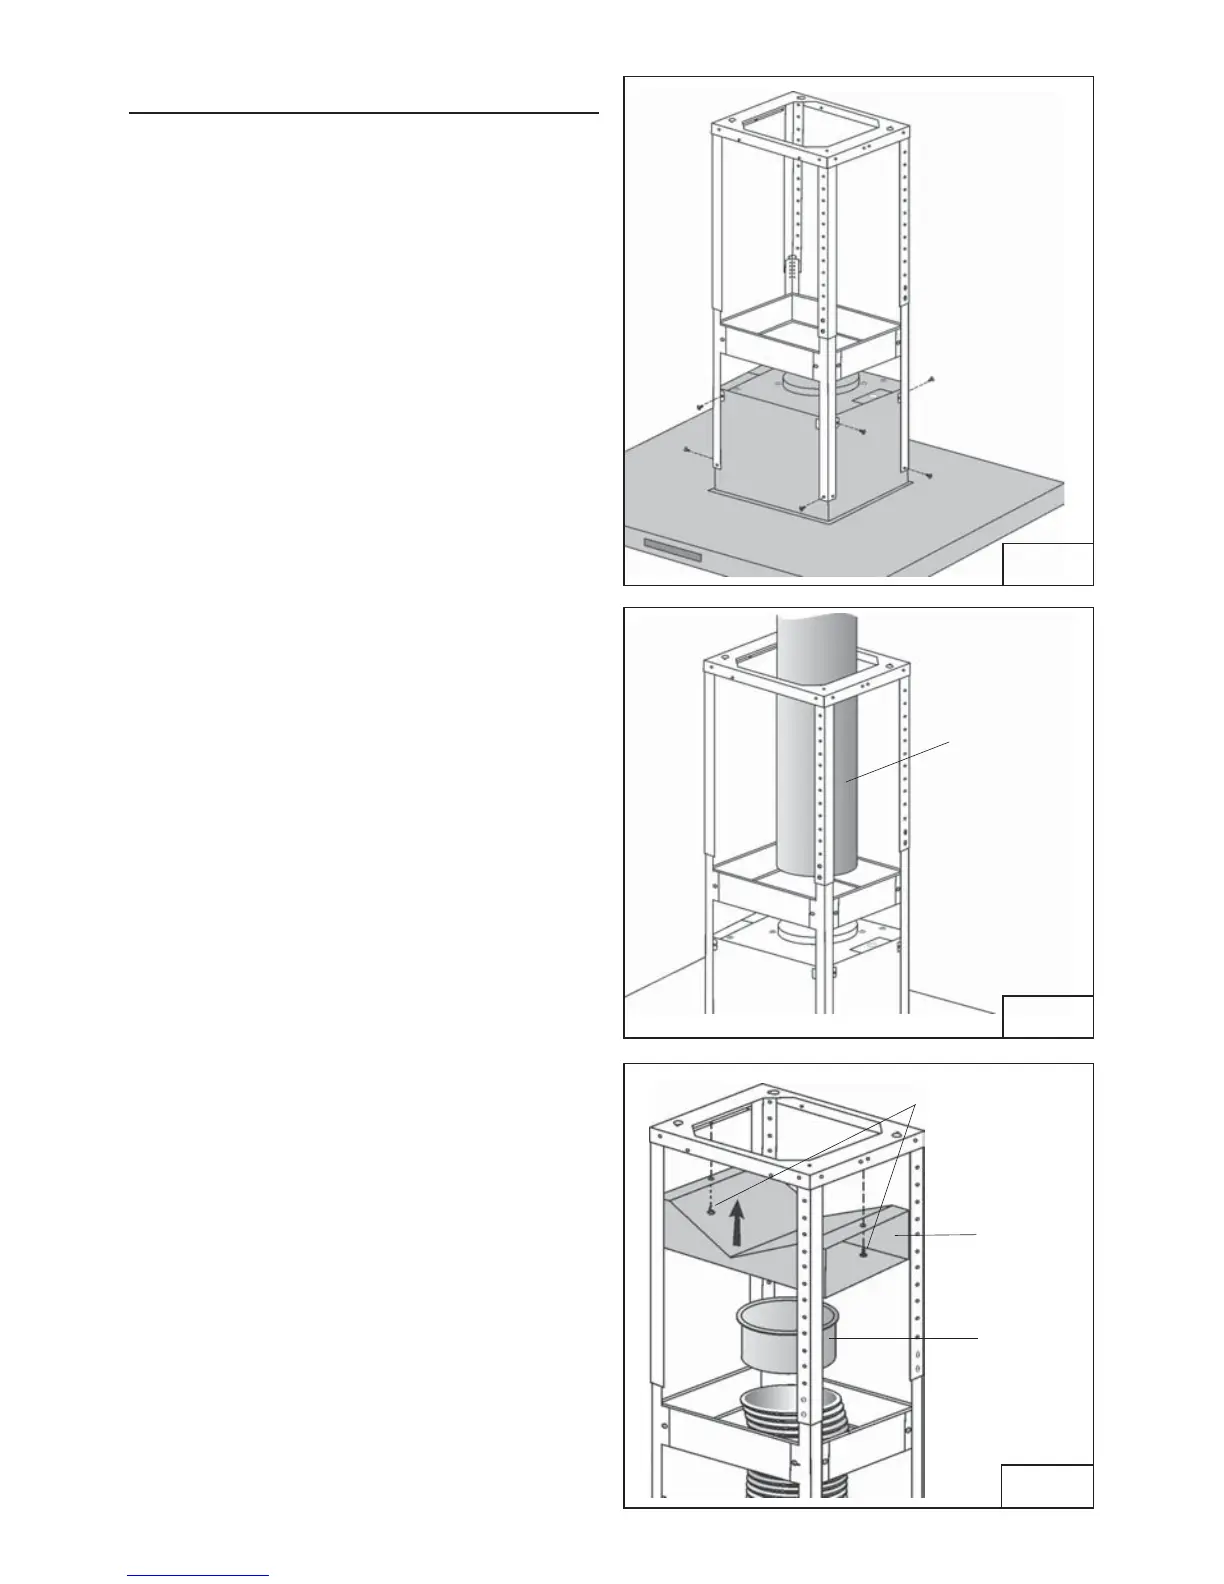
DUCTED INSTALLATION ONLY
Note: Rooms with 10 to 12 foot ceiling
require duct cover extension/support
frame model Z1C-02LL, available from
your local dealer.
Discard the duct covere extension/
support frame supplied with the range
hood and replace it with the longer duct
cover extension.
1. Run 6-inch diameter metal ductwork to
the outside location (Fig.22).
2. Install an appropriate wall or roof cap
with damper to exhaust the air to the
outside.
3. Tape all duct joints with aluminum duct
tape.
NON-DUCTED INSTALLATION ONLY
Note:
a. Purchase Model ZRC-01LL Non-
ducted Recirculating Kit from your
local dealer.
b. Rooms with 10 to 12 foot ceiling
require duct cover extension/support
frame model Z1C-02LL, available
from your local dealer.
Discard the duct cover extension/
support frame supplied with the
range hood and replace it with the
longer duct cover extension.
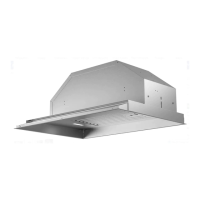
1. Install the plenum to the frame using
(4) 3.9 x 6 mm screws provided as
shown (Fig.23).
2. Install the 6” duct connector.
3. Attach 6-inch expandable ducting to the
plenum and tape joint with aluminum
duct tape.
FIG.22
6-INCH DIA.
METAL DUCT
FIG.23
PLENUM
MOUNTING SCREWS
(3.9 x 6mm Flat Head)
6” DUCT
CONNECTOR
 Loading...