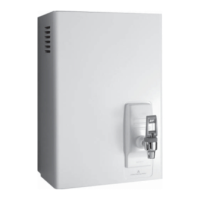
August / 2014 Page 7 DEX & DBX Installation, Maintenance and User Instructions V1.05
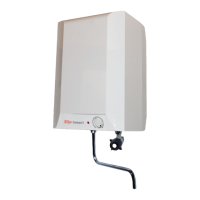
Installing the wall bracket
before installation to remove any water
borne debris.
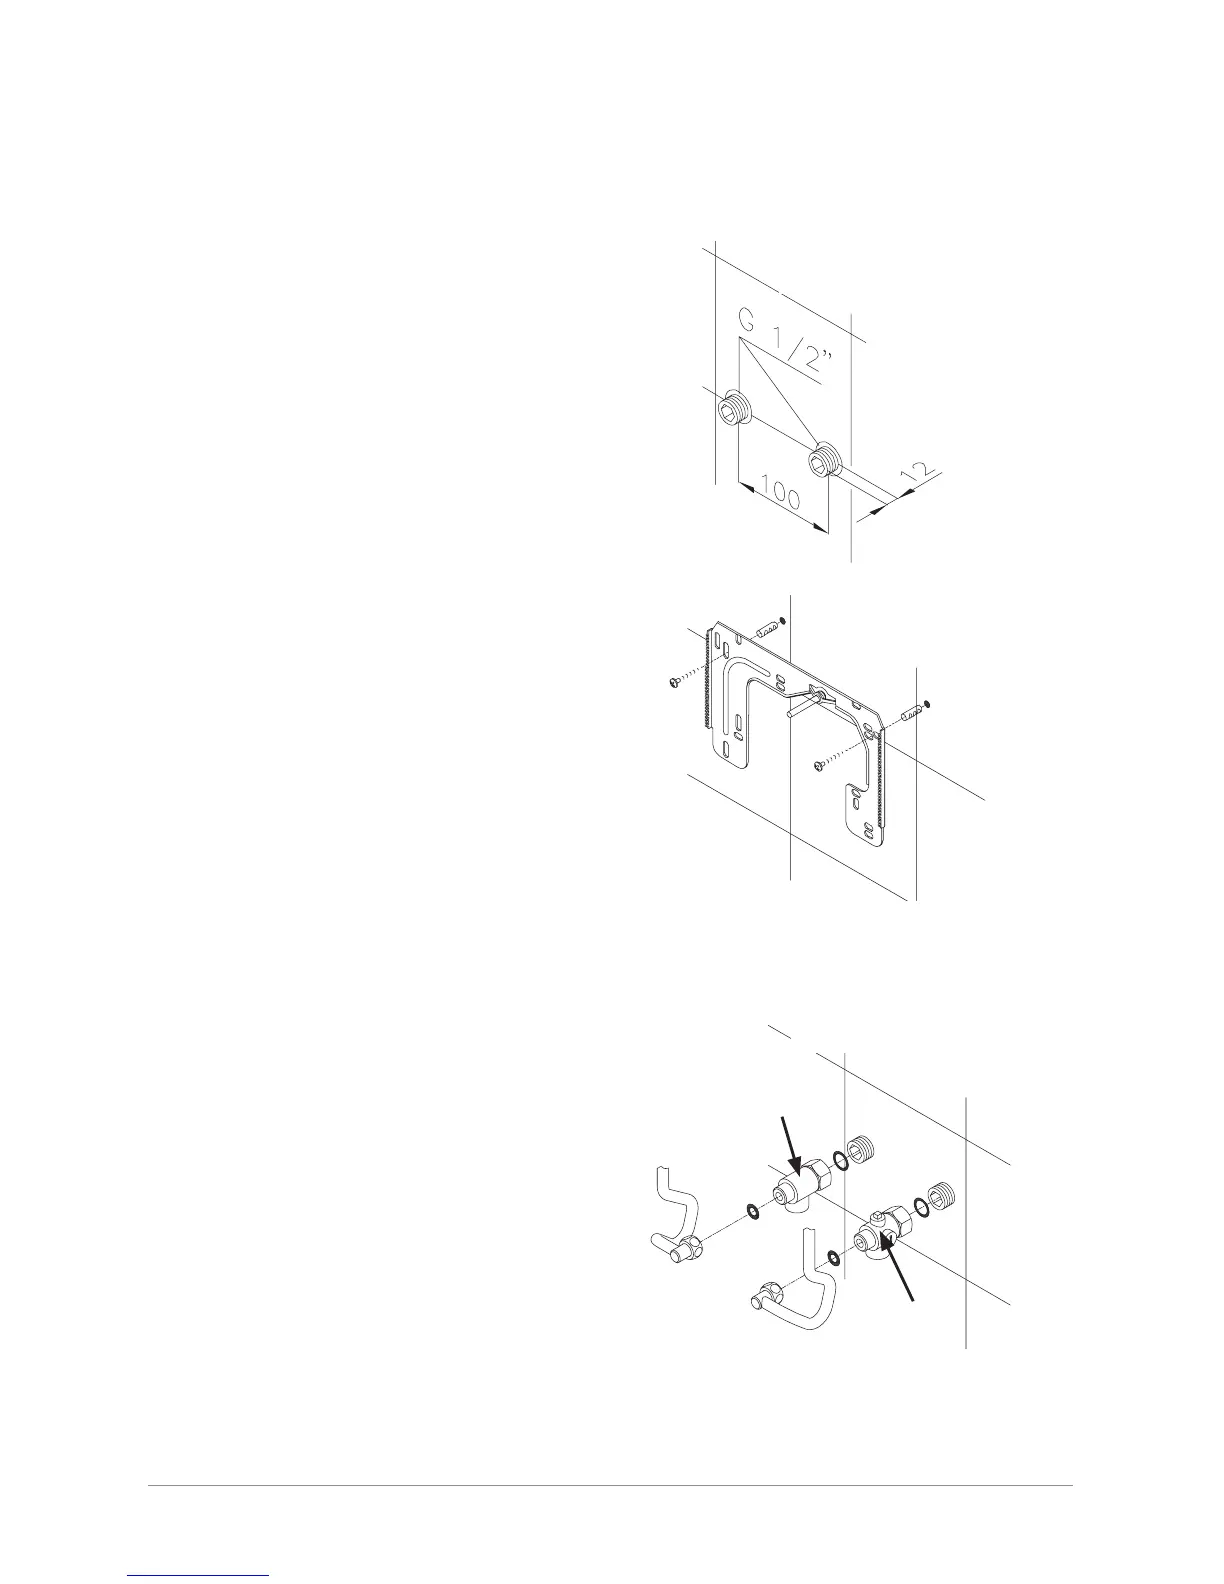
2. Using a 12mm hexagon key, screw the screw
in nipples into the wall connections. After
tightening the double nipples must protrude
by 12mm.
3. Hold the mounting template on the wall and
over the connections. Use the template to
locate the drilling positions and drill them with
a 6mm bit, ensuring that there are no hidden
cables or pipe-work. Attach the wall bracket
4. Offset tiling or uneven surfaces can be
compensated for by up to 30mm with the aid
between the wall and the wall bracket.
Installing the connection pieces
1. Screw the cold water connection piece (A)
with the union nut and the ½” seal onto
the cold water connection.
2. Screw the hot water connection piece
(B) with the union nut and the ½” seal
onto the hot water connection.
Fig 1
Fig 2
A
B
•
15°C. for type DEX, and at least 1,300 ohm.cm 15°C for type DBX and DEX12.
 Loading...