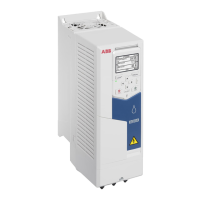
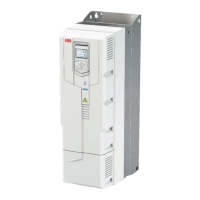
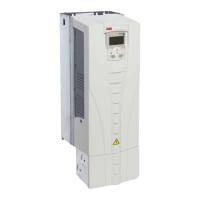
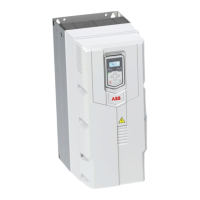
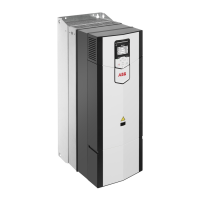
EN – R1…R4 Quick installation guide 17
Switch off the power and open the cover
See figure B1 on page 51.
2. Switch off the power from the drive.
3. Remove the front cover: Loosen the retaining screw, if any, with a screwdriver (3a)
and lift the cover from the bottom outwards (3b) and then up (3c).
Install the cable box
Only for frames IP21, R1….R2.
See figures B1 on page 51.
4. IP21, R1….R2:
Remove the screw (4a) and lift the cover off (4b) from the
separate cable box.
5. IP21, R1….R2:
Attach the cable box cover to the front cover.
6. IP21, R1….R2:
Install the cable box to the frame. Position the cable box (6a) and
tighten the screws (6b).
Attach the warning sticker
See figure B2 on page 51.
7. Attach the residual voltage warning sticker in the local language.
Check the compatibility with IT (ungrounded), corner-
grounded delta, midpoint-grounded delta, and TT systems
See figure B3 on page 51.
EMC filter
A drive with the internal EMC filter connected can be installed to a symmetrically
grounded TN-S system. If you install the drive to another system, you may need to
disconnect the EMC filter. See section Checking the compatibility with IT
(ungrounded), corner-grounded delta, midpoint-grounded delta, and TT systems (for
IEC) in ACQ580-01 (0.75 to 250 kW, 1.0 to 350 hp) hardware manual
(3AXD50000044862 [English]).
WARNING! Do not install a drive with the EMC filter connected to a system
that the filter is not suitable for. This can cause danger, or damage the drive.
Note: When the internal EMC filter is disconnected, the EMC compatibility of the
drive is considerably reduced. See section EMC compatibility and motor cable length
 Loading...