FOR MODELS: JGW, JGR AND JGJ SECTION 5 - MAINTENANCE
PAGE 5 - 8 1/01
Crankshaft - Removal
1. Remove the coupling shim pack. Remove the coupling hub. (In order to remove
the coupling hub it may be necessary to heat it. Use insulated gloves to protect
hands.) If the coupling hub is not removed, the drive end cover cannot be
removed and will need to be lifted out with the crankshaft.
2. Remove the top cover, spacer bars and drive end cover (if the coupling hub has
been removed). Tip: If the spacer bar bolts are difficult to remove, use a 12 point
hammer wrench.
3. Be careful not to damage the sharp corners on each end of the top of the crank-
case. These corners form the junction between the end covers, top cover, and
base; thus they must be kept sharp and unmarred to prevent oil leaks.
4. Detach the connecting rods. (See “Connecting Rod - Removal” on page 5-2.)
Move the rods to their full outer position.
5. Remove the capscrews on the chain adjustment cap. Turn the cap to loosen the
chain. Slip the chain off the crankshaft sprocket.
6. Remove the capscrews from the bearing caps. Pull the caps straight up to pre-
vent damage to the dowel fit. If the cap is tight, use a Bearing Cap Puller as illus-
trated in Figure 5-5:
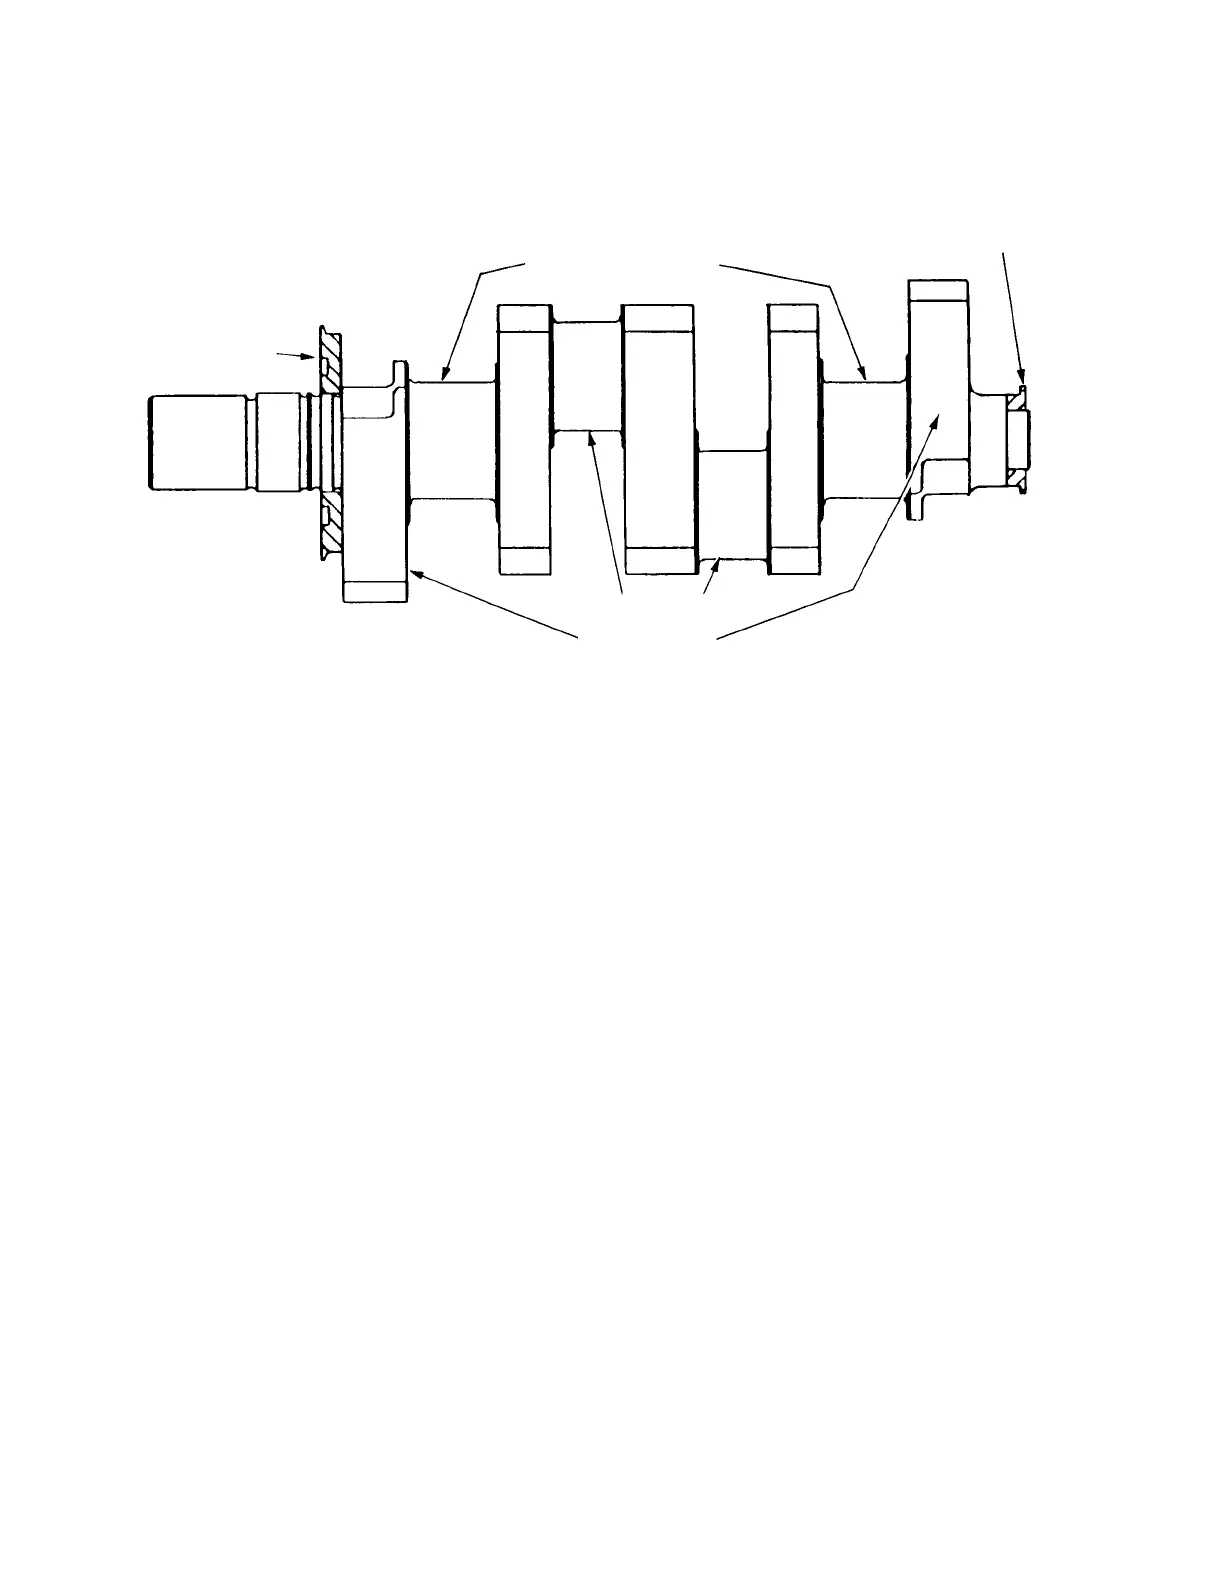
FIGURE 5-4: CRANKSHAFT WITH SLINGER AND SPROCKET - TYPICAL
Counterweights
Crank Pins
Drive End
Sprocket
Main Bearing Journals
Oil Slinger
 Loading...