EasyManua.ls Logo

Asus M2A User Manual

Asus M2A
88 pages
To Next Page IconTo Next Page
To Previous Page IconTo Previous Page
Page #48 background imageLoading...
Page #48 background image
48
4 Using the Notebook PC
Inserting a PC Card (PCMCIA)
1. Insert the PC card with the connector side first.
When the PC card is fully inserted, the PC card
bay door can close normally without striking
the PC card.
2. Carefully connect any cables or adapters
needed by the PC card. Usually connectors
can only be inserted in one orientation. Look
for a sticker, icon, or marking on one side of
the connector representing the top side.
1. Press in the toggle eject button and release. The
recessed spring loaded toggle button will ex-
tend when pushed in and released.
2. Press the extended button again to eject the
PC Card. Carefully pull the ejected PC card
out of the socket.
Removing a PC Card (PCMCIA)
To remove the PC card, first remove all cables or adapters attached to the PC card, then double-click the
PC card icon on the Windows taskbar and stop the PC card you want to remove.
Be sure the PC card is
level when inserting.
INSERT THIS END

Table of Contents

Question and Answer IconNeed help?

Do you have a question about the Asus M2A and is the answer not in the manual?
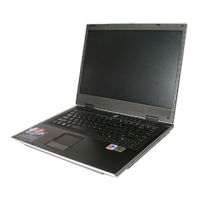
Asus M2A Specifications

General IconGeneral
Memory TypeDDR2
GraphicsIntel GMA 950
Storage120GB HDD
Display1280x800
Battery6-cell

Summary

Safety Statements

Federal Communications Commission Statement

FCC compliance, operation subject to two conditions, and interference guidelines.

Canadian Communications Statement

Compliance with Canadian Class B digital apparatus noise emission limits.

Nordic Lithium-Ion Battery Cautions

Warnings about battery explosion risk and proper replacement/disposal procedures.

General Notebook PC Safety

Precautions to ensure safe operation and longevity of the Notebook PC.

CTR 21 Modem Approval

Approval status for Notebook PC modem connectivity across European networks.

UL Safety Notices

Safety compliance for telecommunication equipment and lithium batteries.

Knowing the Parts

Getting Started

Power Connection Setup

Steps for connecting the Notebook PC to an AC power source using the adapter.

Powering On and POST Procedure

Guide to turning on the Notebook PC and understanding the Power-On Self Test.

Power Management and System Restart

Configuring power saving modes and procedures for restarting the system.

Using the Notebook PC

Modem Connection and Protocols

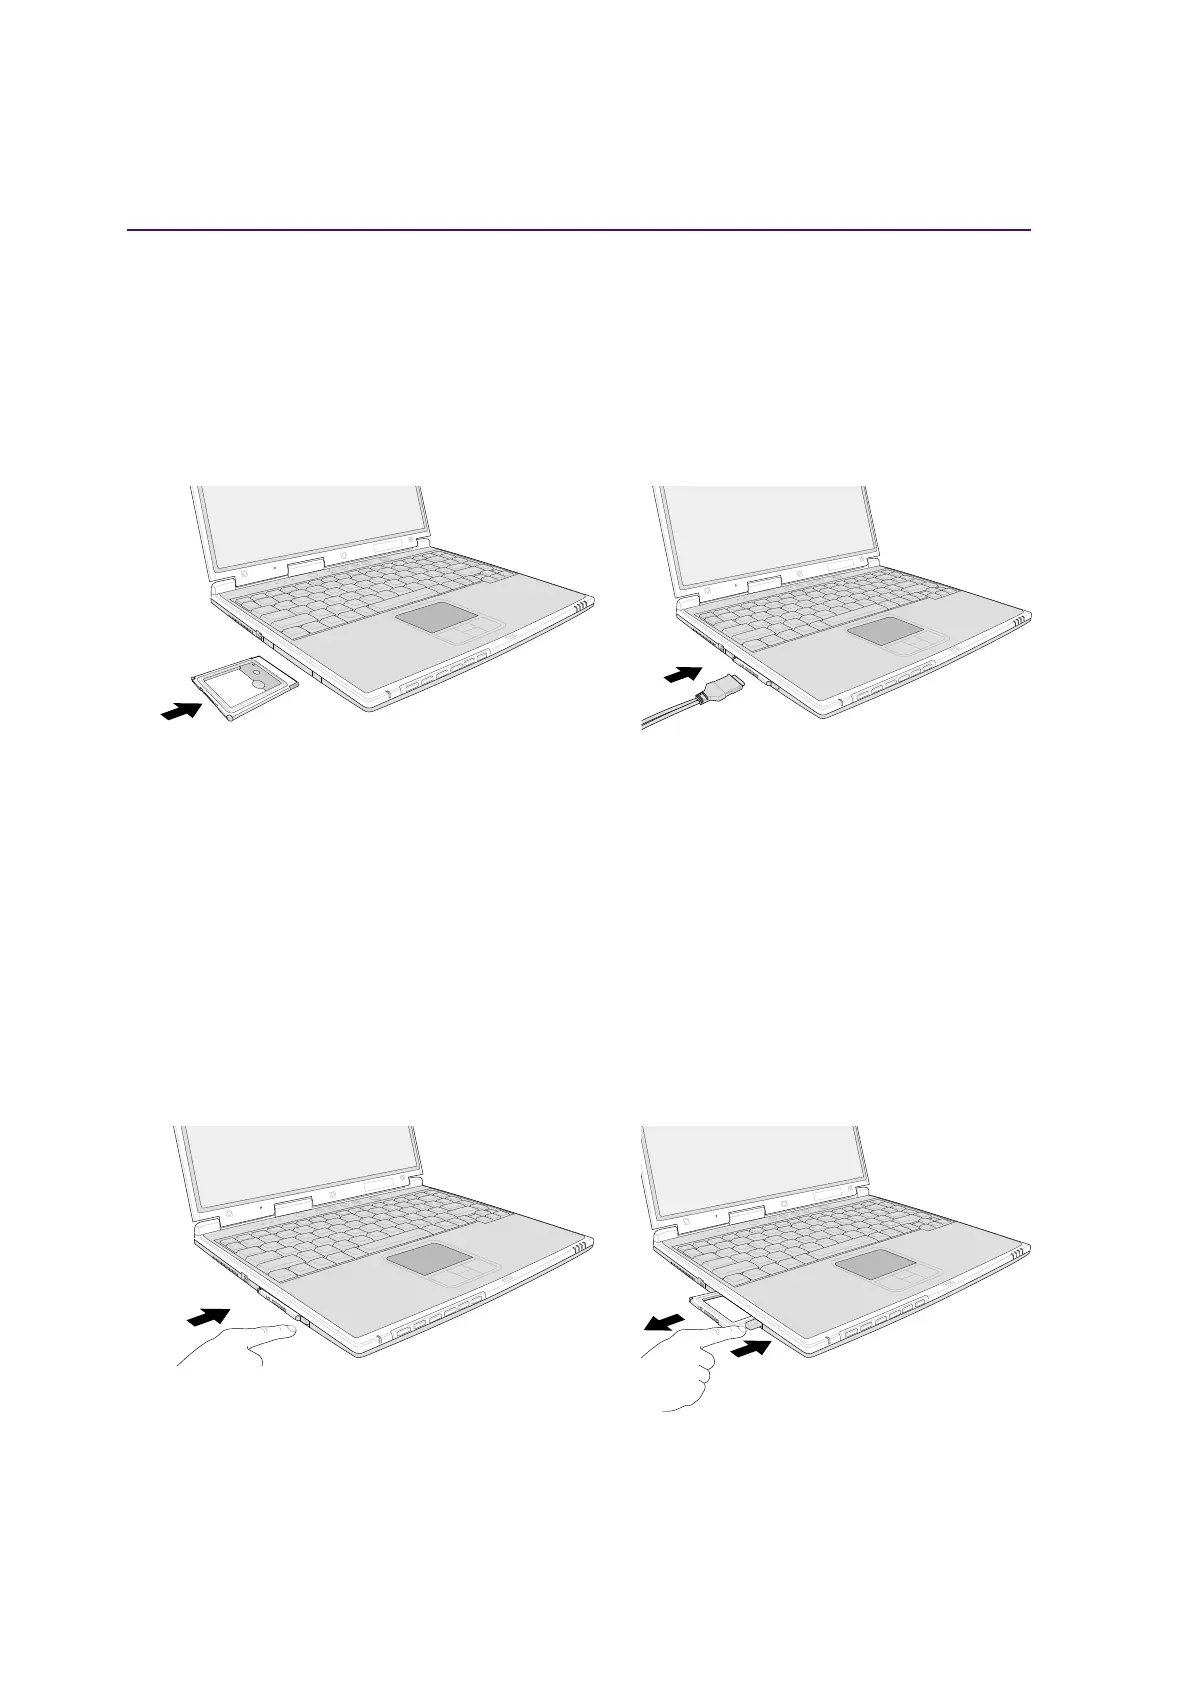
How to connect the built-in modem and its supported protocols.

Notebook PC Power Systems

Overview of AC power adapter, battery pack, and charging procedures.

Battery Power Management

How to use battery power and manage battery settings for optimal performance.

Power Management Modes and States

Explanation of power saving modes like Standby, Hibernation, and ACPI.

System Components and Upgrades

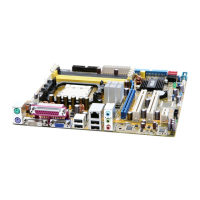
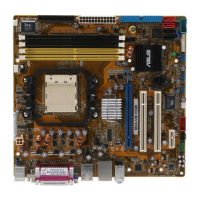
Details on memory expansion, hard disk drive, and upgrade options.

Configuring the BIOS

BIOS Setup Program Overview

Introduction to the BIOS Setup utility and its purpose.

BIOS Update and Navigation

Procedures for updating the BIOS and navigating setup menus.

BIOS Help and Resetting

Accessing help, understanding sub-menus, and resetting BIOS settings.

Main Menu System Configuration

Adjusting system time, date, and basic drive settings in the Main menu.

Main Menu Display Settings

Configuring video display devices and viewing installed memory status.

Primary Master Drive Configuration

Detailed settings for the primary IDE hard disk drive.

Primary Master Drive Configuration Details

Specific drive parameters like Cylinders, Heads, Sectors, and SMART monitoring.

Security Menu Password Settings

Setting up system and hard disk passwords for enhanced security.

Boot Menu Device Order

Specifying the sequence of devices for system boot-up.

Related product manuals