Asteroids
F. Fluorescent Tube
Replacement
---
A WARNING -
If you drop a fluorescent tube and it
breaks, it will implode! Shattered glass
can fly 6 feet or more from the implosion.
Use care when replacing any fluorescent
tube.
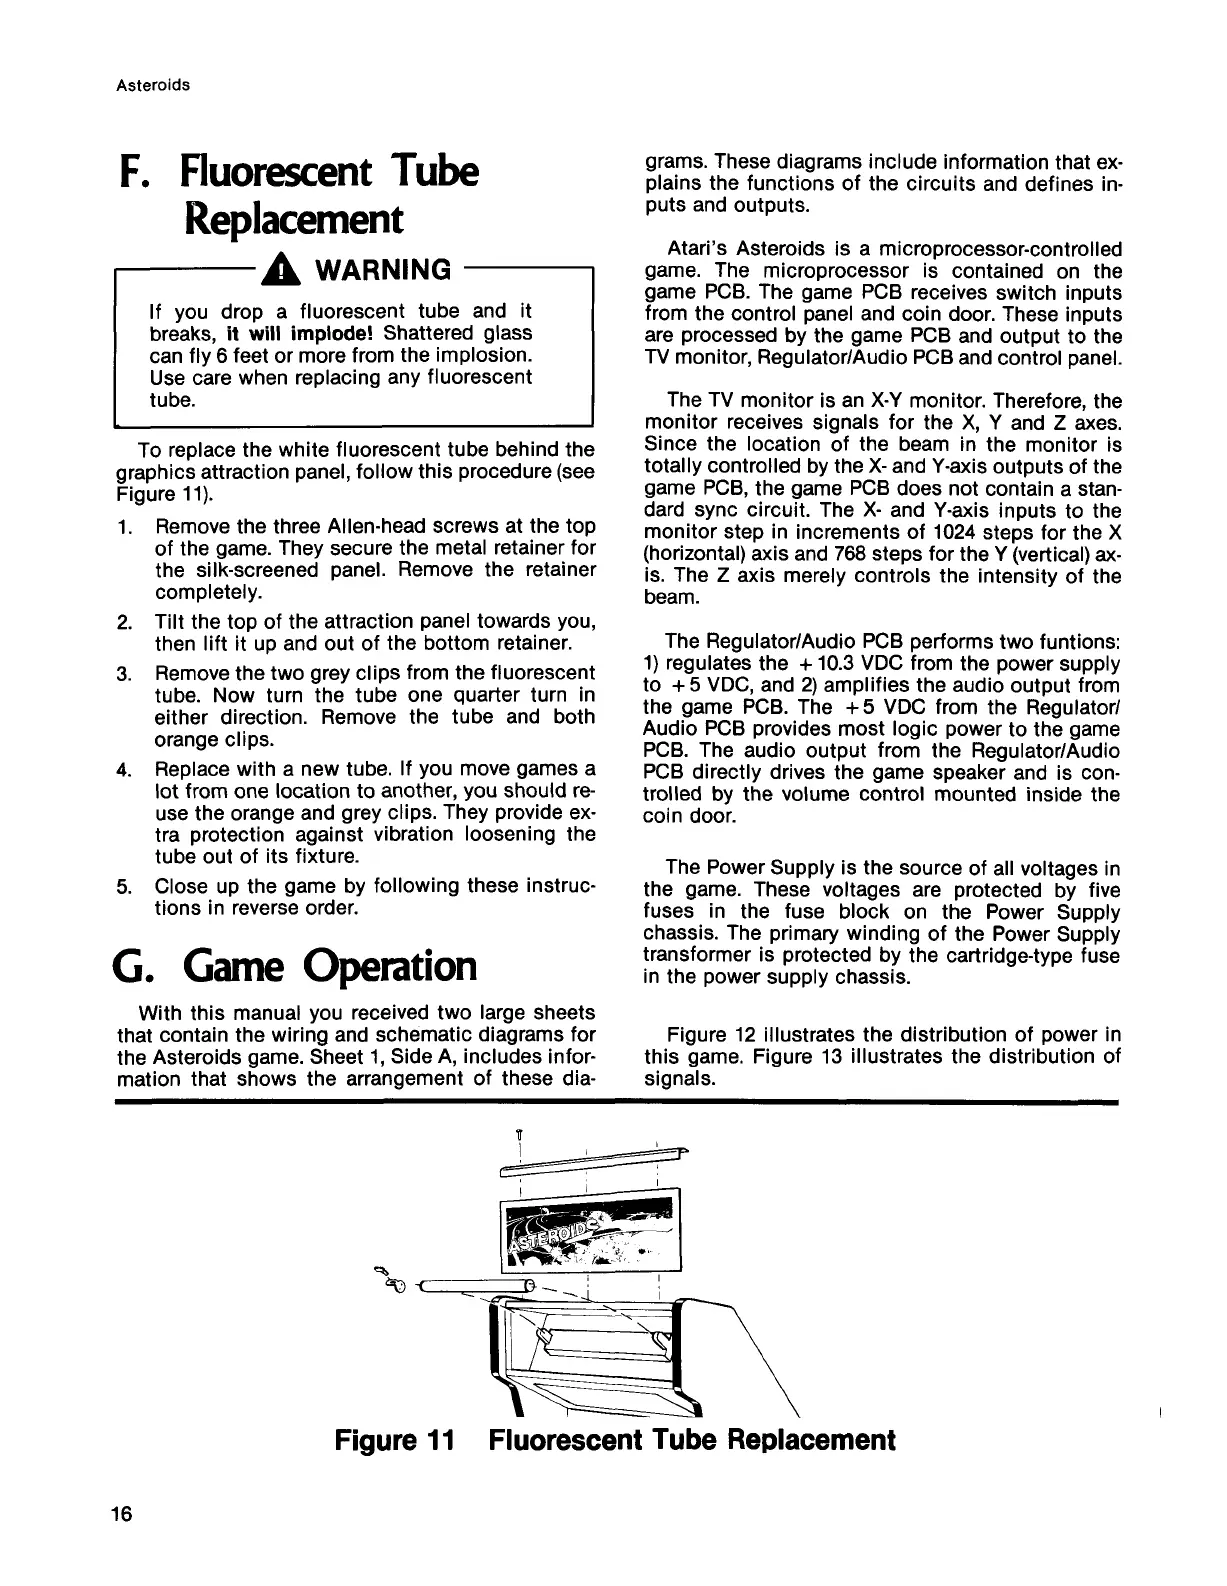
To replace the white fluorescent tube behind the
graphics attraction panel, follow this procedure (see
Figure 11).
1. Remove the three Allen-head screws at the top
of the game. They secure the metal retainer for
the silk-screened panel. Remove the retainer
completely.
2. Tilt the top of the attraction panel towards you,
then lift it up and out of the bottom retainer.
3. Remove the two grey clips from the fluorescent
tube. Now turn the tube one quarter turn in
either direction. Remove the tube and both
orange clips.
4. Replace with a new tube. If you move games a
lot from one location to another, you should re
use the orange and grey clips. They provide ex
tra protection against vibration loosening the
tube out of its fixture.
5. Close up the game by following these instruc
tions in reverse order.
G. Game Operation
With this manual you received two large sheets
that contain the wiring and schematic diagrams for
the Asteroids game. Sheet 1, Side A, includes infor
mation that shows the arrangement of these dia
grams. These diagrams include information that ex
plains the functions of the circuits and defines in
puts and outputs.
Atari’s Asteroids is a microprocessor-controlled
game. The microprocessor is contained on the
game PCB. The game PCB receives switch inputs
from the control panel and coin door. These inputs
are processed by the game PCB and output to the
TV monitor, Regulator/Audio PCB and control panel.
The TV monitor is an X-Y monitor. Therefore, the
monitor receives signals for the X, Y and Z axes.
Since the location of the beam in the monitor is
totally controlled by the X- and Y-axis outputs of the
game PCB, the game PCB does not contain a stan
dard sync circuit. The X- and Y-axis inputs to the
monitor step in increments of 1024 steps for the X
(horizontal) axis and 768 steps for the Y (vertical) ax
is. The Z axis merely controls the intensity of the
beam.
The Regulator/Audio PCB performs two funtions:
1) regulates the +10.3 VDC from the power supply
to + 5 VDC, and 2) amplifies the audio output from
the game PCB. The +5 VDC from the Regulator/
Audio PCB provides most logic power to the game
PCB. The audio output from the Regulator/Audio
PCB directly drives the game speaker and is con
trolled by the volume control mounted inside the
coin door.
The Power Supply is the source of all voltages in
the game. These voltages are protected by five
fuses in the fuse block on the Power Supply
chassis. The primary winding of the Power Supply
transformer is protected by the cartridge-type fuse
in the power supply chassis.
Figure 12 illustrates the distribution of power in
this game. Figure 13 illustrates the distribution of
signals.
Figure 11 Fluorescent Tube Replacement
16