2. A dismounted belt has to be replaced with a new one.
3. Take off the hood.
4. Loosen the applicable nuts.
5. Replace the belt.
6. Reassemble in reverse sequence.
7. Stretch the V-belts with the V-belt tension meter.
Refer to V-belt tensioning on page 73 for details.
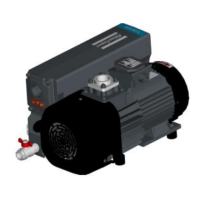
GVS 630A
Tools required: Key 19 and 24.
1. Take off the hood. Loosen the applicable nuts.
2. Loosen the push rod.
3. Remove the V belts.
4. Reassemble in reverse sequence.
5. Stretch the V
-Belts with the V-belt tension meter.
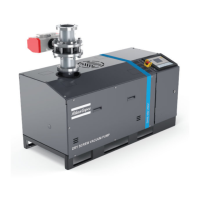
7.6.7. V-belt tensioning
How to use the V-belt tension meter
▪ The tension meter is a tool designed to check and re‑tighten the V‑belts. It is
made of two sliding pipes with a graded spring inside.
▪ Refer to Figure: Belt tensioning. Set the first O-ring at 1 mm (0.03 inch) (PIX)
on the millimetre scale or 25 inches of span, as shown in picture 3, and the
other O‑ring on position 0 on the Newton scale.
▪ Install the tension meter as shown in picture 1, in the middle, halfway between
the V‑belt contacts point of the V‑belts and the two pulleys.
▪ Push the Newton scale's black rubber down to reach a 10 mm (0.39 inch)
bending of the V‑belt as shown in pictures 2 and 4.
12/2021 - ©Atlas CopcoPage 736996022430_C
Maintenance
 Loading...