4. Auto-close setting (Optional)
5.Photo beam setting (Optional)
6. Operate Terminal
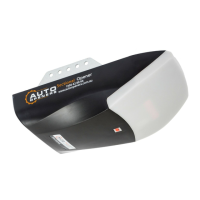
Press the ‘UP’ button and hold on until the LED displays
‘-’. E v e r y t i m e y o u p ress t h e ‘UP’ button, the
auto-close time will
increase by 1 minute, the
maximum time is 9 minutes.
By pressing the ‘down’
button. the auto-close time will decrease by 1 minute.
The auto-close function will be turned off
when LED
displays 0. Press the ‘SET’ button to confirm.
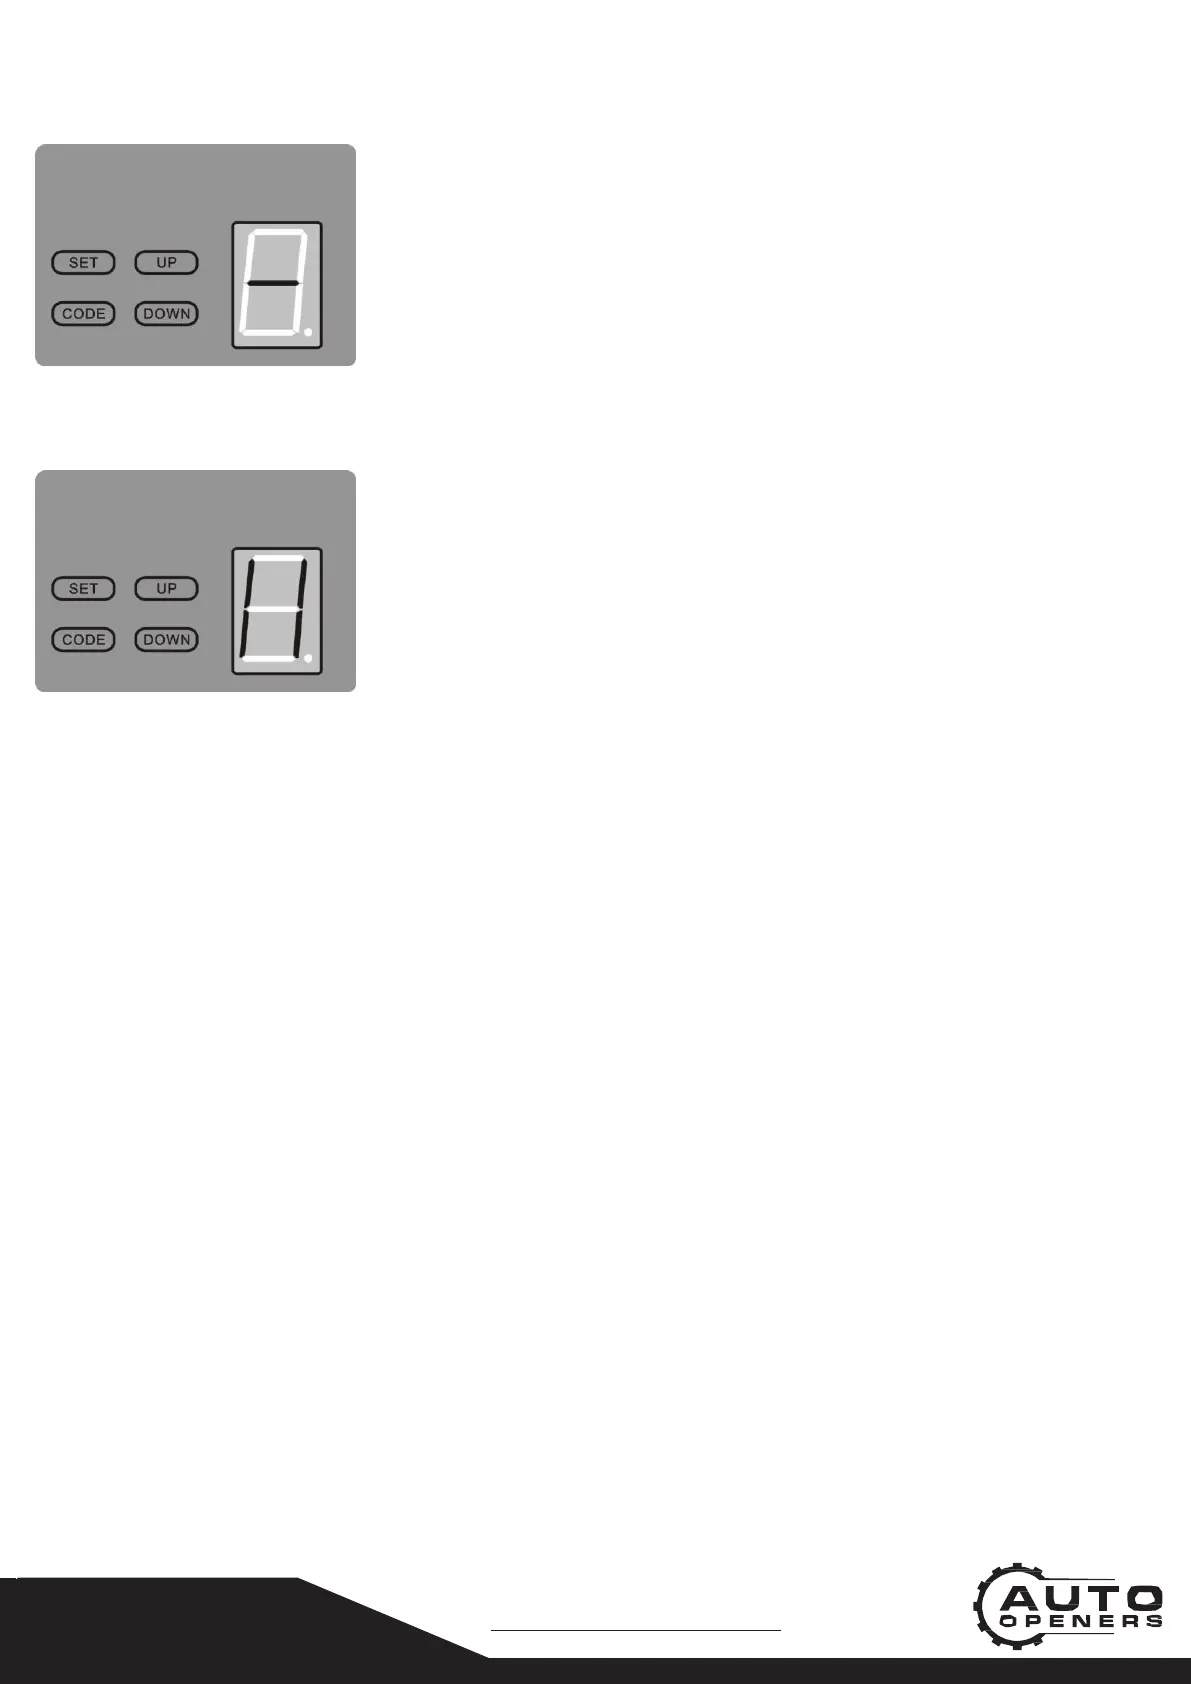
Please note, your Photo Beams must be installed and lined
up correctly before proceeding.
Press t h e ‘DOWN’ button and hold on until the LED
displays ’11’, then press ‘UP’ button u n t i l the LED
displays ‘H’.
The photo beam function is now available.
Press the ‘DOWN’ button
u n t i l
the LED displays ‘11’ to
cancel this function. When
setting is finished, press ‘SET’
to confirm. When
connecting pulsed quantity control
infrared sensor, wiring
as p e r Fig.12. When infrared sensor
is controlled by switch
value, wiring as per Fig.13. Notice:
Disable the photo beam
function when you don’t use photo
beam sensor.
Connecting a switch to this terminal, you can
use the
switch when maintaining or the transmitter is left
in
garage(Fig.12).
 Loading...