8/16 PS/2 KVM over IP switch
22
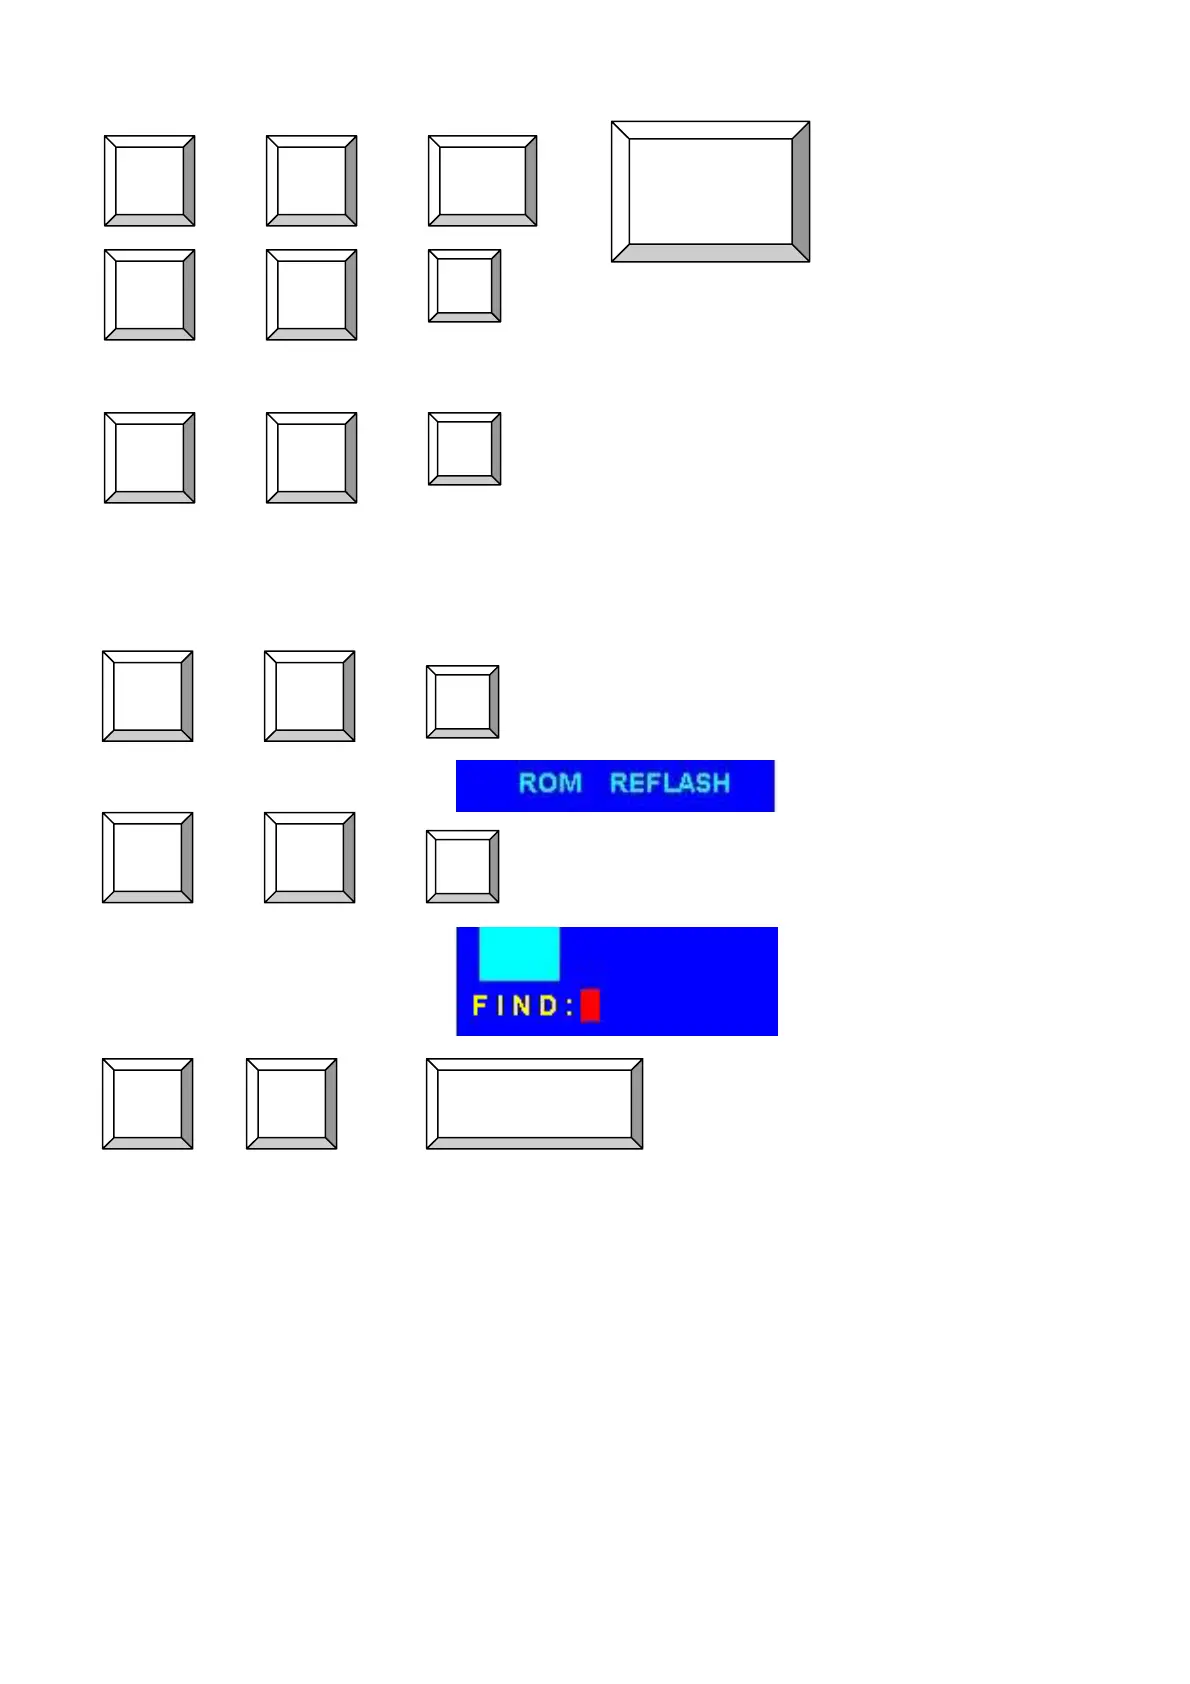
To select PC port:
+ + + = Selected Bank and PC
+ + = Beeper on local KVM Switch
(Note: The default Beeper function is ON and
beeper control is only for available for Scan
Mode )
+ + + = Auto Scan
To get out of Auto Scan Mode, Press any key or SPACE bar.
+ + = OSD setting back to factory default value
(Note: Not including password)
+ + = Search the same PC name
(Note: Search PC name starting from 1
st
PC port)
+ + + = On Screen Display Menu
5.2.1 Daisy Chain Connection Diagram
Please use the attached 3 feet 3-in-one daisy chain Cable (90 feet) Kit to daisy chain the
KVM Switch.
A. Connect Keyboard, Mouse and Monitor to the console port (Local console block) of bank 1
KVM switch.
B. Use one end of 3-in-one Cable Kit to connect the daisy chain port of bank 1 and the other end
for the console port (Daisy-chain block) of bank 2 KVM switch.
C. Please repeat item B to daisy chain more bank as you want. But, the maximum daisy chain
bank is eight levels.
Scroll
Lock
Scroll
Lock
Scroll
Lock
Scroll
Lock
Scroll
Lock
Scroll
Lock
B
S
Bank
No 1~8
Port No.
01~08 (8 port)
01~16 (16 port)
01~32 (32 port)
Scroll
Lock
Scroll
Lock
Scroll
Lock
Scroll
Lock
Scroll
Lock
Scroll
Lock
R
F
SPACE BAR
 Loading...