34
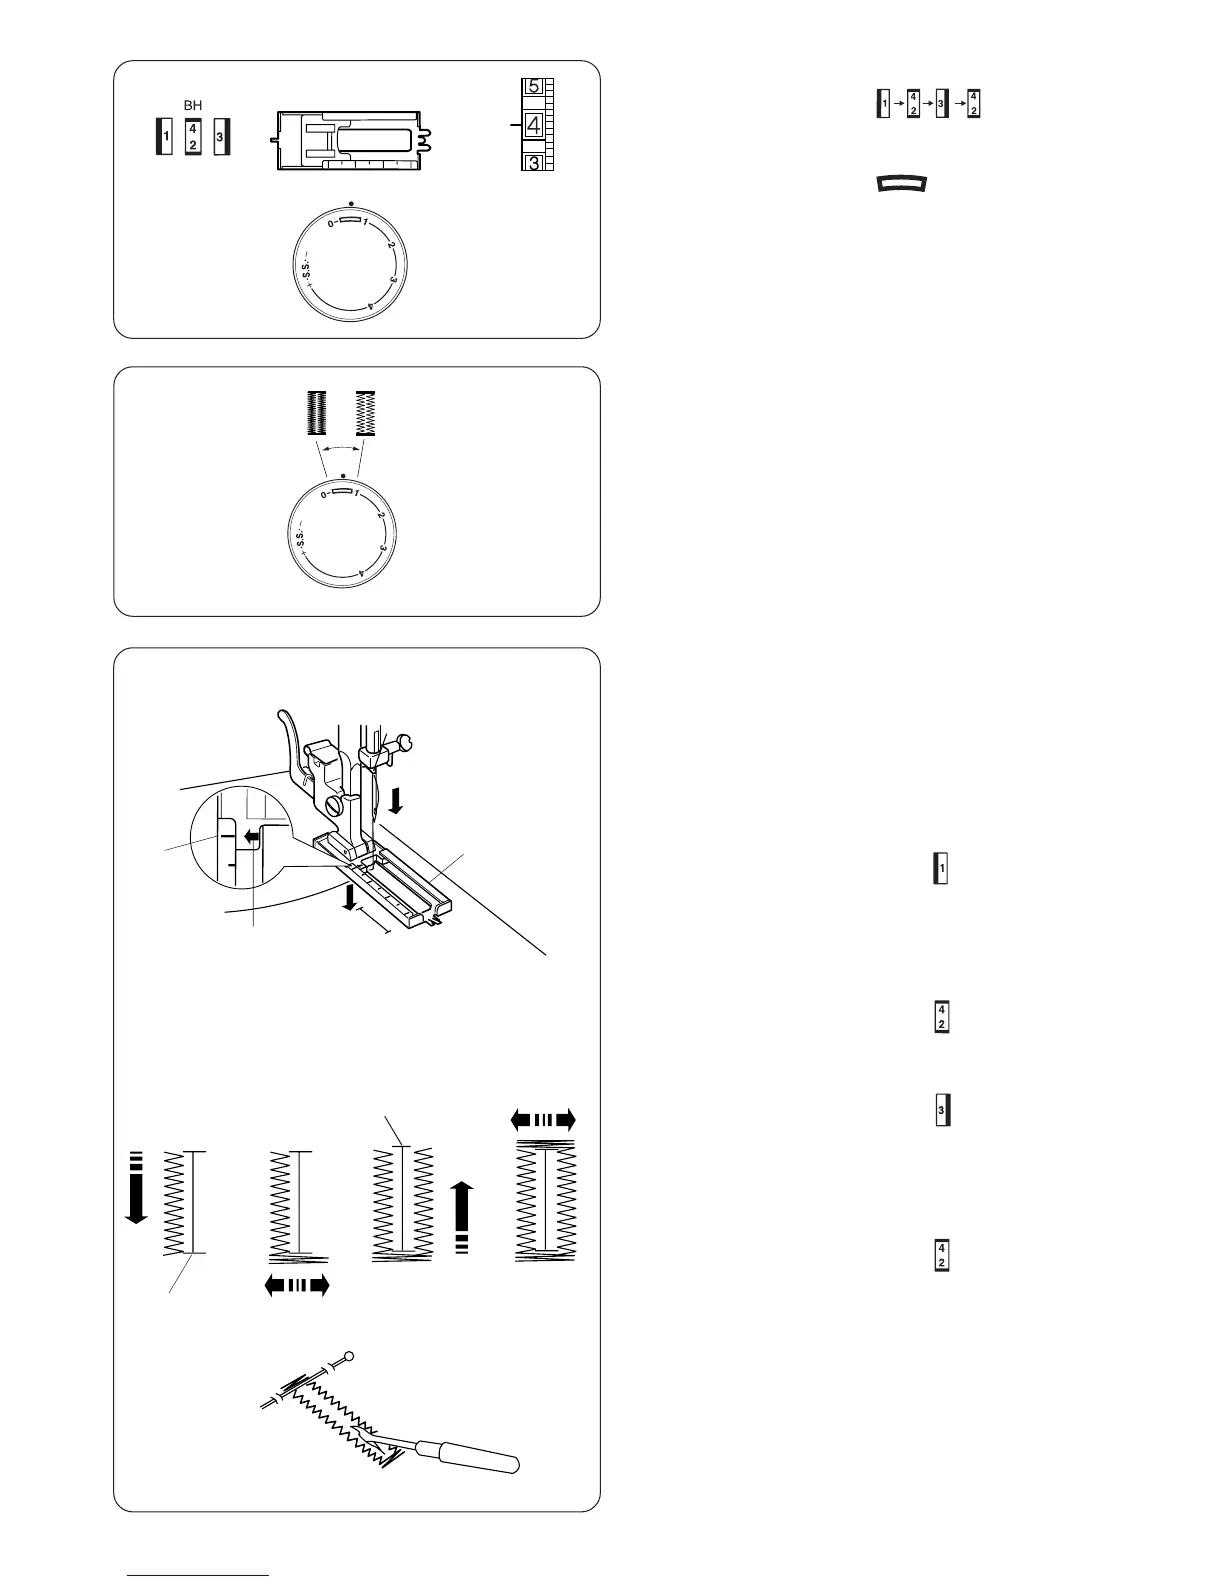
z Carefully mark buttonhole length on fabric.
Place the fabric under the foot with the buttonhole
marking running toward you.
x Move the slider (A) toward you so that the top
mark (C) on the slider meets the start mark (B).
Line up the markings on the foot with the top
mark on the fabric.
c Set the pattern selector dial at “ ”.
Sew forward until you reach the front marking q of
your buttonhole.
Stop sewing at a left stitch with the needle out of the
fabric.
v Set the pattern selector dial at “ ”.
Sew 5 stitches. Stop sewing at a right stitch with the
needle out of the fabric.
b Set the pattern selector dial at “ ”.
Sew until you reach the back marking w of the
buttonhole.
Stop sewing at a right stitch with the needle out of
the fabric.
n Set the pattern selector dial at “ ”.
Sew a few bartacks and raise the needle from the
fabric.
Set the stitch length dial to “0” and the pattern
selector dial at straight sewing.
Sew a few locking stitches.
m Remove the fabric from the machine and cut the
sewing thread. Insert a pin inside the bartack.
Then cut the opening with a seam ripper.
Take care not to cut the stitches.
cv n
m
w
b
z x
q
we
r
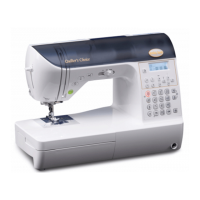
q Pattern selector:
w Presser foot: Buttonhole foot
e Thread tension: 1–5
e Stitch length:
Buttonhole
To adjust buttonhole stitch density:
Set the stitch length dial between 0.5 and 1.0 to adjust
the buttonhole stitch density.
(A)
(C)
(B)
q
 Loading...