1. It is now time to install the new countershaft bearing that was provided in your kit. It is
important that this step be done AFTER installing the tapered bearing adapter. This is to
avoid cooking your new countershaft bearing while heating the case in that step.
2. Wipe out the countershaft bearing bore with a clean rag. Apply a thin coating of oil to both
the bearing bore and the outer diameter of the countershaft bearing.
3. Use a countershaft bearing tool (BAKER TOOLE-07 or equivalent) to press the bearing into
the transmission case. You want to press on the outside of the ‘cup’, just as you did during
removal. See the appropriate tool instructions and your Factory Service Manual for details.
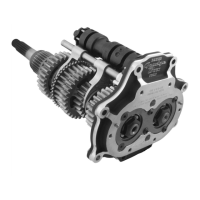
1. Before installing the main drive gear,
apply a thin coating of transmission oil
to the tapered bearing races and the
main drive gear O-ring; see figure 17.
A thicker oil could give you a false
reading when checking endplay.
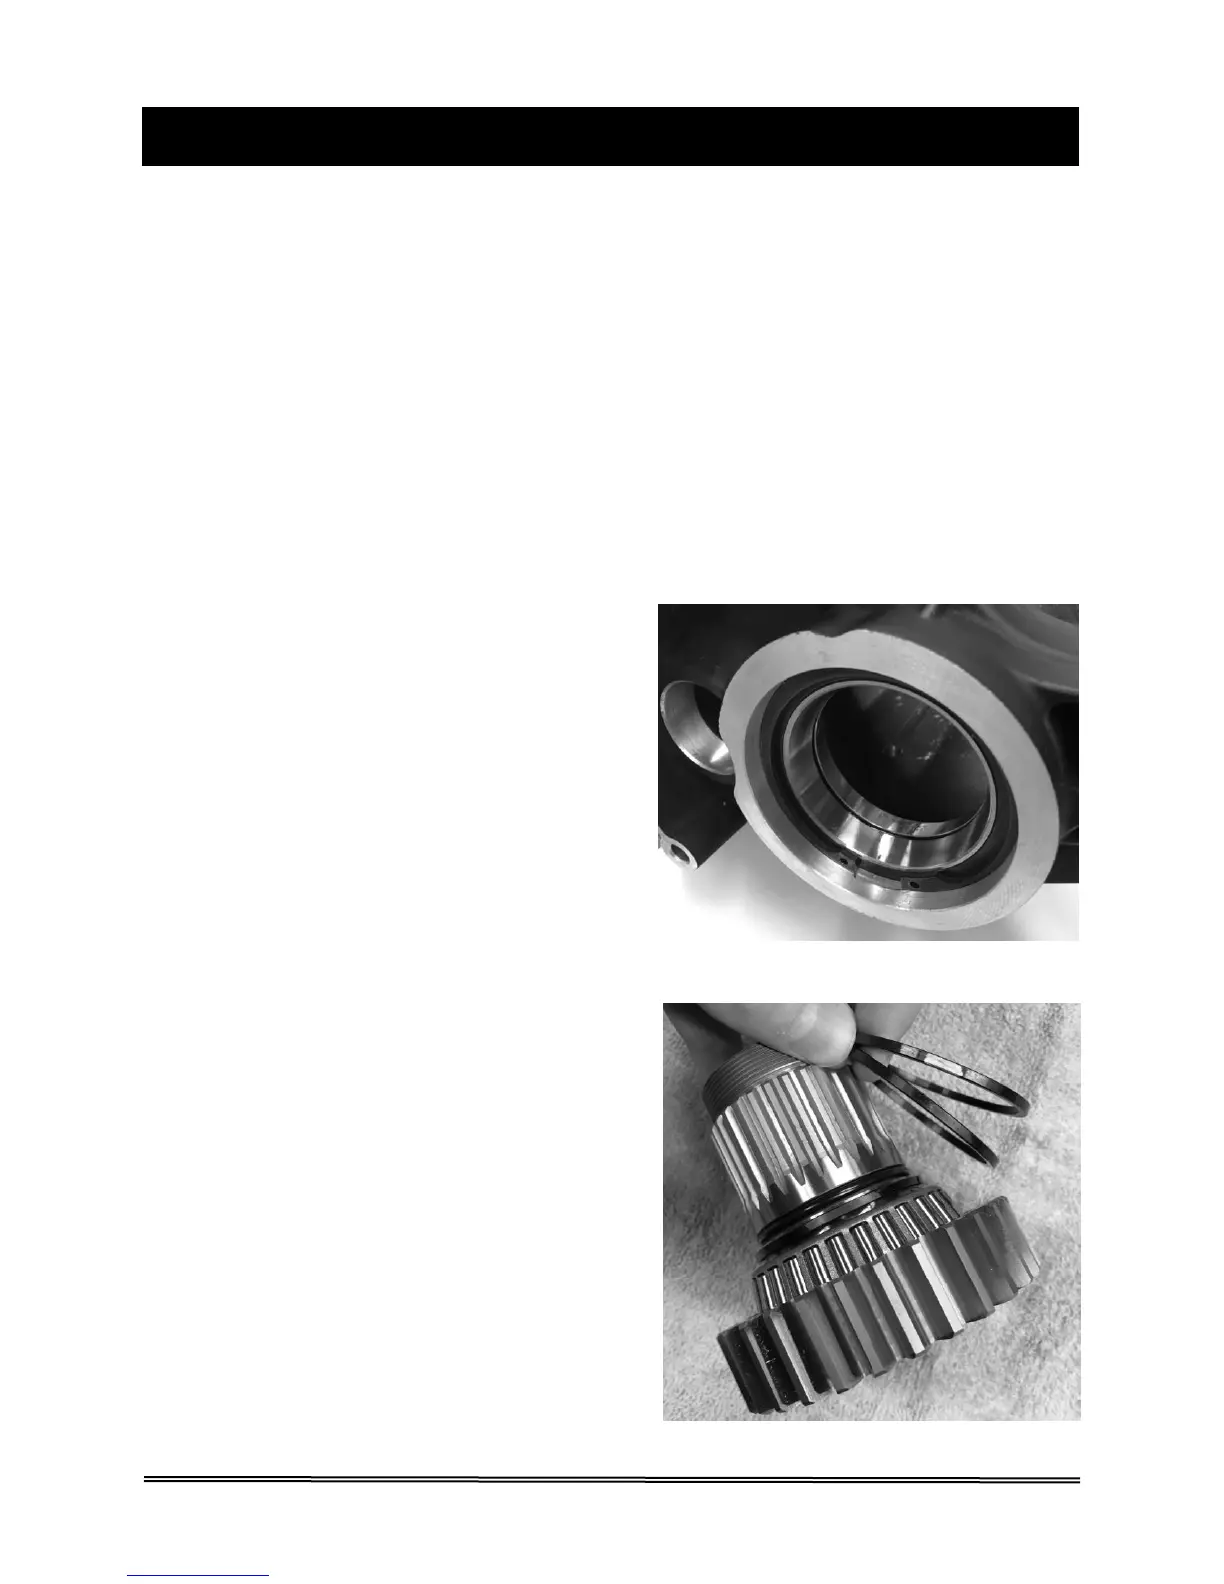
2. Each kit comes with three spacers for
setting up end play in the tapered
roller bearings: .102” (white), .104”
(green) and .106” (blue) thick. The
most commonly used spacer (.104”,
green) is pre-installed on the main
drive gear. The .102” and .106”
spacers are included for cases where
bearing end play is outside of the
acceptable range with the pre-
installed .104” spacer; see figure 18.
Apply a thin coating of transmission oil
to the main drive gear O-ring each
time you change the spacer.
FIGURE 18 | MAIN DRIVE GEAR WITH PRE-INSTALLED
SPACER AND TWO EXTRA SPACERS; LUBE O-RING
COUNTERSHAFT BEARING INSTALLATION
MAIN DRIVE GEAR INSTALLATION
INSTALLING THE C/S BEARING & MAIN DRIVE GEAR
FIGURE 17 | LIGHTLY OIL BEARING RACES
BEFORE INSTALLING THE MAIN DRIVE GEAR
 Loading...