13
5.0 Installation – Page 13
5.1 Initial Preparation
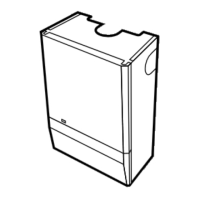
1. Unpack contents of carton.
2. Remove the lower door panel from the outer case.
Remove the 2 screws holding the outer case to the
combustion box.
3. Place the ready assembled outer case in a safe place
until required.
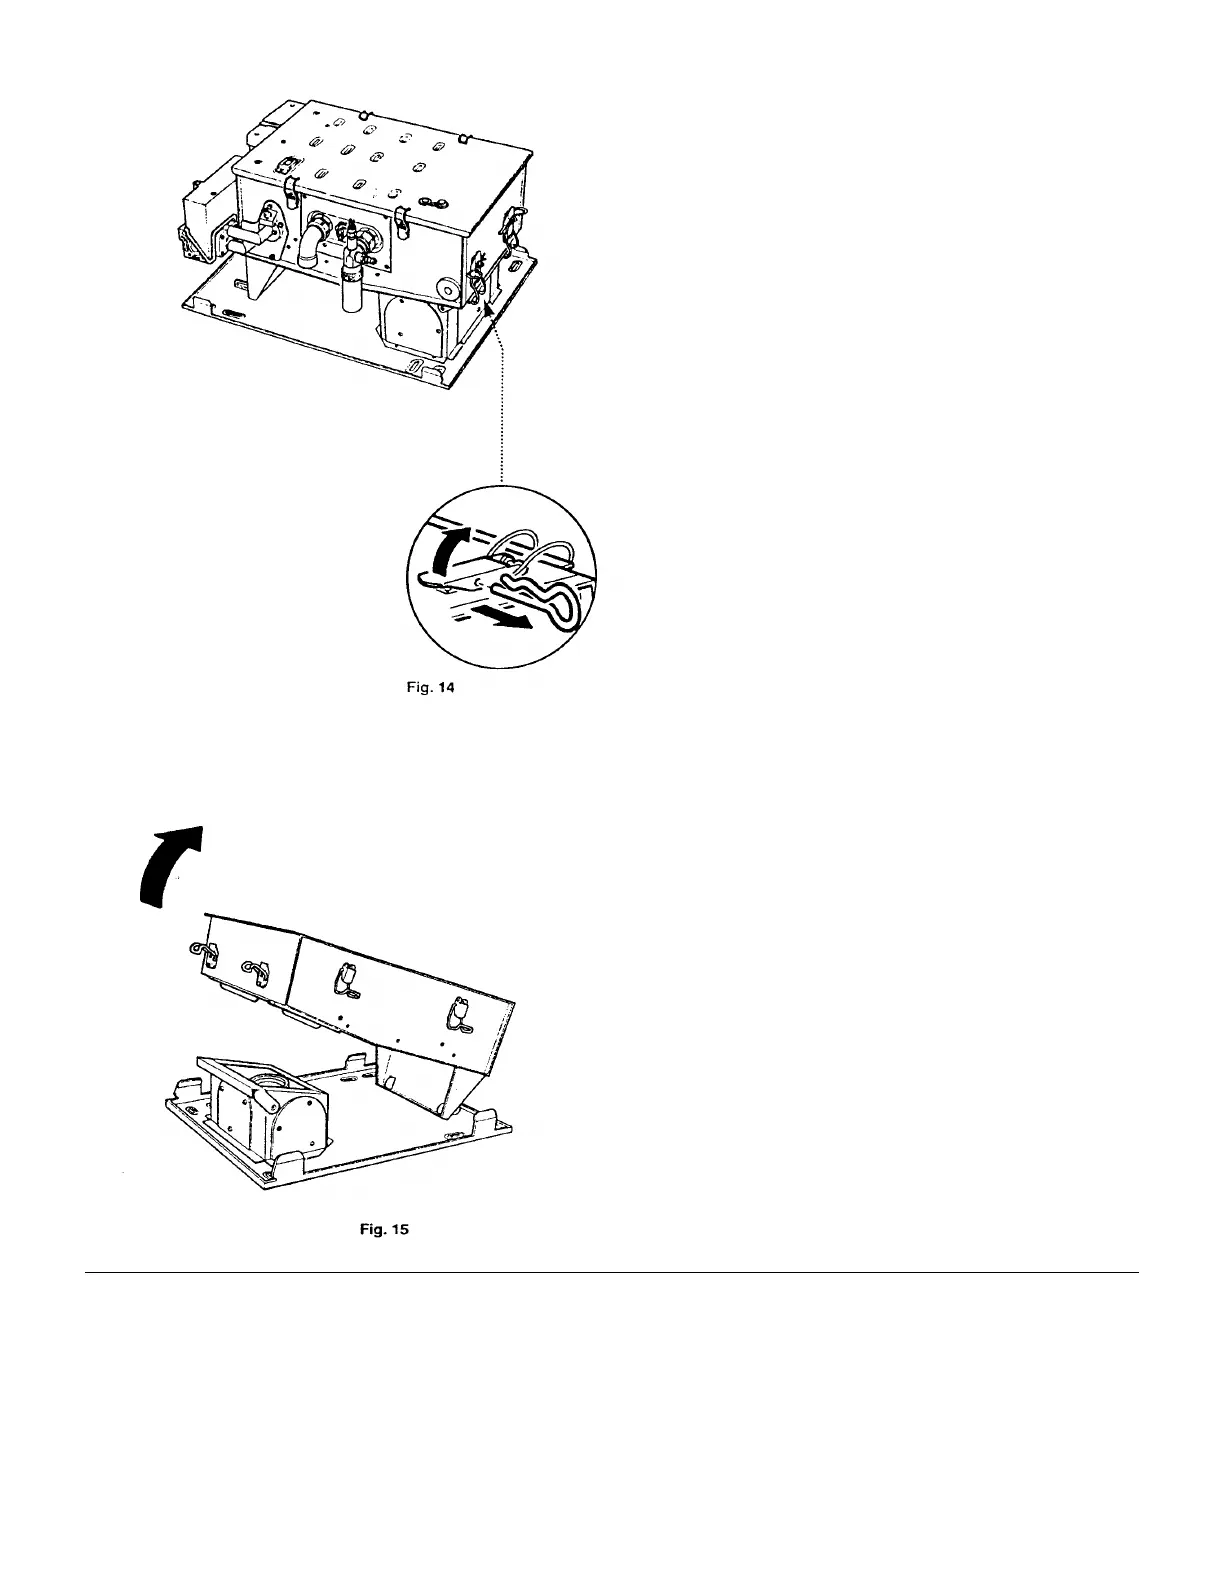
4. Release the R clips from the two latches securing the
combustion box to the back plate and release the latches
(Fig. 14).
5. Lift and remove the combustion box from the back
plate (Fig. 15). Place the combustion box on its back.
IMPORTANT - When installing a Solo 2 with a rear flue
see section 5.2 before continuing the installation.
6. Proceed to the relevant section for flueing the
appliance either to the Rear, Left, Right or Vertically.
NOTE: For Vertical flueing or flue lengths above the
standard 610mm (24 in) the relevant optional extra
kits must be obtained and their instructions followed.
 Loading...