Product overview
CX9000 / CX9010 21Version: 2.6
2.3.9 CX90x0 : Dip switch settings
General
Attention
Reset the System
In general there is no need to change the dip switch settings. The switches are installed in
case of major faults, to reset the system, provide debug messages, bypass TwinCAT start
and update the image. Never change a running system !
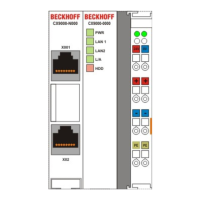
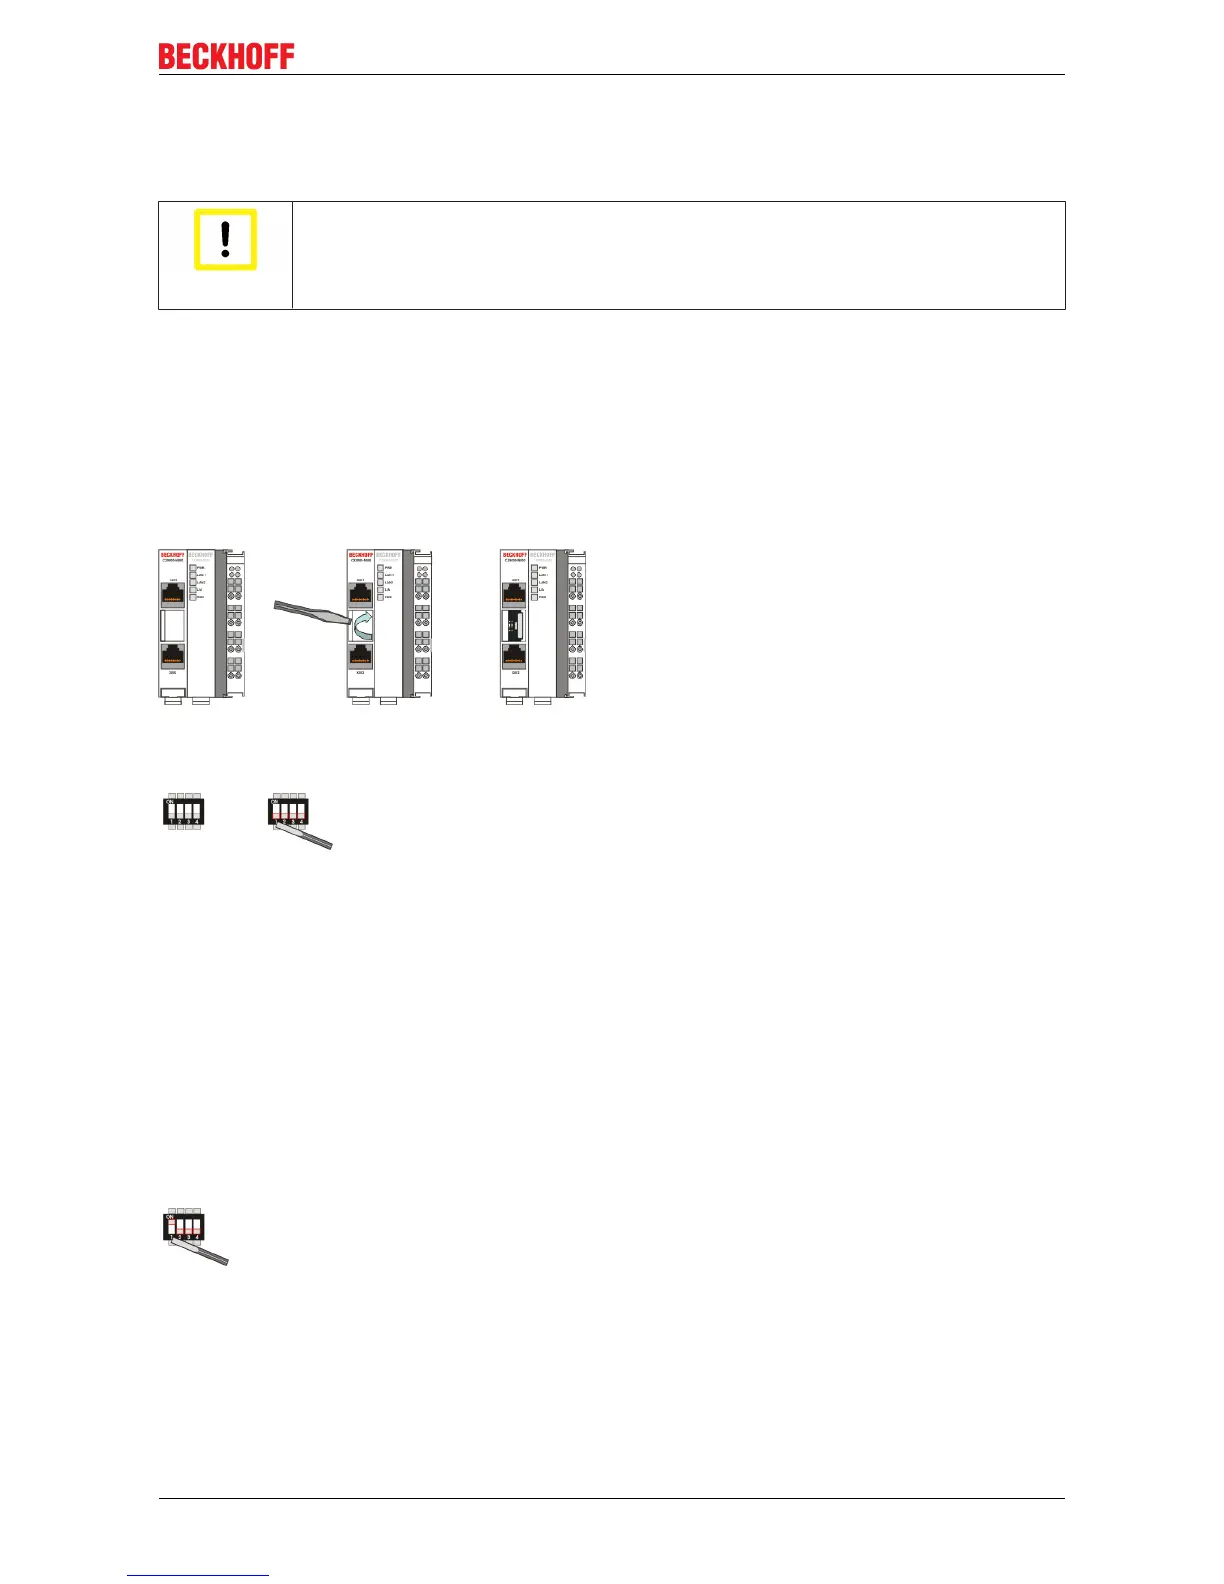
To get access to the dip switches, you have to open the over of the battery compartment. It is located
between the two ethernet connectors on the front of the CX90x0-N000 module. To open the cover proceed
as follows:
1. Power down the CX90x0
2. Open the battery compartment (located between two ethernet ports)
It can be opened with the aid of a screwdriver (proceed carefully in order to avoid damage).
Once the compartment is opened, the four dip switches can be accessed. They are located left of the battery
holder. On normal operation mode all switches are set to OFF. (All switches are down).
To change the settings of a dip switch its is advised to use a screwdriver with a small blade (2.5 mm x 7.5 cm
length and parallel shaft, Beckhoff order number: ZB8700). Use the edge to move the switches with caution!
The switches have four functions:
• Reset CX90x0-Sytem to defaults.
• Send debug codes to COM1 (if connected).
• Update mode to obtain a new image via PC server (Boot menu via COM1).
• Force TwinCAT to start in config mode.
The functions are described in detail below:
Reset to Factory Settings:
1. Set dip switch 1 to ON (move switch 1 up).
2. Connect CX-System to power and boot system. After a complete boot, the registry is regenerated.
3. Set dip switch 1 back to OFF (switch 1 down) and close cover.
 Loading...