BEHRINGER B-CONTROL Programming Guide
6
III. Programming presets
Programming the BEHRINGER B-CONTROL means assigning individual control elements to one or several
parameters of some MIDI hardware of software. In the following examples, we will control the filter section of
NATIVE INSTRUMENTS
®
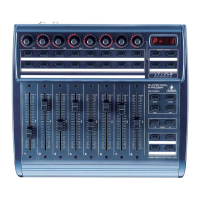
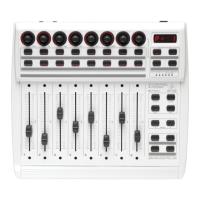
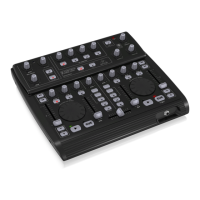
PRO-53 using the B-CONTROL (BCF2000 or BCR2000). To do that, you will
need to be familiar with PRO-53’s MIDI implementation (part of the documentation delivered with your
NATIVE INSTRUMENTS
®
software).
Our goal:
- assign RESO, ENV AMT and KBD parameters of the PRO-53 to three B-CONTROL
encoders.
- assign CUTOFF and HPF parameters of the PRO-53 to a B-CONTROL push encoder.
- assign ATTACK, DECAY, SUSTAIN and RELEASE parameters of the PRO-53 to four
B-CONTROL faders.
- assign the INV parameter of the PRO-53 to a single key on the B-CONTROL.
There are two ways to do all this, and we will show both:
- You can either program your B-CONTROL in the EDIT mode (optimal way of doing things to learn
how the B-CONTROL works and how to control it);
- Or you program your B-CONTROL in the LEARN mode (quickly done; done to assign functions to
individual control elements).
1. Programming in manual EDIT mode
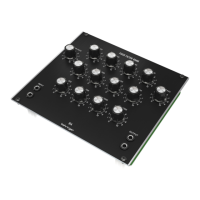
1.a Programming encoders (BCR2000 only)
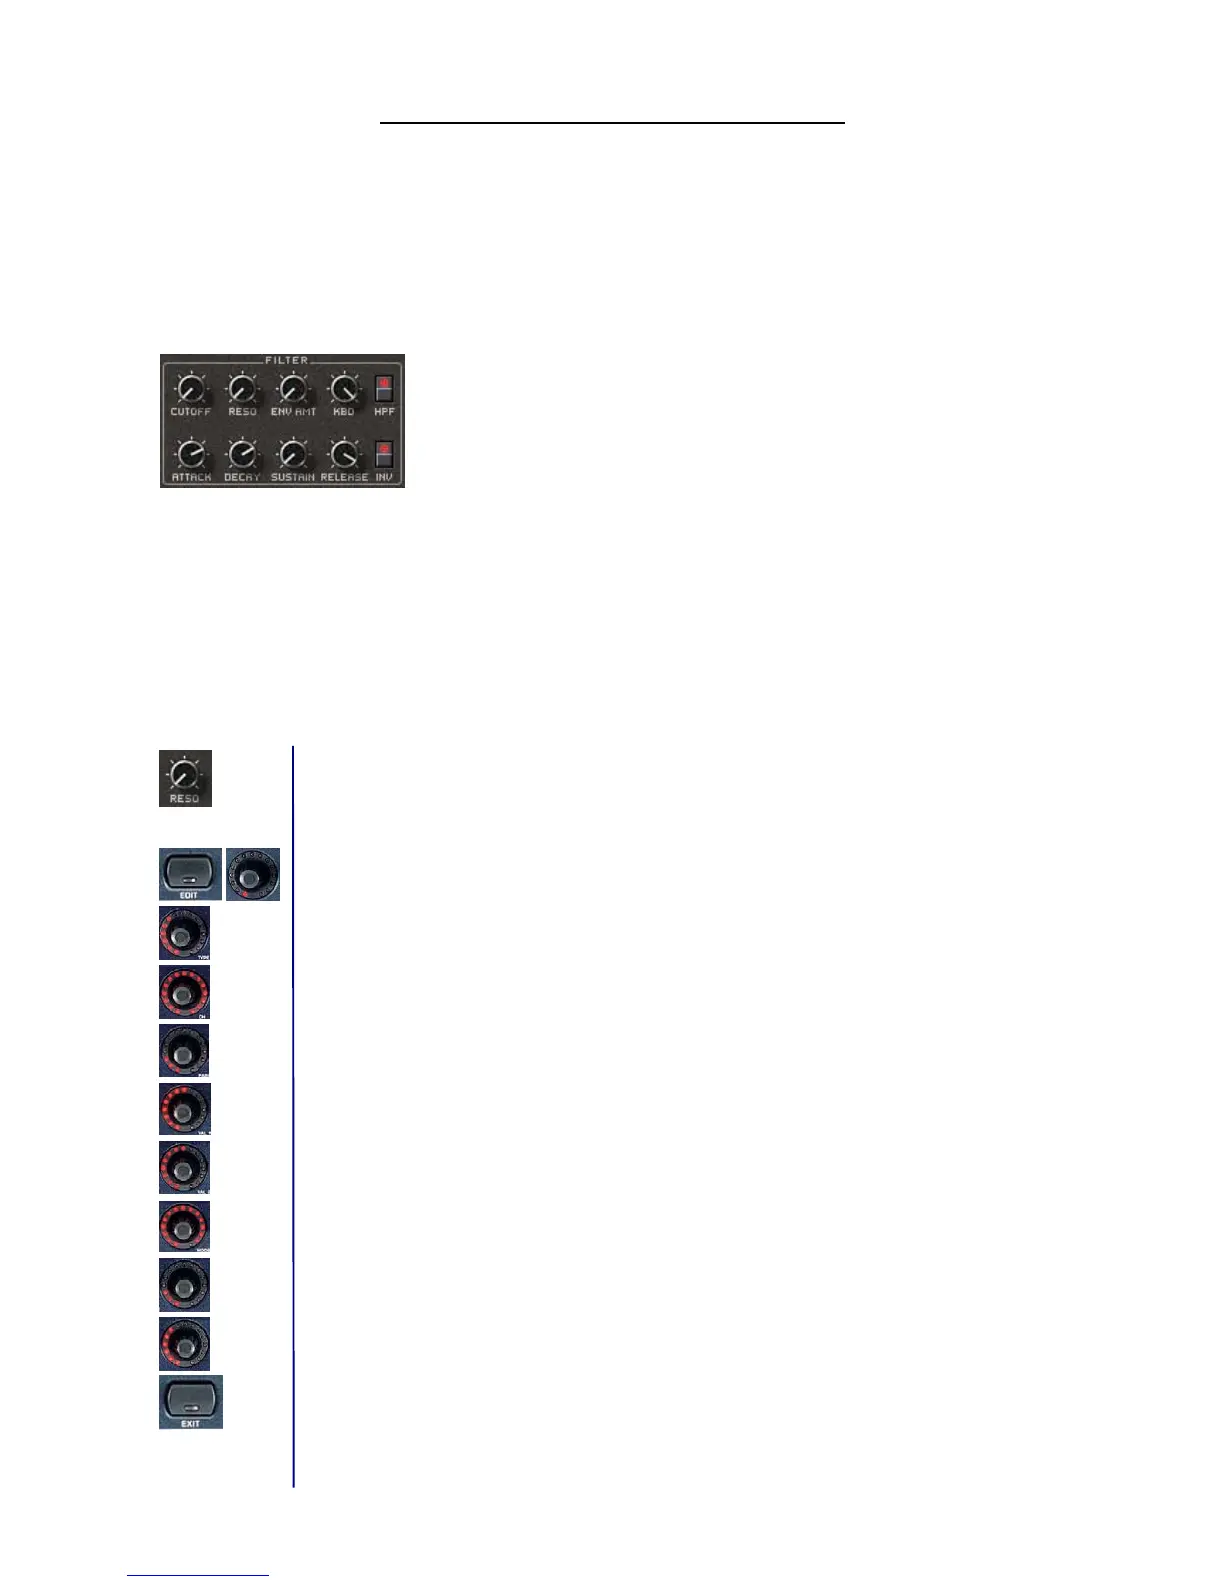
Assigning RESO, ENV AMT and KBD parameters to the first three B-CONTROL encoders. PRO-53 MIDI
implementation:
RESO = CC 71, ENV AMT = CC 72 and KBD = CC 73 / in each case, possible values = 0 through 127.
Programming the first encoder for controlling the RESO parameter:
1. Keep the EDIT key pressed, briefly turn the first encoder and then release the EDIT key.
2. Push Encoder 1 (TYPE = MIDI command): select Control Change (CC).
3. Push Encoder 2 (CH = MIDI channel): Select a MIDI channel. This channel must correspond to the
receiving channel on the PRO-53 (setup in the “MIDI Settings“ windows of the plug-in).
4. Push Encoder 3 (PAR = parameter): Select controller 71.
5. Push Encoder 4 (VAL 1 = minimum value): Select the lowest value (0).
6. Push Encoder 5 (VAL 2 = maximum value): Select the highest value (127).
7. Push Encoder 6 (MODE = controller mode of the respective control elements): Select “Absolute“ (AbS).
8. Push Encoder 7 (OPTION = LED circle performance): Select “1d.“
9. Push Encoder 8 (DISPLAY VALUE = display performance): Select “ON“ to have the display show
parameter changes when the encoder is turned. No parameters are displayed if you select “OFF.“
10. Exit the edit mode by pressing EXIT.
Repeat these steps again to assign ENV AMT and KBD parameters to the second and the third
encoders.
 Loading...