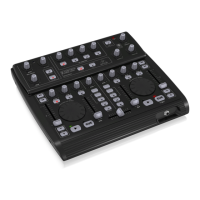
BEHRINGER B-CONTROL Programming Guide
7
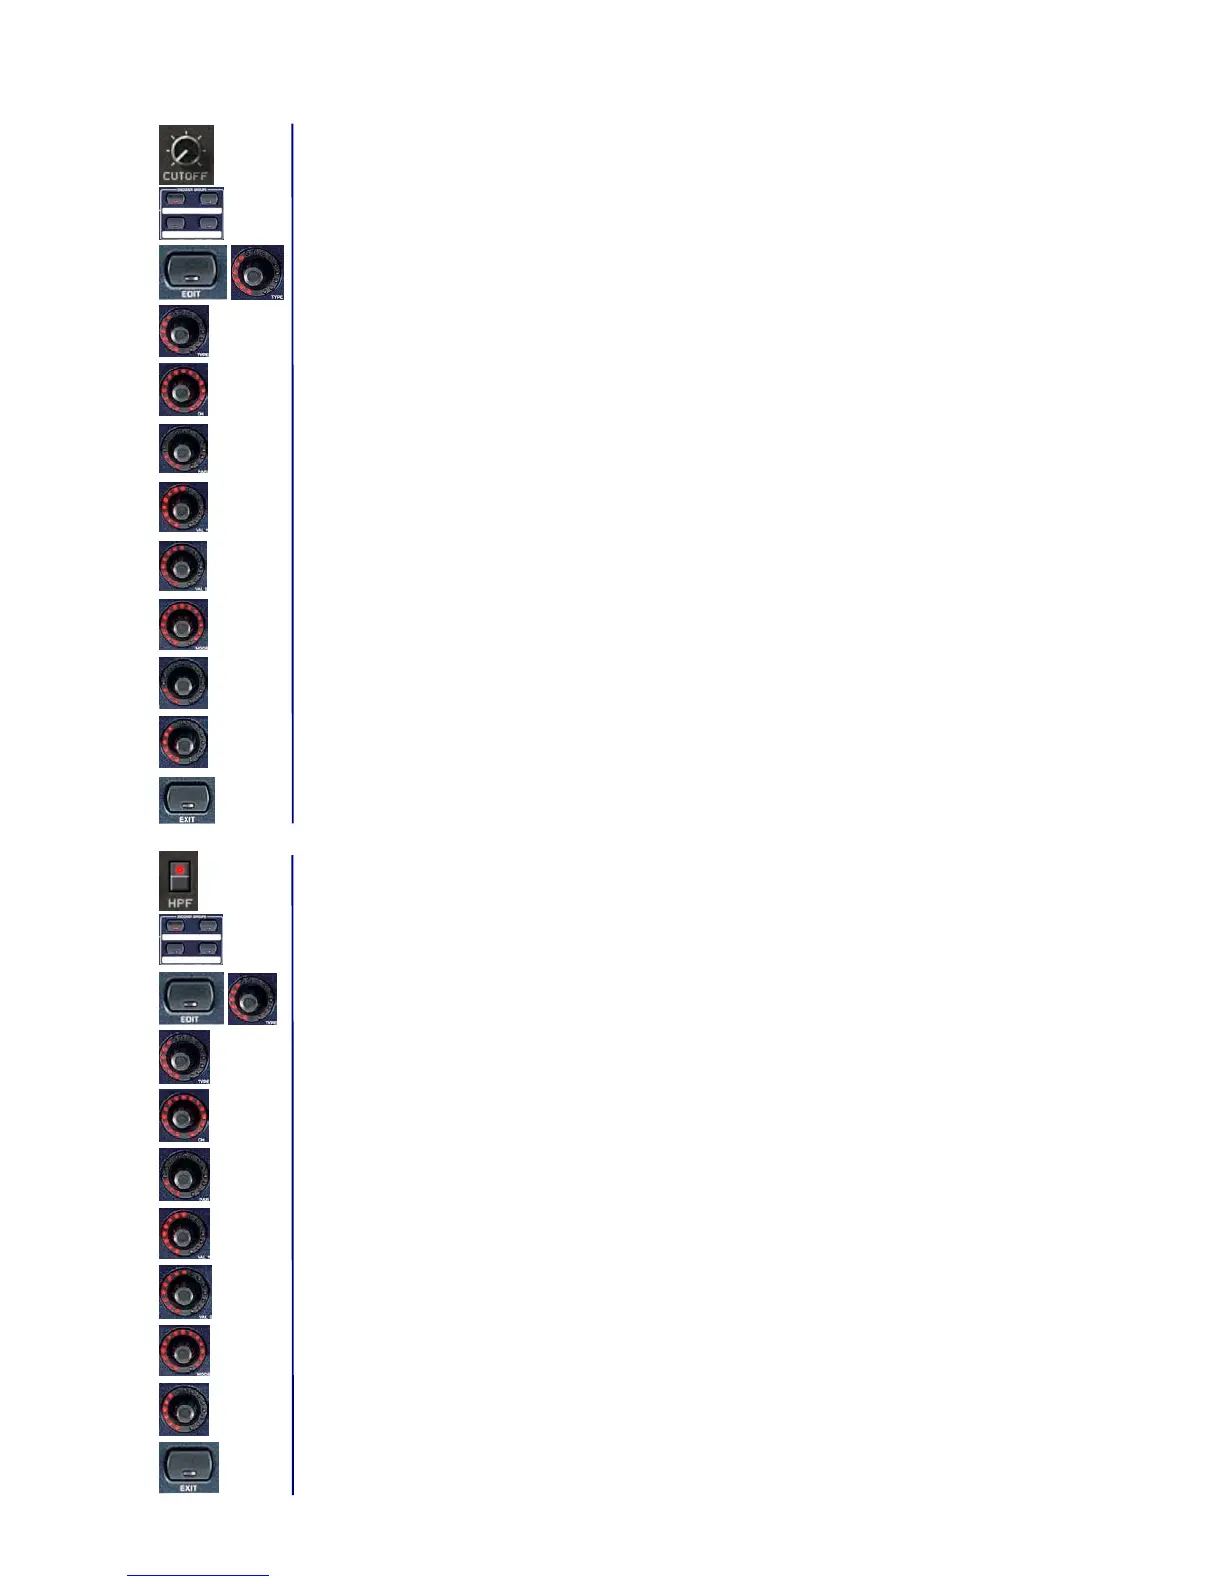
1.b Programming push encoders
Assigning the CUTOFF parameter of the PRO-53 to the rotary function of the first push encoder on the
B-CONTROL. PRO-53 MIDI implementation:
CUTOFF = Control Change 70 / possible values = 0 through 127
1. Select one of the four push encoder groups by using the respective keys.
2. Keep the EDIT key pressed and briefly turn the first push encoder, then release the EDIT key.
3. Push Encoder 1 (TYPE): Select control change (CC).
4. Push Encoder 2 (CH): Select a MIDI channel. This channel must correspond to the receiving channel on
the PRO-53 (setup in the “MIDI Settings“ windows of the plug-in).
5. Push Encoder 3 (PAR): Select controller 70.
6. Push Encoder 4 (VAL 1 = minimal value): Select the lowest value (0).
7. Push Encoder 5 (VAL 2 = maximum value): Select the highest value (127).
8. Push Encoder 6 (MODE): Select “Absolute“ (AbS).
9. Push Encoder 7 (OPTION = LED circle performance): Select “Cut“ (short for cutoff). If the encoder is
connected, the entire LED circle lights up. When you turn the encoder to the right, the LED circle goes
out clockwise so that only the lower right LED remains lit.
10. Push Encoder 8 (DISPLAY VALUE = display performance): Select “ON“ to have the display show
parameter changes when the encoder is turned. No parameters are displayed if you select “OFF.“
11. Exit the edit mode by pressing EXIT.
Assigning the HPF parameter of the PRO-53 to the key function of the first B-CONTROL push encoder.
PRO-53 MIDI implementation:
HPF = Control Change 74 / possible values = 0 and 127.
1. Using the ENCODER GROUP key LEDs, you can make sure that the previously selected push encoder
group is still active.
2. Keep the EDIT key pressed and then briefly press the first push encoder. After that, release the EDIT
key.
3. Push Encoder 1 (TYPE): Select control change (CC).
4. Push Encoder 2 (CH): Select a MIDI channel. This channel must correspond to the receiving channel on
the PRO-53 (setup in the “MIDI Settings“ windows of the plug-in).
5. Push Encoder 3 (PAR): Select controller 74.
6. Push Encoder 4 (VAL 1 = ON value): Select 127 as your value.
7. Push Encoder 5 (VAL 2 = OFF value): Select 0 as your value.
8. Push Encoder 6 (MODE): Select “Toggle ON.“
9. Push Encoder 8 (DISPLAY VALUE = displays performance): Select “ON“ to have the display show
parameter changes when the encoder is turned. No parameters are displayed if you select “OFF.“
10. Exit the edit mode by pressing EXIT.
 Loading...