6
• Toremoveanattachment,depressthereleasebutton(3)and
taketheattachmentoffthetool.
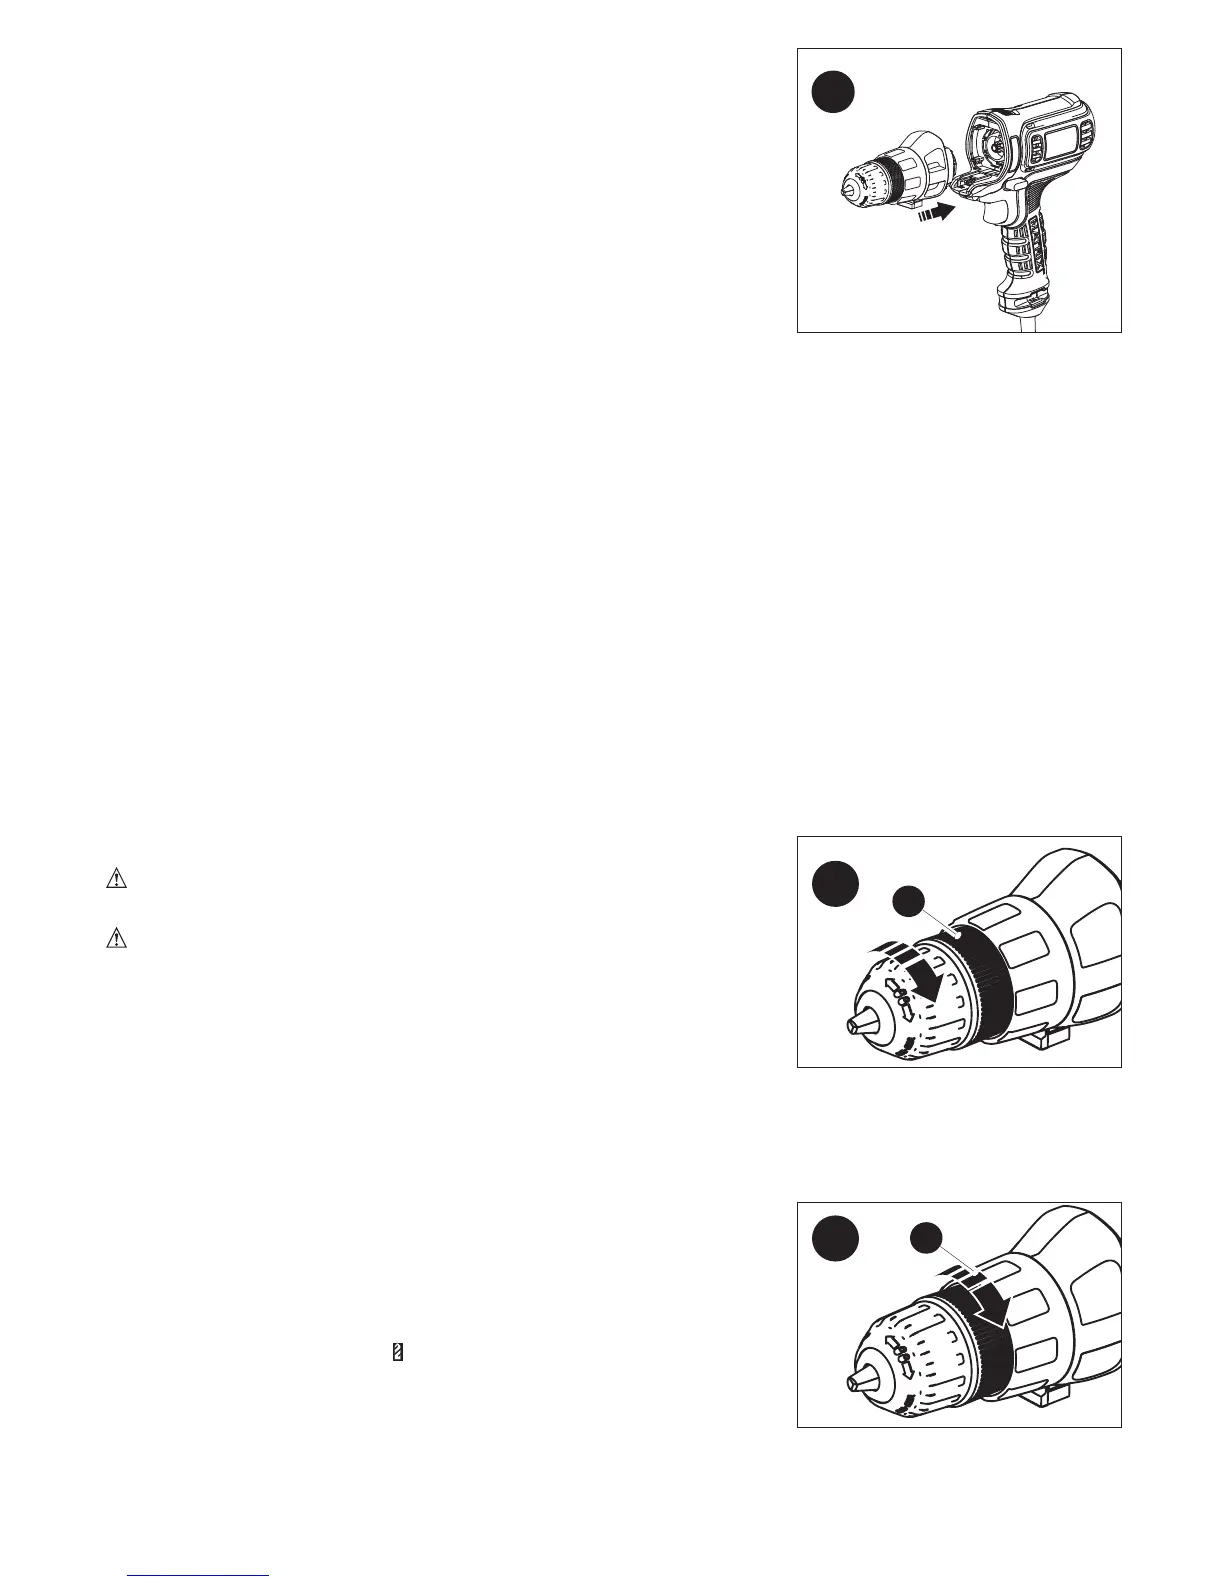
• Totanattachment,lineitupwiththetoolasshownandpush
it onto the Power Unit until it snaps into place and an audible
clickisheard.
• Ensureattachmentissecurelyattachedbygentlypullingit
away from the Power Unit.
NOTE: Only use attachments that are specifically designed
for and compatible with the Power Unit.
NOTE: Refer to individual attachment instruction manuals for
specific safety warnings and operating instructions before oper-
ating attachments with the Power Unit.
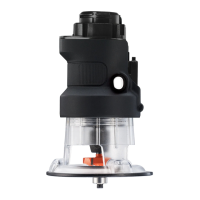
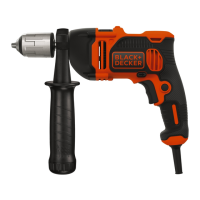
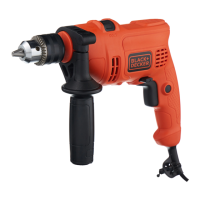
OPERATING: DRILL/SCREWDRIVER ATTACHMENT
FITTING AND REMOVING A DRILL BIT OR SCREWDRIVER BIT
Thedrill/screwdriverattachment(5)isfittedwithakeylesschuck(6)toallowforaneasyexchangeofbits.
• UnplugthePowerUnitbeforeinstallingorremovingattachments.
• Openthechuckbyturningthefrontpartclockwisewithonehandwhileholdingtherearpart
with the other.
• Insertthebitshaftintothechuck.
• Firmlytightenthechuckbyturningthefrontpartcounterclockwise.
• Toremovethescrewdriverbitfromtheholder,liftthebitfromtherecess.
• Tostorethescrewdriverbit,firmlypushitintotheholder(4).
SCREW DRIVING
• Always use the correct type and size of screwdriver bit.
• If screws are difficult to tighten, try applying a small amount of washing liquid or soap as a lubricant.
• Always hold the tool and screwdriver bit in a straight line with the screw.
•
Fordrivingfasteners,thereversingbuttonshouldbepushedtotheleft.Usereverse(button
pushedtotheright)forremovingfasteners.Whenmovingfromforwardtoreverse,orvice
versa, always release the trigger switch first.
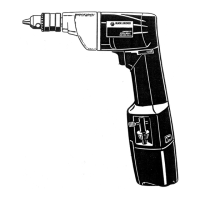
KEYLESS CHUCK - FIGURE B
WARNING: MakecertainthePowerUnitisunpluggedto
prevent switch actuation before installing or removing attachments.
WARNING: Donotattempttotightenorloosendrillbits(or
anyotheraccessory)bygrippingthefrontpartofthechuckand
turningthetoolon.Damagetothechuckandpersonalinjurymay
occur when changing accessories.
Toinsertadrillbitorotheraccessory:
1. Grasptherearhalfofthechuck(6)withonehandanduse
yourotherhandtorotatethefronthalfinthecounterclockwisedirection,asviewedfromthe
chuckend.
2. Insertthebitorotheraccessoryfullyintothechuck,andtightensecurelybyholdingtherearhalfof
thechuckandrotatingthefrontportionintheclockwisedirectionasviewedfromthechuckend.
TORQUE CONTROL - FIGURE C
Thistoolisfittedwithatorqueadjustmentcollar(7)toselectthe
operating mode and to set the torque for tightening screws. Large
screwsandhardworkpiecematerialsrequireahighertorque
settingthansmallscrewsandsoftworkpiecematerials.
• Fordrillinginwood,metalandplastics,setthecollartothe
drilling position symbol .
• Forscrewdriving,setthecollartothedesiredsetting.Ifyoudo
notyetknowtheappropriatesetting,proceedasfollows:
• Setthecollartothelowesttorquesetting.
• Tightenthefirstscrew.
• Iftheclutchratchetsbeforethedesiredresultisachieved,increasethecollarsettingand
continue tightening the screw. Repeat until you reach the correct setting. Use this setting
for the remaining screws.
C
7
B
6
A

 Loading...