28 | English
Replacing the Battery (seefigure L)
Note: The battery only needs to be replaced when it is ex-
hausted. It is not intended to charge the battery outside the
mower.
u Using unsuitable batteries can lead to malfunctions or
damage the mower.
u Heavily used batteries may have a significant effect in the
mower run time.
u Do not use non-rechargeable batteries in the mower.
Use only batteries specified by the manufacturer.
Note: Always wear protective gloves when handling or work-
ing near the sharp blades.
Switch off the mower by the isolator switch.
Remove the 5 screws of the battery compartment cover with
a Torx T-20 screwdriver.
Pivot the used battery with the guide rail out of the battery
compartment until the battery unlocking button can be seen
and accessed. Press the battery unlocking button and re-
move the battery.
Insert the new battery into the guide rail until the locking
mechanism can be heard to engage. Pivot back the battery
with the guide rail into the battery compartment. Mount the
battery compartment cover and screw it tight with the 5
screws.
The battery compartment cover protects the battery against
moisture during operation.
Updating the Software (see figure M)
To update the software, you need a USB.org stick (FAT 32
formatted) and a USB OTG cable.
If a new software version is available, you can find it on the
Internet on the "www.bosch-indego.com" page. Load the
"IN8xxxx.bin" file onto the USB.org stick.
Turn the mower over and remove the cover from the USB
port. Connect the USB OTG cable with the USB.org stick.
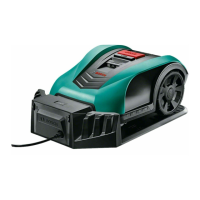
Place the mower in the docking station and make sure that
the docking station is connected to mains (LED on docking
station is on). The mower must be switched on, the display
alight and the battery must be at least 70% charged.
When the update starts, the following message appears in
the display “Do you want to update from version x to ver-
sion y?”
Confirm by pressing the confirm button ✓. During the up-
date, both LEDs in the mower will flash.
At the end of the update, the mower restarts.
Remove the USB OTG cable and the USB.org stick. Close the
cover of the USB port.
Additionally with Indego M+ 700: You can download the
software via the Bosch Smart Gardening app.
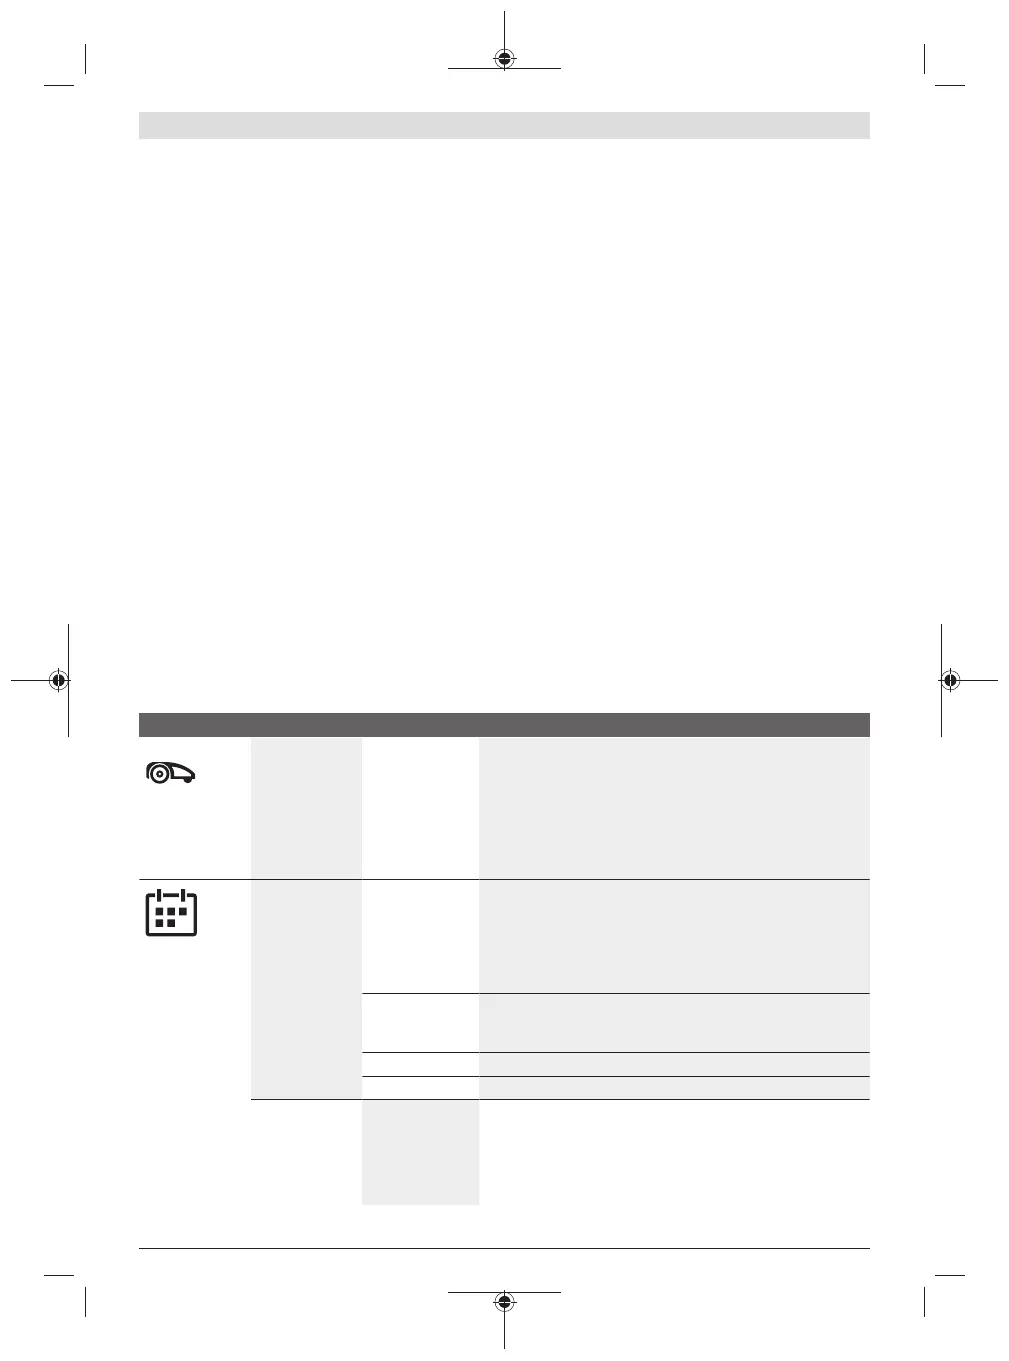
Menu Navigation
The table below explains the various menu items.
Main Menu Sub-menu 1 Sub-menu 2 Explanation
Mow now
Pressing the confirm button will send the mower to mow. In “Off/
Manual”, the mower works until the display shows “garden com-
plete”.
In “Schedule” mode, with the “Bosch AUTO” calendar function or
with the Bosch “SmartMowing” functionality, the mower will op-
erate until the end of the time period or until the display shows
“garden complete” (whichever comes first).
Calendar
Only with
Indego M 700:
Bosch AUTO
The “Bosch AUTO” calendar function is optimised based on the
size of the lawn area.
In the default setting, the mower does two full cuts a week and
starts at 8 am.
The following settings are possible:
Number of com-
plete mowing
cycles per week
1 to 3
Weekday Days on which mowing is allowed (e.g. to exclude Sundays).
Start time Only possible for the first time slot (applies to all active days).
Only with
Indego M+ 700:
SmartMowing
The Bosch “SmartMowing” function is optimised based on the
size of the lawn area and gives additional functionality to connect
to a local weather data provider.
In the default setting, the mower does two full cuts a week and
starts at 8 am.
F 016 L81 041 | (15.04.2020) Bosch Power Tools
 Loading...