EasyManuals Logo

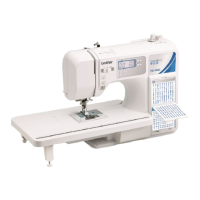
Brother FS-40 User Manual

Brother FS-40
196 pages
To Next Page IconTo Next Page
To Previous Page IconTo Previous Page
Page #32 background imageLoading...
Page #32 background image
2 - 17
Bobbin winder mechanism
Basics of Assembly
Basics
1 Attachment of Bobbin winder assy
1. Set the shaft of the bobbin winder assy. 1 to the positioning part of the
rear cover assy. with the 2 screws 1.
2. Insert the BW switch lever 2 into the positioning hole of the bobbin
winder shaft stopper 3.
3. Place the bobbin winder shaft spring 4 and the bobbin winder shaft
stopper 3, and secure it with the screw 2.
*Key point
Check that the bobbin winder assy. 1 pass over the bobbin
winder shaft spring 4 when the bobbin winder is switched.
Check that the bobbin winder spring 4 return to the original
position when the bobbin winder is switched.
Refer to 3 - 64 "Bobbin winder mechanism".
1
2
Torque
1.18 – 1.57 N·m
1
3
1
2 4
2
Giza Tite
M5X16

Table of Contents

Questions and Answers:

Question and Answer IconNeed help?

Do you have a question about the Brother FS-40 and is the answer not in the manual?

Brother FS-40 Specifications

General IconGeneral
Stitch Number40
Buttonhole Styles5
DisplayLCD
LightingLED
TypeElectronic
Needle ThreadingAutomatic
Adjustable Stitch LengthYes
Adjustable Stitch WidthYes
Maximum Stitch Width5 mm
Maximum Stitch Length4 mm
Reverse SewingYes
Free ArmYes
Start/Stop ButtonYes
Speed ControlYes
BobbinTop-loading
Sewing Speed750 stitches per minute

Related product manuals